
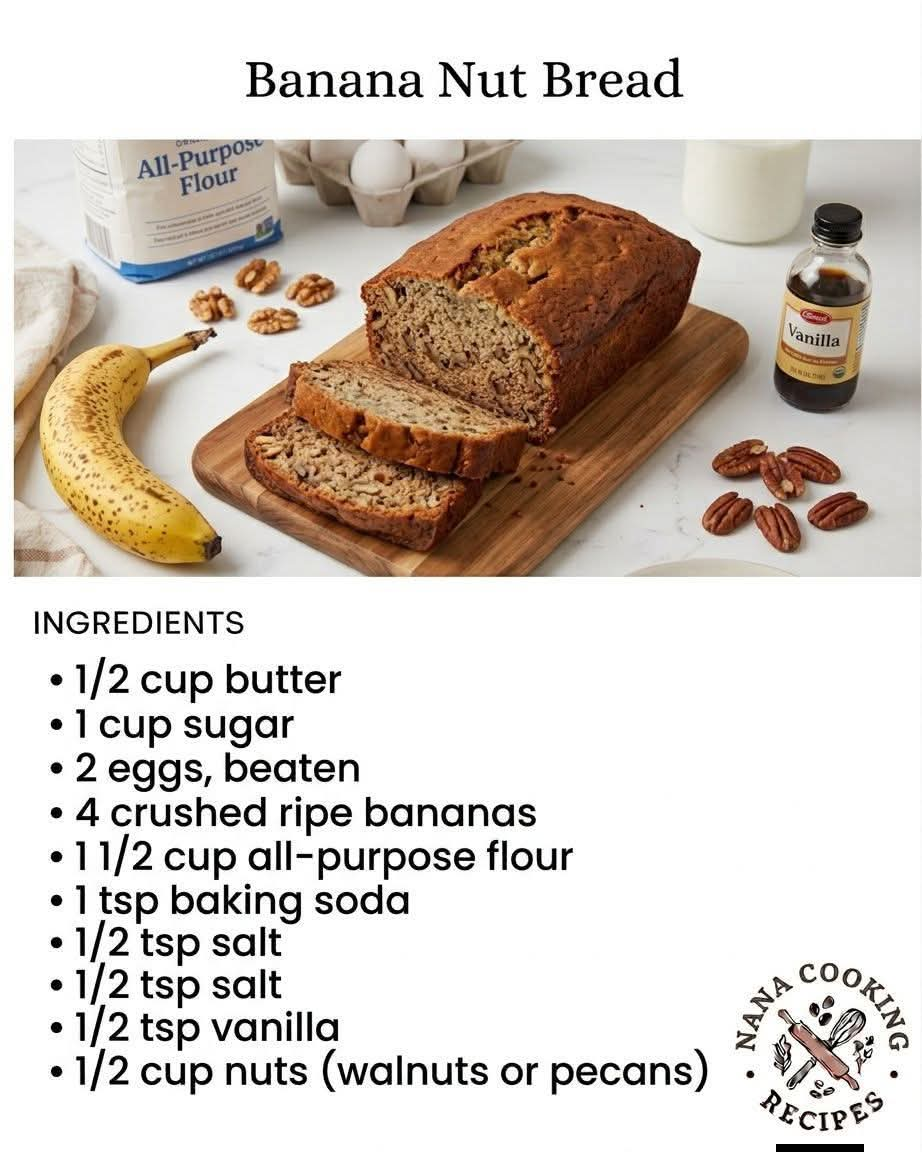
Old-Fashioned Homemade Banana Nut Bread
Introduction
There are few homemade treats as comforting as a freshly baked loaf of banana nut bread. As it bakes, the kitchen fills with the wonderful aroma of ripe bananas, butter, vanilla, and toasted nuts. It is the kind of smell that makes everyone wander into the kitchen asking when the bread will be ready.
Banana nut bread is simple, humble, and wonderfully satisfying. It is especially useful when you have a bunch of bananas sitting on the counter that have become too soft and spotted for eating out of hand. Instead of throwing them away, those deeply ripe bananas become the secret to a moist, naturally sweet loaf with plenty of banana flavor.
A slice is delicious while still slightly warm, especially with a little butter spread across the top. It is equally wonderful the next morning alongside coffee or tea. Walnuts are traditional, but pecans make an excellent substitute if you prefer their sweeter, buttery flavor.
This is the kind of old-fashioned recipe that belongs in every home baking collection.
Ingredients
For the Banana Nut Bread
- 3 very ripe bananas, mashed
- 1/2 cup unsalted butter, softened or melted and slightly cooled
- 3/4 cup granulated sugar
- 2 large eggs
- 1 teaspoon pure vanilla extract
- 1 1/2 cups all-purpose flour
- 1 teaspoon baking soda
- 1/2 teaspoon salt
- 1/2 teaspoon ground cinnamon, optional
- 1/4 teaspoon ground nutmeg, optional
- 3/4 cup chopped walnuts or pecans
- 2 tablespoons milk or buttermilk, if needed
Optional Additions
For a slightly richer loaf, you can add 1/2 cup of chocolate chips, raisins, shredded coconut, or additional chopped nuts. A small amount of orange zest can also add a pleasant brightness to the banana flavor.
Preparing the Bananas
The best bananas for this recipe are very ripe bananas with plenty of brown or black spots on the peel. The softer and more fragrant they are, the more flavorful the finished bread will be.
Peel the bananas and place them in a mixing bowl. Mash them with a fork until mostly smooth. A few small pieces of banana are perfectly fine and can actually give the finished bread a pleasant texture.
If your bananas are not quite ripe enough, you can let them sit at room temperature until they soften. The naturally developed sweetness of very ripe bananas is one of the most important parts of good banana bread.
Instructions
Step 1: Prepare the Oven and Pan
Preheat the oven to 350°F (175°C).
Grease a 9-by-5-inch loaf pan with butter or cooking spray. For easier removal, you can also line the bottom and two long sides of the pan with parchment paper, leaving a little overhang.
Set the prepared pan aside while you make the batter.
Step 2: Combine the Wet Ingredients
In a large mixing bowl, combine the mashed bananas and melted butter.
Add the sugar, eggs, and vanilla extract. Whisk everything together until well combined.
The mixture does not need to be perfectly smooth. The bananas will naturally give it some texture.
Step 3: Mix the Dry Ingredients
In a separate bowl, whisk together the flour, baking soda, salt, cinnamon, and nutmeg if using.
Mixing the dry ingredients separately helps distribute the baking soda and salt evenly throughout the flour.
Step 4: Combine Wet and Dry Mixtures
Gradually add the dry ingredients to the banana mixture.
Using a wooden spoon or rubber spatula, gently stir until the flour is just incorporated.
Do not overmix the batter. A few small streaks of flour disappearing into the batter are preferable to mixing until completely smooth. Overmixing can develop too much gluten and result in a heavier, tougher loaf.
If the batter appears unusually thick, stir in one or two tablespoons of milk or buttermilk.
Step 5: Add the Nuts
Fold the chopped walnuts or pecans into the batter.
Reserve a small handful of nuts to sprinkle over the top if desired.
The nuts should be distributed throughout the batter without excessive stirring.
Step 6: Fill the Loaf Pan
Pour the batter into the prepared loaf pan and spread it evenly.
If desired, sprinkle the reserved chopped nuts over the top.
Give the pan a gentle tap against the counter once or twice to remove any large air pockets.
Step 7: Bake
Place the loaf in the center of the preheated oven.
Bake for approximately 50 to 65 minutes, depending on your oven and the exact size of your loaf pan.
The bread is ready when the top is golden brown and a toothpick inserted into the center comes out clean or with only a few moist crumbs attached.
If the top becomes brown before the center has finished baking, loosely cover the loaf with aluminum foil for the remaining baking time.
Step 8: Cool
Remove the finished bread from the oven and allow it to cool in the pan for approximately 10 to 15 minutes.
Carefully lift the loaf from the pan and place it on a wire rack to finish cooling.
For the cleanest slices, allow the bread to cool for at least 30 minutes before cutting. For a warm, comforting treat, you can slice it sooner, but the crumb may be softer.
The Best Method for Moist Banana Bread
The secret to excellent banana bread is not complicated. Start with very ripe bananas, use enough fat to keep the crumb tender, and avoid overmixing.
When combining the wet and dry ingredients, stir only until everything comes together. The batter should look thick and rustic rather than perfectly smooth.
Another important point is not to overbake the loaf. Banana bread continues to firm as it cools, so removing it when a toothpick shows a few moist crumbs is usually better than waiting until the toothpick comes out completely dry.
Allowing the bread to cool properly also gives the moisture time to distribute throughout the loaf.
History of Banana Bread
Banana bread became especially popular in American home kitchens during the twentieth century. Bananas were increasingly available to households, and home cooks looked for practical ways to use bananas that had become overly ripe.
The development and widespread use of chemical leaveners such as baking soda and baking powder also made quick breads easier to prepare. Unlike yeast breads, banana bread does not require kneading, rising, or a long fermentation period.
During the Great Depression, recipes that helped families avoid wasting food became particularly valuable. Overripe fruit that might otherwise have been discarded could be transformed into a delicious baked treat.
Over the decades, banana bread became a familiar part of American home baking. Families developed their own versions, adding walnuts, pecans, cinnamon, raisins, chocolate chips, or other favorite ingredients.
Today, banana bread remains popular because it combines practicality with comfort. It is inexpensive, easy to prepare, and a wonderful way to turn very ripe bananas into something everyone wants to eat.
Formation and Texture
The formation of banana bread begins with the interaction between the ingredients.
The mashed bananas provide moisture, sweetness, and distinctive banana flavor. Butter contributes richness and tenderness, while eggs help bind the ingredients together and provide structure.
Flour forms the foundation of the loaf. Baking soda provides the leavening needed to help the bread rise, while salt balances the sweetness.
As the loaf bakes, the eggs and flour create structure while the butter and banana help maintain a soft, moist crumb. The nuts provide a pleasant contrast, giving each bite a little crunch.
The finished loaf should be tender and moist without being wet or gummy. The top should be golden brown, while the interior should have a soft, even crumb with small pieces of banana and nuts throughout.
Tips for Perfect Banana Nut Bread
Use very ripe bananas. Bananas with brown or heavily spotted peels generally provide more sweetness and stronger banana flavor.
Measure the flour carefully. Too much flour can make the loaf dry and dense.
Do not overmix. Stir just until the ingredients are combined.
Use room-temperature eggs when possible. They incorporate more easily into the batter.
Toast the nuts before adding them if you want a deeper nutty flavor. Simply spread them on a baking sheet and toast them briefly until fragrant, then allow them to cool before chopping.
Do not rush the cooling process. A short cooling period helps the loaf hold together when sliced.
For a beautiful bakery-style presentation, place a few walnut or pecan pieces on top of the batter before baking.
Serving Suggestions
Banana nut bread can be served in many simple and delicious ways.
Serve a warm slice with softened butter for a classic breakfast.
Pair it with coffee or tea for an afternoon snack.
Spread it with peanut butter for a more filling treat.
Serve it with cream cheese for a rich combination of flavors.
For dessert, warm a slice and serve it with vanilla ice cream.
You can also lightly toast slices the following day. Toasting brings back the wonderful aroma and gives the edges a slightly crisp texture while keeping the center soft.
Storage
Once completely cooled, wrap the banana bread tightly in plastic wrap or place it in an airtight container.
It can generally be kept at room temperature for several days.
For longer storage, refrigerate the wrapped loaf. You can also freeze banana bread for longer-term storage.
To freeze it, wrap the entire loaf tightly or slice it first and wrap individual portions. Place the wrapped bread in a freezer-safe bag or container.
Individual slices are especially convenient because they can be removed whenever you want a quick homemade snack.
How to Make It Ahead
Banana bread is an excellent make-ahead recipe.
Bake the loaf the evening before serving and allow it to cool completely. Wrap it tightly overnight, and it will be ready for breakfast the next morning.
In fact, many people find that banana bread tastes even better the day after baking because the banana flavor has had more time to develop and the moisture has distributed throughout the loaf.
Variations
Cinnamon Pecan Banana Bread
Replace the walnuts with chopped pecans and add an extra 1/2 teaspoon of cinnamon for a warmer, more aromatic loaf.
Chocolate Chip Banana Bread
Fold 1/2 cup of chocolate chips into the batter along with the nuts.
Banana Raisin Bread
Add 1/2 cup of raisins for a classic fruit-filled variation.
Coconut Banana Bread
Fold 1/2 cup of sweetened or unsweetened shredded coconut into the batter.
Walnut Streusel Banana Bread
Before baking, cover the batter with a simple mixture of chopped walnuts, brown sugar, flour, and butter. The topping becomes crisp and buttery as it bakes.
Conclusion
Old-fashioned banana nut bread is proof that some of the best recipes are also the simplest.
A few very ripe bananas, some basic pantry ingredients, butter, vanilla, and a handful of nuts can create a loaf that feels far more special than the effort required to make it.
It is the kind of bread that fills the house with an irresistible aroma and brings people into the kitchen before the loaf has even finished cooling. Whether served for breakfast, enjoyed with an afternoon cup of coffee, or saved for an evening dessert, banana nut bread has a way of turning ordinary moments into something warm and memorable.
For the Lovers of Homemade Banana Bread
For anyone who loves old-fashioned baking, this is the kind of recipe worth keeping close. It is comforting, economical, forgiving, and endlessly adaptable.
Banana bread lovers know that the best part is often that first slice: slightly warm, tender in the center, filled with sweet banana flavor, and dotted with crunchy walnuts or pecans.
It is a simple homemade classic that never really goes out of style.
Final Method at a Glance
- Preheat the oven to 350°F (175°C).
- Grease and line a 9-by-5-inch loaf pan.
- Mash three very ripe bananas.
- Mix the bananas with melted butter, sugar, eggs, and vanilla.
- Whisk the flour, baking soda, salt, and optional spices separately.
- Gently combine the dry ingredients with the wet mixture.
- Fold in the chopped walnuts or pecans.
- Pour the batter into the prepared loaf pan.
- Bake for 50 to 65 minutes, checking with a toothpick.
- Cool for 10 to 15 minutes in the pan.
- Transfer to a wire rack and cool further before slicing.
- Serve warm or at room temperature with butter, coffee, tea, or your favorite topping.