
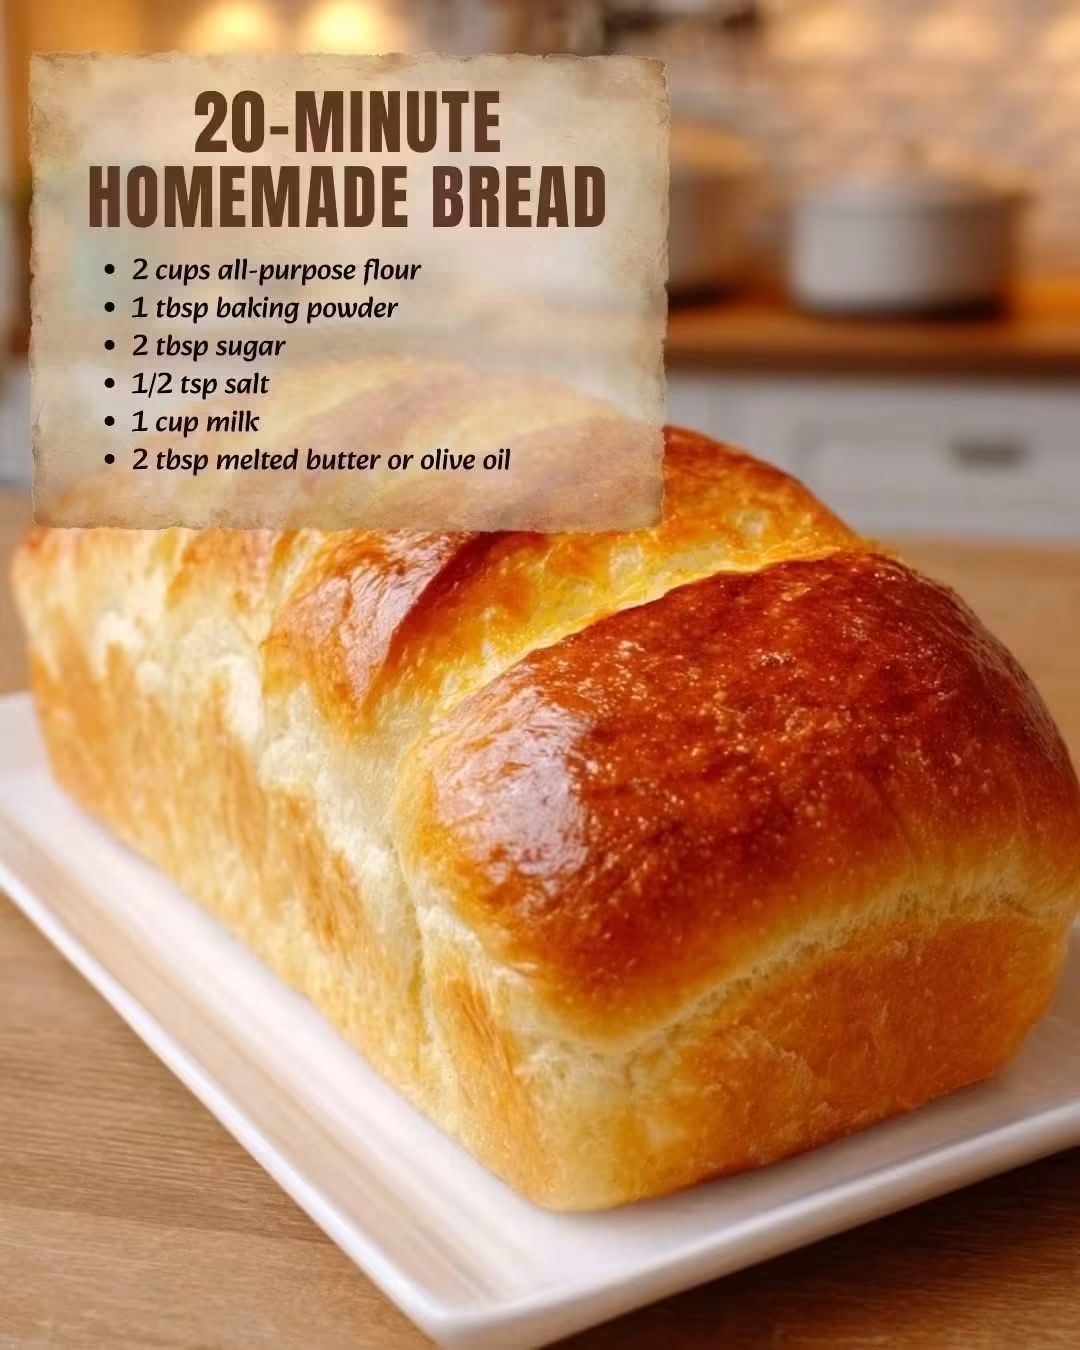
20-Minute Homemade Bread
Introduction
There is something especially satisfying about making fresh bread at home, but not everyone has the time to wait for yeast to activate, dough to rise, and bread to proof for hours.
This quick homemade bread is designed for exactly those moments. It uses a handful of basic pantry ingredients, requires no yeast, and can be prepared and baked in a fraction of the time required for traditional yeast bread.
The result is a soft, tender bread with a lightly golden exterior. It is excellent served warm with butter, cheese, eggs, soup, roasted vegetables, or your favorite spread.
Ingredients
- 2 cups all-purpose flour
- 2 teaspoons baking powder
- 1/2 teaspoon salt
- 1 tablespoon granulated sugar
- 3/4 cup milk
- 2 tablespoons melted butter or vegetable oil
Optional Ingredients
For additional flavor, you can add:
- 1/2 teaspoon garlic powder
- 1 teaspoon dried Italian herbs
- 2 tablespoons grated Parmesan
- 1 tablespoon chopped fresh parsley
- 1/4 teaspoon black pepper
- 1/2 cup shredded cheese
Instructions
Step 1: Prepare the Oven
Preheat your oven to 425°F (220°C).
Lightly grease a small baking tray, cast-iron skillet, or oven-safe baking dish.
Step 2: Combine the Dry Ingredients
Place the flour, baking powder, salt, and sugar in a large mixing bowl.
Whisk everything together until the ingredients are evenly distributed.
The baking powder is important because this recipe does not use yeast. It provides the leavening necessary to give the bread a lighter texture.
Step 3: Add the Wet Ingredients
Pour in the milk and melted butter.
Stir with a wooden spoon or spatula until a soft dough begins to form.
Do not overmix. The dough does not need to be kneaded like traditional yeast bread.
Step 4: Form the Dough
Transfer the dough onto a lightly floured surface.
Gently bring it together with your hands and shape it into a thick round loaf.
If the dough feels excessively sticky, sprinkle a small amount of flour over the surface. Avoid adding too much flour because it can make the finished bread dense.
Step 5: Prepare for Baking
Place the shaped dough onto the prepared baking tray or into the skillet.
For a more attractive crust, lightly brush the surface with melted butter or milk.
Using a sharp knife, make a shallow cross on top of the dough. This allows the bread to expand more evenly during baking.
Step 6: Bake
Place the bread in the preheated oven.
Bake for approximately 12 to 18 minutes, depending on the thickness of the loaf and your oven.
The bread should become lightly golden on top and should sound slightly hollow when gently tapped.
Step 7: Rest
Remove the bread from the oven and allow it to cool for several minutes before slicing.
Although it is tempting to cut into it immediately, allowing it to rest helps the interior finish setting.
Cooking Methods
Traditional Oven Method
The oven is the easiest method for making this quick bread. A high initial temperature helps the baking powder activate quickly and gives the outside a pleasant golden crust.
Skillet Method
The dough can also be shaped into smaller rounds and baked in an oven-safe skillet. This creates a rustic appearance and slightly crispier edges.
Small Bread Rolls
Instead of making one loaf, divide the dough into 6 to 8 small pieces.
Shape each piece into a ball and place them close together on a greased baking tray. Bake until golden.
These small rolls are excellent for breakfast, sandwiches, or serving alongside soup.
History of Quick No-Yeast Bread
Bread has been made for thousands of years, but not all traditional breads depend on yeast.
Long before modern commercial yeast became widely available, people used naturally occurring fermentation, chemical leaveners, steam, beaten eggs, and other techniques to create different types of bread.
Quick breads became especially useful because they could be prepared and baked immediately. Instead of waiting for fermentation and rising, chemical leaveners such as baking soda or baking powder create gas during mixing and heating, helping the dough rise in the oven.
Modern versions of quick bread continue this tradition by focusing on convenience and simple ingredients.
Formation of the Bread
The texture of this bread is created through a combination of flour, liquid, fat, and baking powder.
When the milk is mixed with the flour, the flour absorbs moisture and forms the dough. The baking powder produces carbon dioxide when activated by moisture and heat.
As the bread enters the hot oven, the expanding gas helps create small pockets inside the dough. The heat then sets the structure, producing a soft interior and golden exterior.
Because there is no lengthy fermentation process, the dough should not be treated like yeast bread. Minimal mixing is the key to keeping the finished loaf tender.
Tips for Perfect Bread
Use fresh baking powder. If your baking powder is old, the bread may not rise properly.
Measure the flour carefully. Too much flour can produce a dry and heavy loaf.
Do not overwork the dough. Mix just until the ingredients come together.
Bake immediately after preparing the dough. Quick breads depend on the activity of the leavening agents.
For a softer crust, brush the hot bread with melted butter immediately after baking.
For a crispier crust, allow the bread to cool uncovered on a wire rack.
Serving Ideas
Fresh homemade bread can be served in many ways.
Try it with butter and honey for breakfast, or serve it alongside scrambled eggs and cheese.
For lunch or dinner, pair it with soup, stew, roasted chicken, grilled vegetables, or a fresh salad.
You can also slice the bread and use it for sandwiches.
For a savory version, add garlic, herbs, and grated cheese before baking.
Storage
Store completely cooled bread in an airtight container or wrapped tightly at room temperature.
For the best texture, consume it within a day or two.
The bread can also be frozen. Slice it before freezing so individual portions can be removed and reheated as needed.
Conclusion
This 20-minute homemade bread is a practical alternative to traditional yeast bread when you want something fresh without a long preparation process.
With just a few everyday ingredients, you can make a warm loaf with a tender center and golden exterior. It is simple enough for beginners and versatile enough to customize with herbs, cheese, garlic, or other flavors.
For the Lovers of Homemade Bread
For anyone who loves the smell of freshly baked bread but does not always have time for traditional bread-making, this recipe is an excellent addition to the kitchen.
It is quick, uncomplicated, and adaptable. Once you learn the basic method, you can turn the same simple dough into a loaf, individual rolls, or a savory herb-and-cheese bread.
Fresh bread does not always have to take all day. Sometimes, a warm homemade loaf can be on the table in just a few simple steps.