
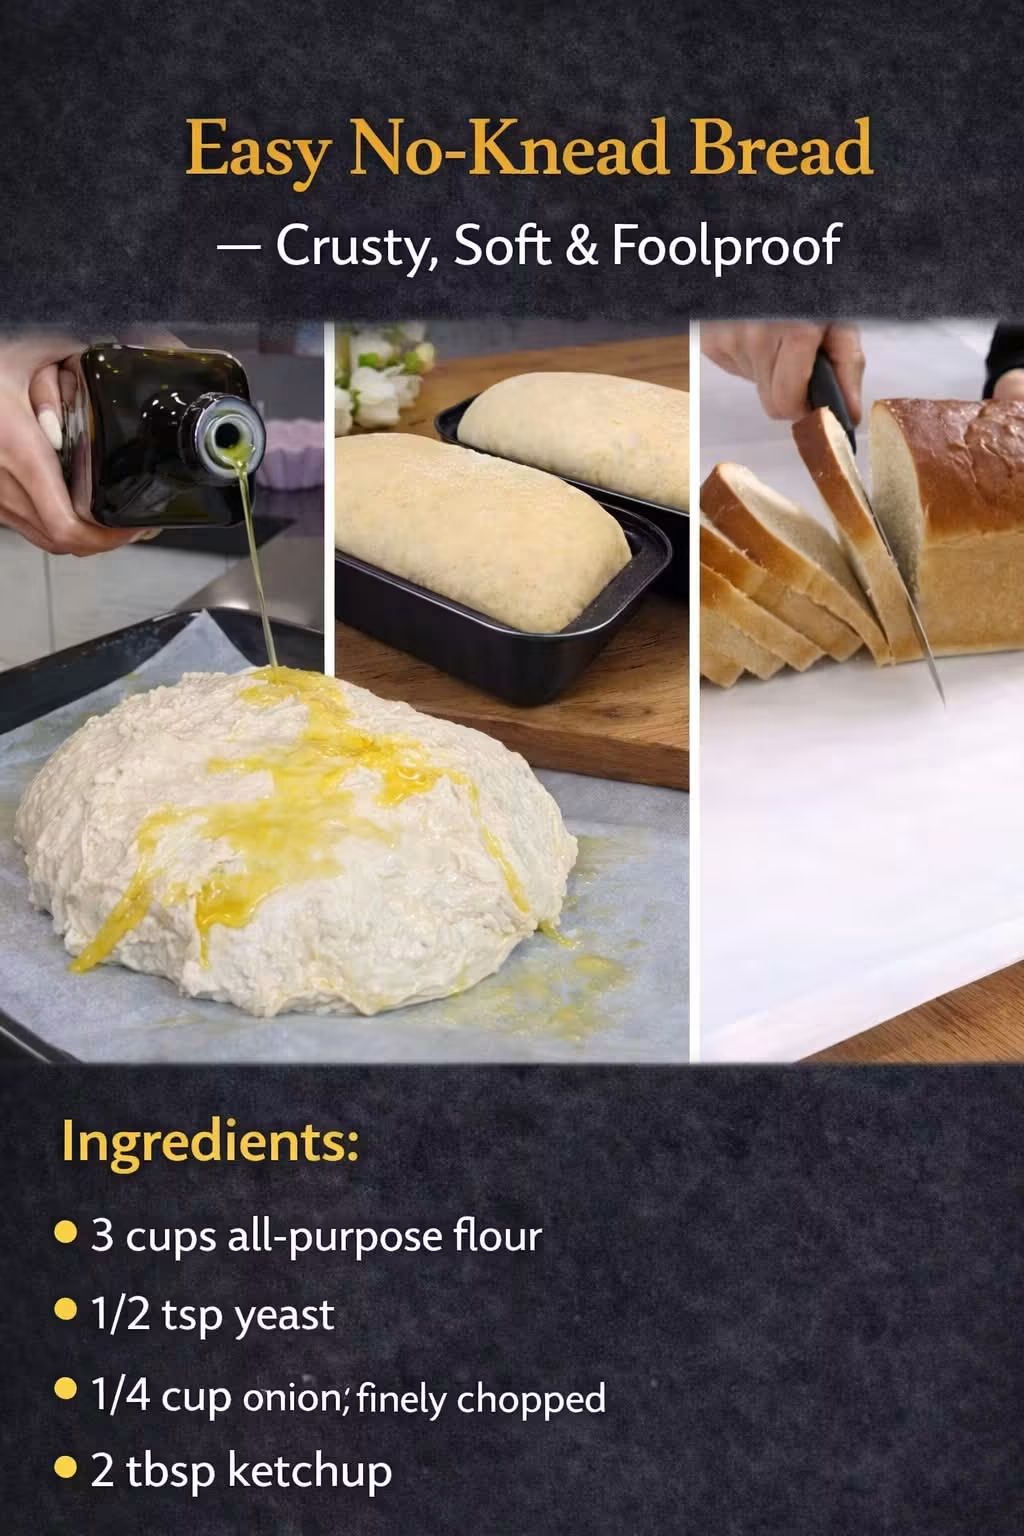
Easy No-Knead Bread — Crusty, Soft & Foolproof
Introduction
There is something wonderfully comforting about a loaf of homemade bread. The smell of bread baking fills the kitchen, the crust turns beautifully golden and crisp, and the inside stays soft, airy, and tender. Best of all, this Easy No-Knead Bread makes homemade bread surprisingly simple.
You do not need a stand mixer, special bread machine, or complicated kneading technique. The dough comes together with just a few basic ingredients, and instead of developing the dough through kneading, time does most of the work.
This rustic loaf is especially perfect for beginners. Simply mix the ingredients, allow the dough to rest and rise, shape it gently, and bake it in a very hot oven. The result is a beautiful crusty loaf with a light, chewy interior.
It is delicious served warm with butter, alongside soups and stews, or sliced for sandwiches. Once you make it at home, you may find yourself returning to this recipe again and again.
Ingredients
For the Bread
- 3 cups all-purpose flour
- 1/2 teaspoon active dry yeast
- 1 1/2 teaspoons salt
- 1 1/2 cups warm water, approximately
Optional Ingredients
For additional flavor, you can add:
- 1 tablespoon olive oil
- 1 teaspoon honey or sugar
- 1 teaspoon dried herbs
- 1 tablespoon sesame seeds
- 1 tablespoon sunflower seeds
The basic recipe, however, needs only flour, yeast, salt, and water.
Instructions
Step 1: Combine the Dry Ingredients
In a large mixing bowl, combine the flour, yeast, and salt. Stir thoroughly so the yeast and salt are distributed throughout the flour.
If you are adding dried herbs or seeds directly into the dough, they can be mixed in at this stage.
Step 2: Add the Water
Slowly pour the warm water into the flour mixture while stirring with a wooden spoon or sturdy spatula.
Mix until all of the flour has been moistened. The dough should look rough, sticky, and somewhat shaggy. Do not worry if it does not look smooth.
The most important thing is to avoid adding too much flour. No-knead bread dough is supposed to be much wetter and stickier than traditional bread dough.
Step 3: Cover and Let the Dough Rise
Cover the bowl tightly with plastic wrap, a lid, or a clean kitchen towel.
Leave the dough at room temperature for approximately 8 to 12 hours.
Overnight is especially convenient. You can mix the dough before going to bed and bake the bread the next morning.
During this long resting period, the yeast slowly ferments the dough and develops flavor while the gluten structure forms naturally.
Step 4: Check the Dough
After the resting period, the dough should have expanded considerably. You should see bubbles across the surface, and the dough should look soft and airy.
Lightly flour your work surface and gently transfer the dough onto it.
Do not aggressively knead the dough. The goal is simply to bring it together.
Step 5: Shape the Loaf
Lightly flour your hands because the dough will be sticky.
Gently fold the edges of the dough toward the center several times until you have a roughly round loaf.
Turn the dough over so the smoother side is facing upward.
Place the dough on a piece of parchment paper and cover it loosely with a clean towel.
Allow it to rest for approximately 30 to 60 minutes.
Step 6: Preheat the Oven
Place a Dutch oven or heavy oven-safe pot with a lid inside the oven.
Preheat the oven to 450°F (230°C).
Allow the pot to heat thoroughly before baking. A very hot baking vessel helps create the beautiful crust that makes no-knead bread so special.
Step 7: Transfer the Dough
Carefully remove the extremely hot pot from the oven.
Using the parchment paper as a sling, carefully lower the dough into the hot pot.
If desired, lightly score the top of the dough with a sharp knife. A simple cross or one long slash is enough.
Put the lid on the pot.
Step 8: Bake the Bread
Bake covered for approximately 30 minutes.
The steam trapped inside the covered pot helps the bread rise and keeps the crust from setting too quickly.
After 30 minutes, carefully remove the lid.
Continue baking uncovered for another 10 to 20 minutes, or until the loaf is deeply golden brown and the crust looks crisp.
Step 9: Cool Before Slicing
Remove the bread from the pot and place it on a wire rack.
Allow it to cool for at least 30 minutes before slicing.
Although it may be tempting to cut into the bread immediately, cooling allows the interior to finish setting. Cutting too soon can make the center appear gummy.
Once cooled, slice with a serrated bread knife and serve.
Methods
The Overnight Method
The easiest approach is to prepare the dough in the evening.
Mix the flour, yeast, salt, and water before bedtime. Cover the bowl and leave it at room temperature overnight.
The following morning, shape the dough, let it rest briefly, and bake.
This method requires very little active work and is ideal for busy mornings.
The Same-Day Method
If you want to bake the bread on the same day, allow the dough to rise in a warm place for approximately 4 to 6 hours, depending on the temperature of your kitchen and the activity of the yeast.
The dough is ready when it has noticeably expanded and developed bubbles.
Dutch Oven Method
A Dutch oven is particularly useful because it creates a small, enclosed baking environment.
As the dough heats, moisture is released into the pot. The covered pot traps that steam, which helps create a thin, crisp crust while allowing the loaf to expand beautifully.
Removing the lid toward the end of baking allows excess moisture to escape and gives the bread its final deep golden crust.
No Dutch Oven Method
If you do not have a Dutch oven, the bread can still be baked.
Place the shaped dough on a parchment-lined baking sheet or in a preheated heavy baking pan.
To create steam, place a heatproof pan on the bottom rack of the oven and carefully add hot water when the bread goes into the oven.
Bake until the loaf is deeply golden and sounds hollow when tapped underneath.
How to Know When the Bread Is Done
A properly baked loaf should have:
- A deep golden-brown crust
- A crisp exterior
- A light, airy interior
- A hollow sound when tapped underneath
- An internal temperature of approximately 200–210°F (93–99°C), if using a thermometer
The crust should feel firm when removed from the oven, while the interior becomes softer as the bread cools.
History of No-Knead Bread
No-knead bread belongs to a long tradition of simple homemade breads that rely on fermentation rather than intensive kneading.
For generations, home bakers made bread using basic ingredients and allowed time to develop the dough naturally. Long fermentation gives yeast an opportunity to produce flavor while the dough gradually develops structure.
The modern no-knead bread method became especially popular in the 21st century after recipes demonstrated that excellent artisan-style bread could be made at home without traditional kneading.
The technique helped make rustic bread accessible to people who had never baked bread before. Instead of spending many minutes kneading, the baker simply mixes the dough and allows time to do most of the work.
Today, no-knead bread remains popular because it combines simplicity, inexpensive ingredients, and impressive results.
Formation of the Bread
The formation of this bread depends heavily on time and fermentation.
When water is combined with flour, the flour absorbs the liquid and begins developing gluten. Gluten is the protein network that gives bread its structure.
Yeast slowly consumes available sugars and produces carbon dioxide. Those gases become trapped within the developing dough, creating bubbles and causing the dough to rise.
Because this recipe uses a long fermentation period, the dough has plenty of time to develop structure without traditional kneading.
When the loaf enters the hot oven, several things happen quickly. The yeast becomes highly active for a short period, the gases inside the dough expand, and the loaf experiences what bakers call oven spring.
The heat then sets the structure of the bread while the surface becomes beautifully browned and crisp.
The covered pot helps retain steam during the early stage of baking. This allows the crust to remain flexible while the loaf expands. Once the lid is removed, the crust dries and becomes crisp and golden.
Tips for Perfect No-Knead Bread
Use the Right Amount of Water
The dough should be sticky and shaggy rather than dry and firm. If you add too much flour, the finished bread can become dense.
Give the Dough Enough Time
Long fermentation is one of the most important parts of this recipe. Do not rush the first rise.
Do Not Overwork the Dough
There is no need to knead it like traditional bread dough. Gentle folding and shaping are enough.
Preheat the Baking Pot
A properly heated Dutch oven helps produce a strong crust and excellent oven spring.
Be Careful With the Hot Pot
Dutch ovens become extremely hot. Always use thick oven mitts and handle the pot carefully.
Allow the Bread to Cool
Cooling is part of the baking process. Give the loaf enough time to set before slicing.
Serving Suggestions
Fresh no-knead bread can be served in countless ways.
Serve thick slices with butter for a simple breakfast or snack.
Use it alongside tomato soup, vegetable soup, lentil soup, chicken soup, or a hearty stew.
Toast slices and top them with eggs, avocado, cheese, tomatoes, or roasted vegetables.
The bread is also excellent for sandwiches. Its sturdy crust and airy interior make it especially satisfying with cheese, grilled chicken, roasted vegetables, tuna salad, or sliced meats.
For a simple appetizer, toast small slices and serve them with olive oil, herbs, garlic, or soft cheese.
Storage
Allow the bread to cool completely before storing it.
Keep the loaf at room temperature in a bread bag, paper bag, or loosely covered container for approximately 2 to 3 days.
Avoid storing crusty bread in the refrigerator because refrigeration can make bread stale more quickly.
For longer storage, slice the cooled loaf and freeze the slices in an airtight freezer-safe bag.
Individual slices can be removed as needed and warmed in a toaster or oven.
Recipe Variations
Garlic Herb No-Knead Bread
Add dried rosemary, thyme, oregano, and a little minced garlic to the dough for a flavorful savory loaf.
Seeded No-Knead Bread
Add sunflower seeds, sesame seeds, pumpkin seeds, or flaxseeds for extra texture.
Whole Wheat Version
Replace part of the all-purpose flour with whole wheat flour. Because whole wheat flour absorbs more water, you may need to adjust the amount of liquid slightly.
Rustic Herb Bread
Add dried Italian herbs and a little olive oil to the dough. This version is excellent with soups, pasta dishes, and roasted vegetables.
Cheese Bread
Fold shredded cheese into the dough before shaping. Cheddar, mozzarella, Parmesan, or other flavorful cheeses can work beautifully.
Common Problems and Solutions
The Dough Did Not Rise
The yeast may be inactive, the water may have been too hot or too cold, or the room may have been too cool.
Give the dough more time in a warmer location.
The Bread Is Dense
Dense bread can result from insufficient fermentation, too much flour, or yeast that is no longer active.
Make sure the dough has visibly expanded and developed bubbles before shaping.
The Crust Is Too Soft
The bread may need additional uncovered baking time.
Make sure the oven is fully preheated and remove the lid during the final stage of baking.
The Bottom Is Too Dark
The baking vessel may be transferring too much direct heat to the bottom of the loaf.
Try placing a baking sheet on a lower rack or reducing the oven temperature slightly during the final portion of baking.
Conclusion
Easy No-Knead Bread proves that homemade bread does not have to be complicated.
With only a few simple ingredients and very little hands-on work, you can create a beautiful rustic loaf with a crisp, golden crust and a soft, airy center.
The secret is patience. Instead of relying on lengthy kneading, this recipe allows fermentation to develop the dough naturally. The long resting period creates flavor and structure, while the hot baking environment produces the characteristic crust.
Whether you are completely new to bread baking or an experienced home cook looking for a reliable everyday loaf, this recipe is an excellent one to keep in your kitchen collection.
There is something especially satisfying about slicing into a loaf that you made yourself and hearing that first crisp crackle of the crust.
For Bread Lovers
This recipe is made for anyone who loves the smell of fresh bread filling the kitchen.
Bread lovers will appreciate how simple the process is and how impressive the final loaf looks. It is rustic enough for a family dinner, simple enough for a weekday breakfast, and delicious enough to serve when guests come over.
The best part is that you can make the dough ahead of time and let the slow fermentation happen while you go about your day.
Once you become comfortable with the basic recipe, you can experiment with herbs, seeds, cheese, whole grains, and other flavors to create your own signature loaf.
For anyone who has ever thought that homemade bread was too difficult, this no-knead method is a wonderful place to begin.
Final Recipe at a Glance
Prep time: 10 minutes
First rise: 8 to 12 hours
Second rest: 30 to 60 minutes
Baking time: 40 to 50 minutes
Oven temperature: 450°F (230°C)
Yield: 1 rustic loaf
Difficulty: Beginner-friendly
The result is a crusty, golden loaf with a soft, airy interior that is perfect for breakfast, sandwiches, soups, dinner, or simply enjoying warm with butter.