
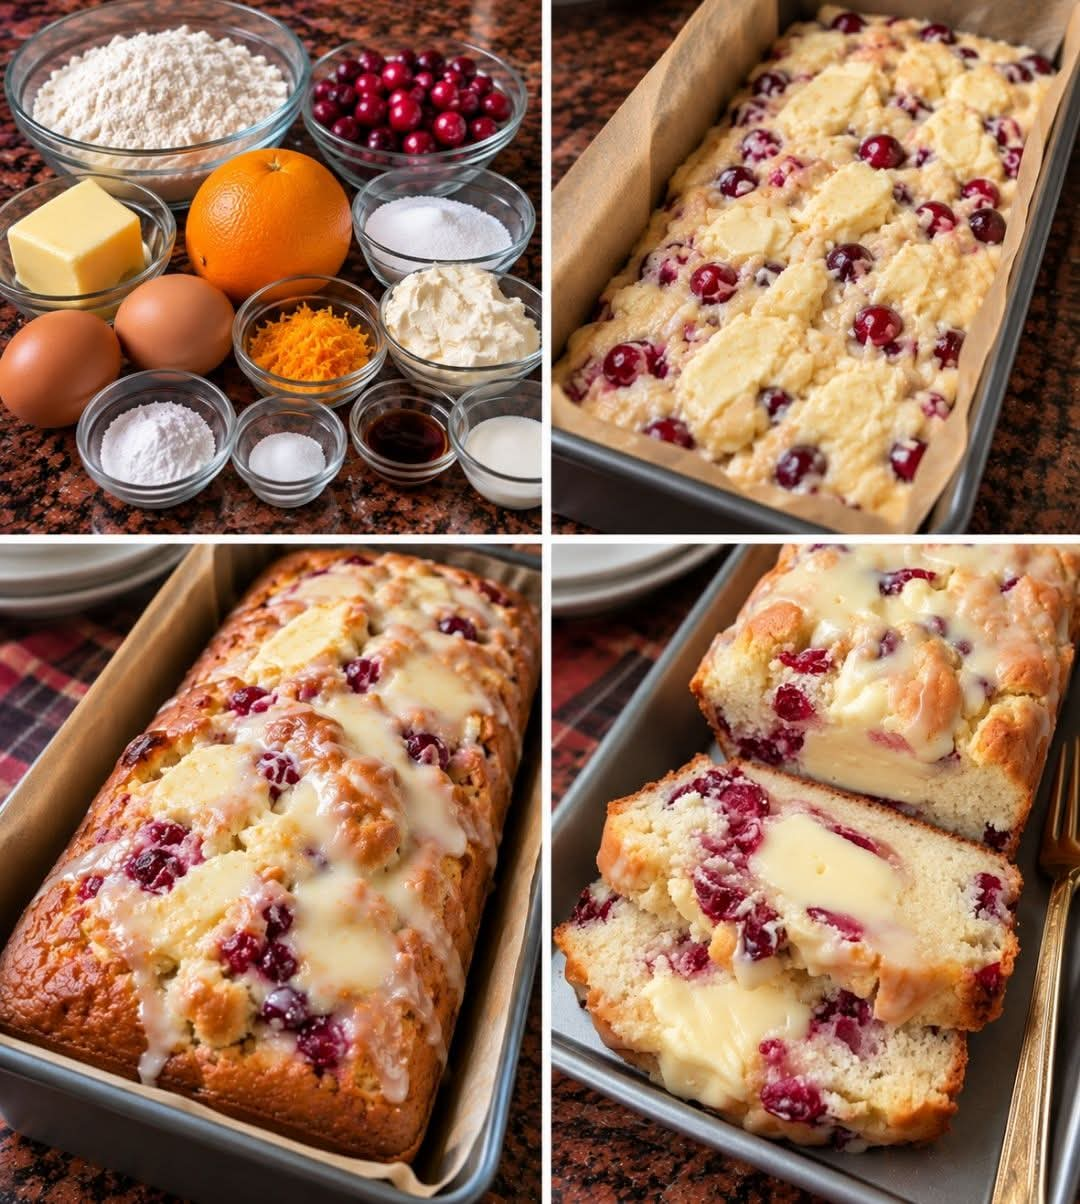
Homemade Bread That Everyone Loves


Introduction
There is something truly special about homemade bread. The wonderful aroma that fills the kitchen, the golden crust, and the soft, fluffy inside make every slice feel like a little taste of home. This homemade bread is simple, comforting, and delicious enough to make people ask for the recipe after just one bite.
Imagine bringing a freshly baked loaf to your neighbor, only to receive a phone call five minutes later asking how you made it. That is the kind of bread everyone loves sharing with family and friends.
Whether you serve it warm with butter, enjoy it with breakfast, make sandwiches for lunch, or pair it with a hearty bowl of soup, this homemade loaf is a recipe worth keeping.
Ingredients

- 4 cups (500 g) all-purpose flour, plus a little extra for kneading
- 1 1/2 cups (360 ml) warm water
- 2 1/4 teaspoons (7 g) active dry yeast
- 2 tablespoons granulated sugar
- 1 1/2 teaspoons salt
- 2 tablespoons vegetable oil or olive oil
- Extra oil or butter for greasing the pan, optional
Instructions
Step 1: Activate the yeast
Pour the warm water into a large mixing bowl. The water should feel comfortably warm, not hot. Stir in the sugar and active dry yeast, then let the mixture stand for 5–10 minutes until foamy.
If the yeast does not foam, it may be inactive or the water may have been too hot or too cold.
Step 2: Mix the ingredients
Add the vegetable oil and salt to the yeast mixture. Gradually add the flour, stirring with a wooden spoon until a rough dough begins to form.
The dough should be soft and slightly tacky but not excessively sticky. Add a little extra flour only if necessary.
Step 3: Knead the dough
Transfer the dough to a lightly floured surface. Knead for approximately 8–10 minutes until it becomes smooth, elastic, and easy to handle.
You can also use a stand mixer fitted with a dough hook for about 6–8 minutes.
Proper kneading helps develop the gluten that gives homemade bread its soft, stretchy texture.
Step 4: Let the dough rise
Lightly grease a clean bowl and place the dough inside. Turn it once to coat the surface with a little oil.
Cover with a clean kitchen towel or plastic wrap and leave in a warm place for 60–90 minutes, or until doubled in size.
The exact rising time depends on the temperature of your kitchen.
Step 5: Shape the loaf
Gently press the dough to release excess air. Shape it into a rectangle, roll it tightly into a loaf, and tuck the ends underneath.
Place the shaped dough into a greased 9-by-5-inch loaf pan.
Step 6: Allow the second rise
Cover the pan loosely and let the dough rise for another 30–45 minutes, until it has expanded and looks puffy.
Avoid letting it rise so much that it collapses or spills over the sides of the pan.
Step 7: Bake the bread
Preheat your oven to 375°F (190°C).
Bake for 30–35 minutes, or until the top is golden brown and the loaf sounds hollow when tapped. If you have a food thermometer, the center should reach approximately 190–200°F (88–93°C).
If the top browns too quickly, loosely cover it with foil during the final part of baking.
Step 8: Cool and serve
Remove the loaf from the pan and transfer it to a wire rack. Let it cool for at least 30–45 minutes before slicing.
Although it is tempting to cut into fresh bread immediately, cooling helps the crumb finish setting and keeps the slices from becoming gummy.
Methods for Perfect Homemade Bread


Traditional hand-kneading method: Knead the dough by hand until smooth and elastic. This method is ideal for anyone who enjoys making bread from scratch.
Stand mixer method: Mix and knead using a dough hook. This saves effort while producing a consistent dough.
Soft-crust method: Brush the hot loaf lightly with butter after baking. This creates a softer, more tender crust.
Crispier-crust method: Skip the butter and allow the bread to cool uncovered on a wire rack.
For a lighter loaf: Measure the flour carefully and avoid adding too much extra flour during kneading. A stiff, dry dough can produce dense bread.
The History of Homemade Bread
Bread has been a staple food for thousands of years. Ancient communities learned to grind grains, mix flour with water, and bake dough over hot stones or in simple ovens.
Over time, bread-making techniques developed, and yeast-leavened loaves became popular in many cultures. Families passed recipes from one generation to the next, adapting ingredients and methods to suit local traditions.
Homemade sandwich bread became especially popular because it was versatile, economical, and useful for everything from breakfast toast to packed lunches. Today, many people return to baking at home because they appreciate the fresh flavor, simple ingredients, and comforting experience.
Formation and Texture
The secret to a beautiful loaf lies in how the dough develops.
- Gluten formation: Kneading creates an elastic network that traps the gas produced by the yeast.
- First rise: The yeast ferments the sugars in the dough, producing carbon dioxide that makes it expand.
- Shaping: Rolling the dough into a tight loaf helps create an even shape and a consistent crumb.
- Second rise: The dough expands again, helping the bread become light and airy.
- Baking: Heat causes the loaf to rise further before its structure sets, while the crust turns golden brown.
- Cooling: The interior stabilizes, making the bread easier to slice neatly.
When these stages are handled properly, the result is a tender loaf with a golden exterior and a soft, delicious center.
Serving Suggestions


Enjoy your freshly baked bread in many different ways:
- Serve warm slices with butter and homemade jam.
- Toast a slice and top it with eggs for breakfast.
- Make sandwiches with cheese, vegetables, chicken, or tuna.
- Serve alongside soups, stews, and roasted vegetables.
- Use thick slices for French toast.
- Turn leftover bread into croutons or homemade breadcrumbs.
Tips for Success
- Use fresh yeast to ensure a good rise.
- Keep the water warm rather than hot to protect the yeast.
- Add flour gradually because different brands absorb water differently.
- Allow enough time for both rises.
- Avoid cutting the loaf while it is still very hot.
- Store cooled bread in an airtight bag or container at room temperature for about 2–3 days.
- Freeze sliced bread for longer storage and toast individual slices straight from frozen.
Conclusion
This homemade bread proves that you do not need complicated ingredients or professional baking equipment to make something wonderful. With flour, yeast, water, and a little patience, you can create a loaf that is soft, flavorful, and perfect for everyday meals.
It is the kind of bread that makes the whole kitchen smell inviting and brings people together around the table. Bake one loaf for your family, share another with a neighbor, and you may soon find yourself passing the recipe along to everyone who tries it.
For the Love of Homemade Bread
Some recipes are special because of how they taste, while others become treasured because of the memories they create. Homemade bread does both. A warm slice shared over breakfast, a sandwich prepared for someone you love, or a loaf delivered to a neighbor can turn a simple recipe into a meaningful tradition.
Once you discover how easy and rewarding homemade bread can be, you may never look at a fresh loaf the same way again.
Recipe reminder: Save this recipe so you can bake it whenever you want fresh, homemade bread. If you love simple recipes made with everyday ingredients, share this loaf with someone who enjoys baking, too.