
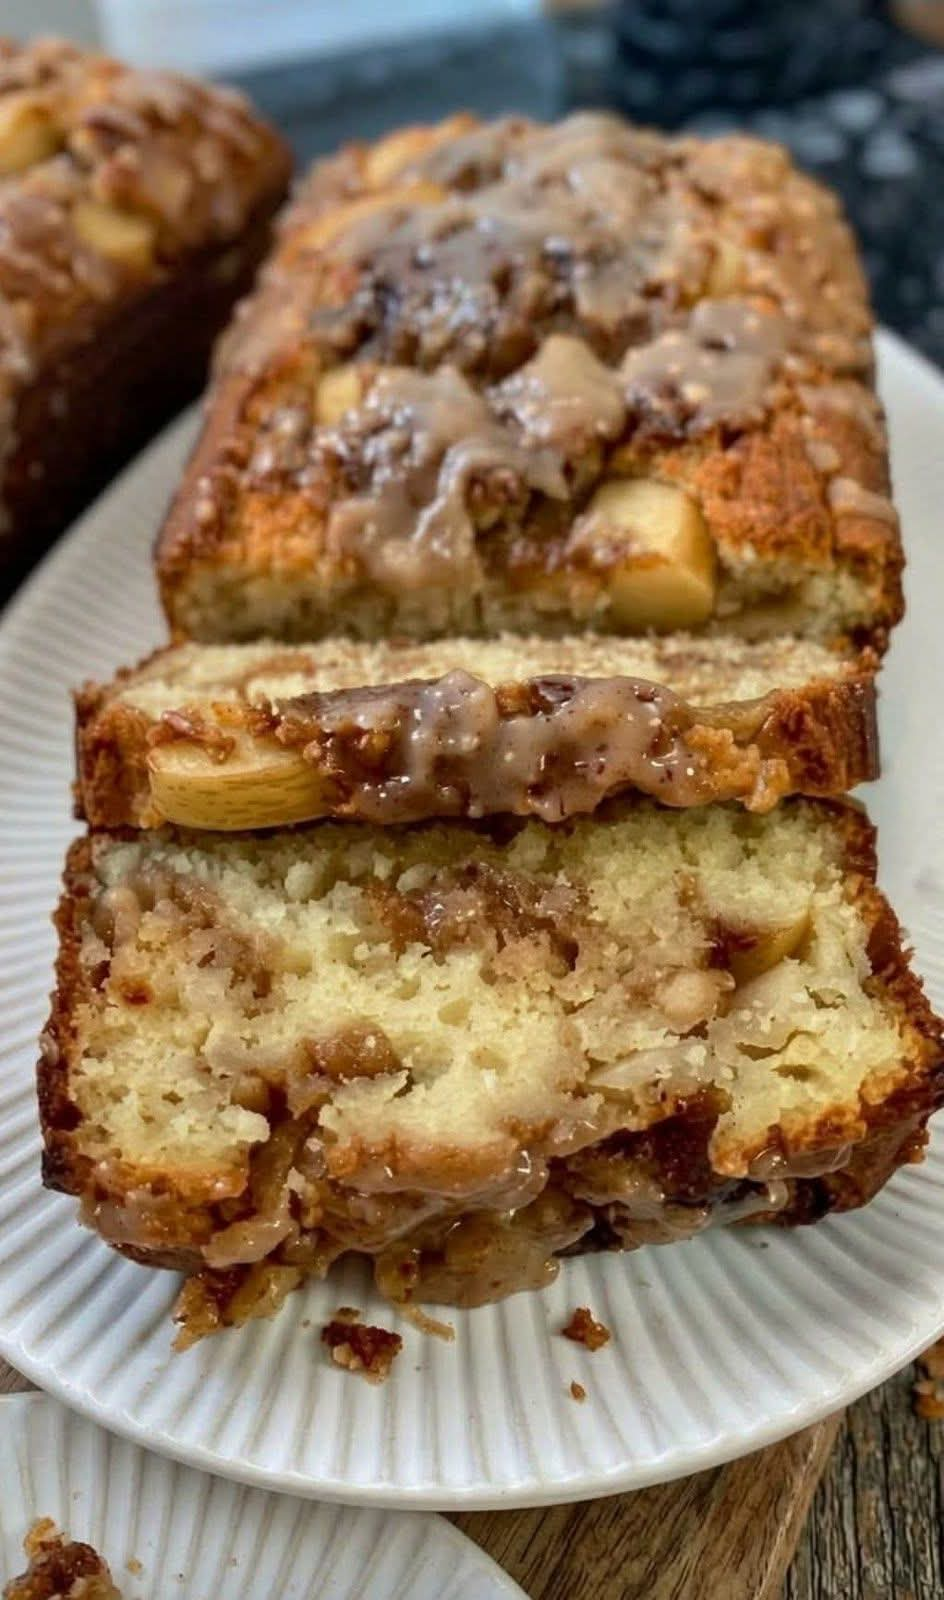
Soft and Chewy Chocolate Chip Cookie Bars
The Easy Homemade Treat That Disappears Before Dinner
Introduction
My husband invited a couple of neighbors over, so I decided to bake something special to share. I wanted a simple homemade treat that would make the house smell wonderful and give everyone something delicious to enjoy while we visited. These soft and chewy chocolate chip cookie bars turned out to be the perfect choice.
With golden edges, soft centers, rich buttery flavor, and plenty of melted chocolate chips, these cookie bars are everything you love about classic chocolate chip cookies without the extra work of shaping individual cookies. Simply prepare the dough, spread it into a baking pan, and let the oven do the rest.
The best part? They are easy to prepare with everyday pantry ingredients, and they are perfect for sharing. Before dinner was even served, the entire batch had practically disappeared. Everyone wanted to know how to make them, so this recipe quickly became one worth keeping.
Preparation Time
- Preparation: 15 minutes
- Baking: 22–28 minutes
- Cooling: 30 minutes
- Total time: Approximately 1 hour and 15 minutes
- Servings: 16 cookie bars
Ingredients
For the cookie bars:
- 1 cup (226 g) unsalted butter, melted and slightly cooled
- 1 cup (200 g) packed light brown sugar
- 1/2 cup (100 g) granulated sugar
- 2 large eggs, at room temperature
- 2 teaspoons vanilla extract
- 2 1/4 cups (280 g) all-purpose flour
- 1 teaspoon baking soda
- 1/2 teaspoon salt
- 1 1/2 cups (255 g) semi-sweet chocolate chips
- 1/2 cup chopped walnuts or pecans, optional
For the topping:
- 2 tablespoons extra chocolate chips
- A small pinch of flaky sea salt, optional
Instructions
Step 1: Prepare the Oven and Pan
Preheat the oven to 350°F (175°C). Line a 9-by-13-inch baking pan with parchment paper, leaving a little overhang on the sides to make removing the bars easier.
Lightly grease the parchment paper if necessary. Preparing the pan before mixing the dough helps everything move smoothly.
Step 2: Combine the Butter and Sugars
In a large mixing bowl, whisk together the melted butter, brown sugar, and granulated sugar until the mixture looks smooth and glossy.
The brown sugar contributes moisture and a subtle caramel flavor, while the granulated sugar helps create lightly crisp edges.
Step 3: Add the Eggs and Vanilla
Add the eggs one at a time, whisking after each addition. Stir in the vanilla extract until everything is well combined.
The mixture should look creamy and evenly blended. Avoid adding eggs to butter that is still very hot, as this could cause them to cook prematurely.
Step 4: Mix the Dry Ingredients
In a separate bowl, combine the flour, baking soda, and salt. Whisk them together to distribute the baking soda and salt evenly throughout the flour.
Gradually add the dry ingredients to the wet mixture. Stir with a spatula until a soft dough forms. Stop mixing as soon as the flour disappears to help keep the finished bars tender.
Step 5: Fold in the Chocolate Chips
Add the chocolate chips and, if desired, the chopped nuts. Fold them gently into the dough until evenly distributed.
Reserve a small handful of chocolate chips for the top. This gives the finished cookie bars an attractive, bakery-style appearance.
Step 6: Spread the Dough
Transfer the dough to the prepared baking pan. Use a spatula or clean hands to spread it evenly into the corners.
Sprinkle the reserved chocolate chips over the surface. If you enjoy a sweet-and-salty flavor combination, add a tiny pinch of flaky sea salt.
Step 7: Bake Until Golden
Place the pan in the preheated oven and bake for 22–28 minutes.
The edges should be lightly golden, and the center should look set but still soft. A toothpick inserted into the center may have a few moist crumbs attached, but it should not contain wet, raw dough.
Avoid overbaking. The bars will continue to firm up as they cool.
Step 8: Cool Before Slicing
Remove the pan from the oven and place it on a cooling rack. Allow the cookie bars to cool for at least 30 minutes before cutting.
For especially neat slices, let them cool completely. Lift the bars out using the parchment paper and cut them into 16 squares.
Detailed Baking Method
The secret to delicious chocolate chip cookie bars is balancing moisture, sweetness, and baking time.
Melted butter makes the dough easy to prepare and contributes to a dense, chewy texture. Brown sugar helps retain moisture and gives the bars their characteristic caramel notes. Granulated sugar adds sweetness and encourages the edges to brown.
The eggs bind the ingredients together, while the baking soda helps the dough spread and brown during baking. Flour provides structure, and chocolate chips create rich pockets of sweetness throughout every bite.
Mixing the dough only until the ingredients are combined helps prevent the bars from becoming tough. Baking them until the edges are golden but the middle remains slightly soft produces the best texture after cooling.
The History of Chocolate Chip Cookie Bars
Chocolate chip cookies became popular in the United States during the 1930s, when Ruth Wakefield developed the now-famous chocolate chip cookie at the Toll House Inn in Massachusetts.
Over time, home bakers began adapting the classic cookie recipe into different forms, including skillet cookies, cookie cakes, and pan-baked cookie bars.
Cookie bars became especially popular with busy home cooks because they eliminate the need to portion and bake multiple trays of individual cookies. One pan produces enough servings for a family gathering, school event, neighborhood visit, or holiday dessert table.
Today, chocolate chip cookie bars remain a favorite because they combine familiar flavors with an uncomplicated preparation method.
Formation and Texture
These cookie bars develop several delicious textures during baking.
- Golden edges: The sugars and butter caramelize slightly around the outside, producing a pleasant, lightly crisp bite.
- Soft center: The brown sugar and butter help the middle remain moist and chewy.
- Chocolate pockets: The chocolate chips soften in the oven and provide rich bursts of chocolate throughout the bars.
- Tender crumb: Proper mixing and careful baking prevent the cookie base from becoming dry or tough.
For thicker bars, you can use a smaller baking pan, such as a 9-by-9-inch pan, but you will need to adjust the baking time and check the center carefully.
Tips for Perfect Results
- Measure the flour accurately. Too much flour can make the bars dry and crumbly.
- Allow the melted butter to cool slightly before adding the eggs.
- Do not overmix once the flour has been added.
- Use good-quality chocolate chips for the richest flavor.
- Watch the center closely during the final minutes of baking.
- Let the bars cool before slicing so they hold their shape.
- For extra chocolate flavor, mix semi-sweet and milk chocolate chips together.
Delicious Variations
Double Chocolate Cookie Bars: Replace 1/4 cup of the flour with unsweetened cocoa powder and use a mixture of chocolate chips.
Peanut Butter Chocolate Chip Bars: Add 1/3 cup creamy peanut butter to the butter and sugar mixture. The texture may become slightly denser.
Chocolate Chip Pecan Bars: Add 1/2 cup chopped toasted pecans for a nutty flavor and extra crunch.
Caramel Chocolate Chip Bars: Sprinkle a small amount of caramel baking bits throughout the dough before baking.
Festive Cookie Bars: Mix in colorful candy-coated chocolate pieces for birthdays, celebrations, or holiday gatherings.
Serving Suggestions
Serve these cookie bars slightly warm when the chocolate is still soft, or at room temperature for an easy grab-and-go dessert.
They pair beautifully with a glass of cold milk, a cup of coffee, hot tea, or a scoop of vanilla ice cream. For a more indulgent dessert, warm a bar briefly and serve it with ice cream and a drizzle of chocolate sauce.
Arrange the bars on a platter for guests, pack them into treat boxes for neighbors, or bring them to a potluck. Their sturdy texture makes them convenient for sharing.
Storage Instructions
Store completely cooled cookie bars in an airtight container at room temperature for up to 4 days.
For longer storage, refrigerate them in a sealed container for up to 1 week, although refrigeration may make the texture firmer.
To freeze, wrap individual bars and place them in a freezer-safe container for up to 3 months. Thaw at room temperature before serving.
For a freshly baked taste, warm an individual bar in the microwave for approximately 8–12 seconds, checking that it does not become too hot.
Frequently Asked Questions
Can I prepare the dough ahead of time?
Yes. Cover the prepared dough and refrigerate it for up to 24 hours. Let it soften slightly before spreading it into the pan, and allow for a possible adjustment in baking time.
Why did my cookie bars turn out dry?
Common causes include too much flour, overmixing, or baking for too long. Measure carefully and remove the pan when the edges are golden and the center is just set.
Can I use salted butter?
Yes. Use salted butter and reduce the added salt slightly to suit your taste.
How do I know when the bars are ready?
Look for golden edges and a center that is set but still soft. The middle should not look like liquid batter.
Can I make them without nuts?
Absolutely. The nuts are optional and can be omitted without affecting the basic recipe.
Can I double the recipe?
Yes. For a larger gathering, prepare two separate pans or use a larger pan with an appropriately adjusted baking time. Check the center for doneness before removing it from the oven.
Conclusion
These soft and chewy chocolate chip cookie bars prove that a homemade dessert does not need to be complicated to make a lasting impression. With simple ingredients, straightforward instructions, and plenty of chocolate, they are an easy treat to prepare whenever friends or family stop by.
The golden edges, tender centers, and rich chocolate flavor make them especially tempting. They are perfect for casual gatherings, weekend baking, school treats, potlucks, and those unexpected visits when you want to serve something homemade.
Sometimes, the best recipes are the ones that bring people together around the kitchen table. When everyone reaches for another piece and asks how you made them, you know you have found a recipe worth sharing.
For the Cookie Bar Lovers
If you love classic chocolate chip cookies but want something easier to bake for a crowd, these cookie bars are an excellent choice. They offer all the familiar buttery sweetness and chocolatey goodness of traditional cookies in a convenient, pan-baked form.
Make a batch for your next family gathering or neighborhood visit, and keep the recipe close. You may find that these simple cookie bars disappear just as quickly as they did at our get-together.
A little baking advice: Make two pans if you are expecting guests. One pan may not be enough once everyone gets a taste!