
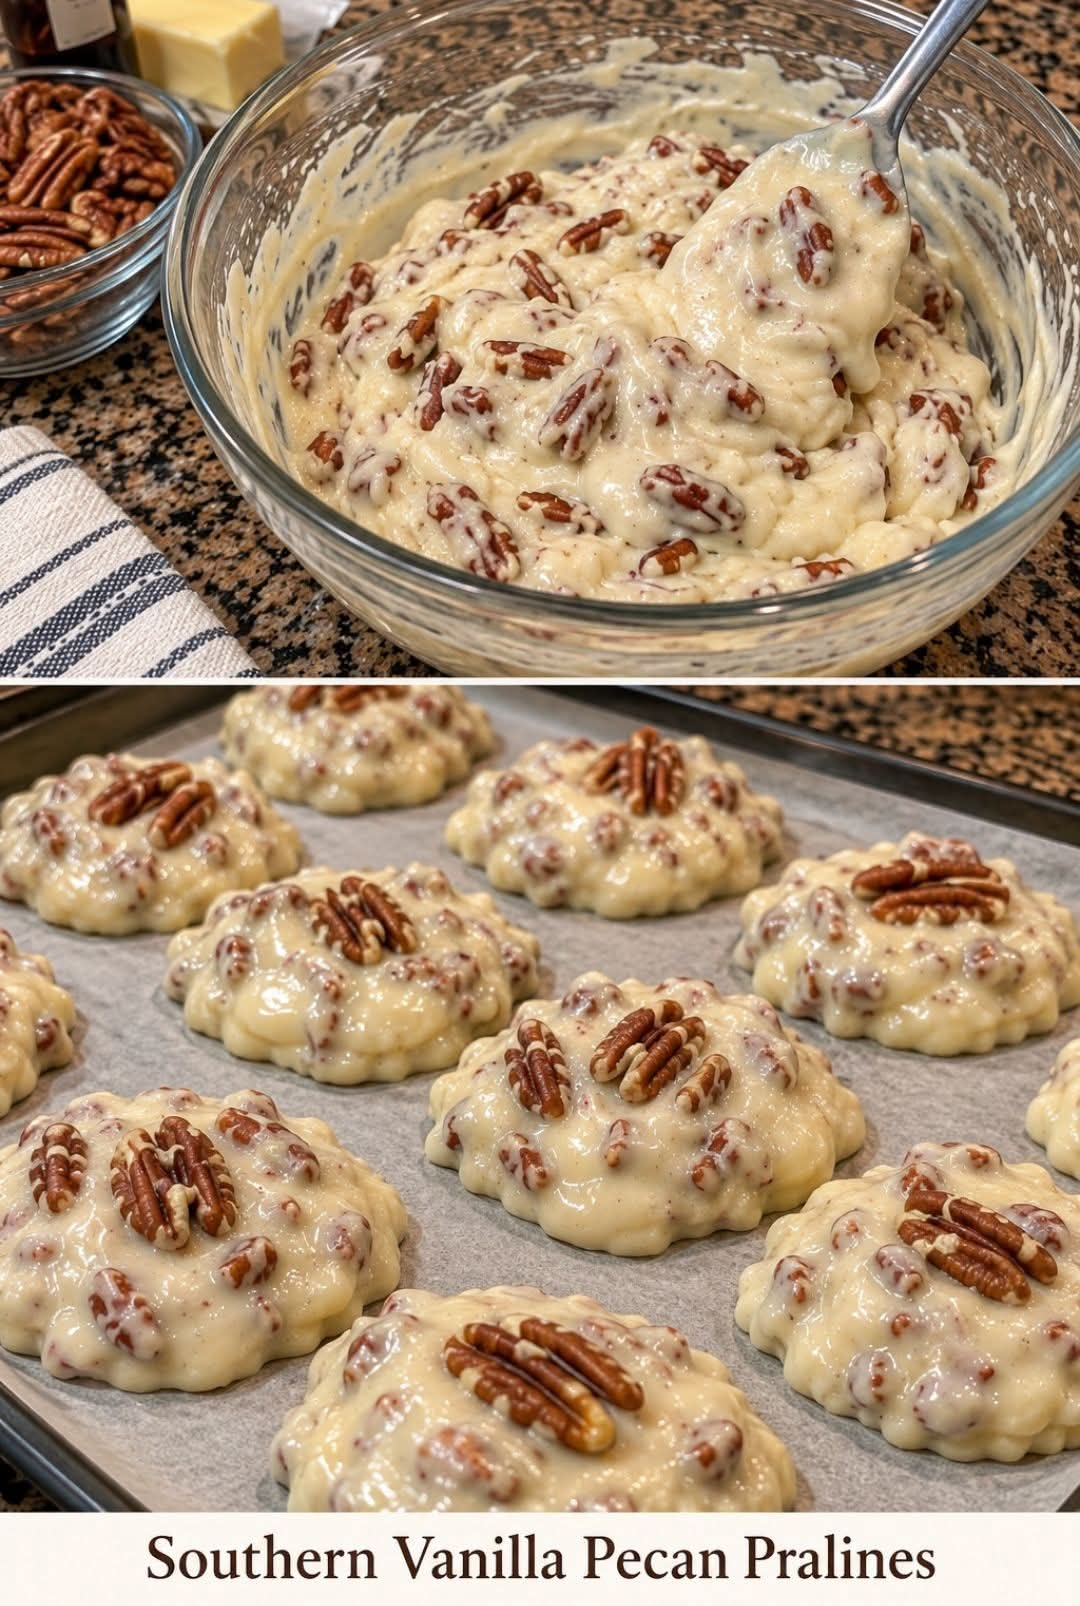
Classic Christmas Butter Cookies – Simple, Delicious, and Perfect for Holiday Baking
Introduction
There is something truly special about homemade Christmas cookies. The wonderful aroma of butter, sugar, and vanilla filling the kitchen brings back memories of family gatherings, festive celebrations, and the joy of baking with loved ones. These Classic Christmas Butter Cookies are the kind of timeless treat that never goes out of style. They are simple to prepare, made with everyday ingredients, and full of rich, buttery flavor.
These cookies are especially wonderful during the Christmas season, when kitchens become busy with holiday preparations and families gather to make their favorite traditional treats. Their delicate texture, lightly golden edges, and delicious buttery taste make them perfect for sharing with friends, neighbors, coworkers, and guests.
If you love the idea of preparing hundreds of cookies for Christmas, this recipe is an excellent addition to your holiday baking collection. The dough is easy to work with, the ingredients are simple, and the finished cookies can be decorated in countless ways. You can leave them plain for a traditional homemade flavor, sprinkle them with colored sugar, dip them in melted chocolate, or decorate them with festive icing.
One of the best things about butter cookies is their versatility. They look beautiful on Christmas cookie trays, fit perfectly into homemade gift boxes, and pair wonderfully with coffee, tea, hot chocolate, or a cold glass of milk.
Whether you are an experienced baker or preparing your first batch of holiday cookies, this recipe offers a delicious way to create sweet memories in your own kitchen.
Ingredients
Preparation time: 20 minutes
Chilling time: 30–60 minutes
Baking time: 10–12 minutes per batch
Yield: Approximately 36–48 cookies, depending on size
For the Butter Cookies
- 1 cup (226 g) unsalted butter, softened
- ¾ cup (150 g) granulated sugar
- 1 large egg
- 2 teaspoons vanilla extract
- 2¼ cups (280 g) all-purpose flour
- ¼ teaspoon salt
- ½ teaspoon baking powder, optional, for a slightly lighter texture
Optional Decorations
- ¼ cup granulated or sparkling sugar
- ½ cup melted chocolate
- Holiday sprinkles
- Royal icing or simple powdered sugar icing
- Finely chopped nuts, optional
Important: The original social media post does not include a complete ingredient list. This is a classic butter cookie recipe that matches the simple, buttery style described in the post.
Instructions
Step 1: Prepare the Oven
Preheat your oven to 350°F (175°C).
Line two baking sheets with parchment paper. This prevents the cookies from sticking and helps them bake evenly.
Measure all your ingredients before starting. Make sure the butter is softened enough to mix easily but is not melted or oily.
Step 2: Cream the Butter and Sugar
Place the softened butter in a large mixing bowl.
Add the granulated sugar and beat with an electric mixer for approximately 2–3 minutes, until the mixture becomes creamy, smooth, and slightly fluffy.
This step is essential because it helps create the tender texture and rich flavor that make butter cookies so popular.
Scrape down the sides of the bowl as needed to ensure the ingredients are evenly combined.
Step 3: Add the Egg and Vanilla
Add the egg to the butter mixture and beat until fully incorporated.
Pour in the vanilla extract and mix again until smooth.
The vanilla enhances the buttery flavor and gives the cookies their familiar homemade aroma.
If the mixture looks slightly curdled after adding the egg, do not worry. It should come together as you incorporate the dry ingredients.
Step 4: Combine the Dry Ingredients
In a separate bowl, whisk together the flour, salt, and optional baking powder.
Mix thoroughly so the salt and baking powder are evenly distributed throughout the flour.
Gradually add the dry ingredients to the butter mixture.
Mix on low speed or stir with a wooden spoon until a soft dough forms. Stop mixing as soon as no dry flour remains.
Avoid overmixing, as excessive mixing can make the cookies firm instead of tender.
Step 5: Chill the Dough
Cover the dough and refrigerate it for 30–60 minutes.
Chilling allows the butter to firm up and makes the dough easier to handle. It also helps the cookies maintain their shape while baking.
If you are planning to cut the cookies into Christmas shapes, chilling is particularly helpful.
For very large holiday baking sessions, you can prepare the dough a day ahead and keep it covered in the refrigerator.
Step 6: Shape the Cookies
Remove the dough from the refrigerator.
For simple round cookies, scoop approximately 1 tablespoon of dough and roll it gently between your palms.
Place the dough balls on the prepared baking sheets, leaving about 2 inches between them.
Gently flatten each ball with the bottom of a glass or the palm of your hand.
Alternatively, roll the dough between two sheets of parchment paper and use Christmas cookie cutters to create stars, trees, hearts, bells, or snowflakes.
If desired, sprinkle the cookies with granulated sugar before baking.
Step 7: Bake the Cookies
Place the baking sheets in the preheated oven.
Bake for approximately 10–12 minutes, depending on the thickness and size of the cookies.
The edges should be lightly golden, while the centers remain pale and set.
Do not wait for the entire cookie to become deeply golden. Butter cookies can become dry if they are overbaked.
If baking multiple trays, rotate them halfway through the baking time for more even results.
Step 8: Cool the Cookies
Remove the baking sheets from the oven.
Allow the cookies to rest on the trays for about 5 minutes. They will be delicate while hot but will become firmer as they cool.
Transfer them carefully to a wire rack and allow them to cool completely before decorating or storing.
Step 9: Decorate and Serve
Once the cookies are completely cool, decorate them as desired.
Dip half of each cookie into melted chocolate, drizzle chocolate over the tops, or add a light layer of icing.
For a traditional presentation, leave the cookies plain or add a little sparkling sugar before baking.
Arrange the finished cookies on a serving platter or package them in decorative tins for Christmas gifts.
Detailed Baking Methods
1. The Creaming Method
The creaming method combines softened butter and sugar until the mixture becomes light and creamy.
The sugar helps incorporate air into the butter, creating a foundation for the cookie’s texture. This method also distributes the butter evenly throughout the dough.
For the best results, use room-temperature butter rather than melted butter.
2. The Gentle Mixing Method
Once the flour is added, mix only until the dough comes together.
Flour contains proteins that can develop gluten when mixed with moisture. Too much gluten development may make cookies tougher.
Gentle mixing helps preserve the delicate, tender texture expected from classic butter cookies.
3. The Chilling Method
Chilling is particularly helpful when you want cookies that retain their shape.
Cold dough is less likely to spread excessively in the oven. It is also easier to roll and cut, making this step valuable for Christmas cookies with decorative shapes.
4. The Controlled Baking Method
Butter cookies bake relatively quickly.
The edges should be lightly golden, while the centers should look set without becoming dark brown.
Because oven temperatures vary, begin checking the cookies at around 9–10 minutes.
Allowing the cookies to cool on the baking sheet for several minutes helps them finish setting without overbaking.
5. The Decorating Method
Decorating should take place after the cookies have cooled completely, especially when using melted chocolate or icing.
Warm cookies can cause chocolate to slide off and icing to melt.
For a simple but elegant finish, dip one side of each cookie into melted chocolate and let it set on parchment paper.
The History of Christmas Butter Cookies
Butter cookies belong to a long tradition of European home baking, where butter, flour, and sugar became the foundation for many beloved biscuits and sweet treats.
As baking techniques and ingredients became more widely available, variations of butter cookies developed across different countries. Danish butter cookies became particularly well known for their rich flavor, delicate texture, and decorative shapes.
In many households, cookies gradually became an important part of Christmas celebrations. Families prepared large batches to serve guests, exchange with neighbors, and give as homemade gifts.
Christmas baking also became a way to bring generations together. Parents and grandparents passed down recipes, teaching younger family members how to measure ingredients, shape dough, and decorate festive treats.
Butter cookies remain popular because they are uncomplicated and adaptable. A basic dough can be transformed into dozens of different designs, making it ideal for holiday celebrations.
Although no single recipe represents every family’s Christmas butter cookies, the tradition shares a common idea: simple ingredients can create something memorable when prepared with care.
Formation and Texture: What Makes Butter Cookies Special?
The texture of butter cookies depends on the balance between butter, sugar, flour, and egg.
Butter provides richness, tenderness, and the characteristic flavor.
Sugar adds sweetness and contributes to the cookies’ lightly crisp edges.
Flour provides structure, allowing the dough to hold its shape during baking.
Egg helps bind the ingredients together and contributes to the finished texture.
Vanilla adds aroma and complements the buttery flavor.
During baking, the butter softens and melts, the dough warms, and the flour’s structure gradually sets. The cookies become firm enough to handle as they cool.
The result is a cookie with a delicate bite, a rich buttery taste, and edges that can become lightly crisp without losing their tenderness.
For cookies that hold intricate Christmas shapes, chilling the dough before cutting and baking is particularly important.
Helpful Tips for Perfect Butter Cookies
1. Use good-quality butter. Butter is the main source of flavor, so choose one you enjoy eating.
2. Measure the flour accurately. Too much flour can make the cookies dry and crumbly. Weighing the flour is the most reliable method.
3. Do not melt the butter. Softened butter creates a more suitable texture for creaming with sugar.
4. Chill the dough. This makes shaping easier and helps reduce spreading.
5. Avoid overmixing. Stop as soon as the flour is incorporated.
6. Watch the baking time. Remove the cookies when their edges are lightly golden.
7. Cool before decorating. This helps chocolate and icing set properly.
8. Bake evenly sized cookies. Similar sizes help the entire batch finish baking at approximately the same time.
9. Test one tray first. If you are baking a large quantity, bake a small test batch before shaping the remaining dough.
10. Keep the dough covered. This prevents the surface from drying while you work through multiple batches.
Delicious Variations

Classic Vanilla Butter Cookies
Keep the recipe simple with butter, sugar, and vanilla. These cookies are ideal for everyday treats and traditional Christmas cookie trays.

Chocolate-Dipped Butter Cookies
Dip half of each cooled cookie into melted semi-sweet chocolate. Allow the chocolate to set before serving or packaging.

Christmas Sugar Cookies
Sprinkle the dough with colored sugar before baking or decorate the cooled cookies with festive icing.

Lemon Butter Cookies
Add 1–2 teaspoons of finely grated lemon zest to the butter and sugar mixture for a fresh citrus aroma.

Cinnamon Sugar Butter Cookies
Add ½ teaspoon of ground cinnamon to the dry ingredients and sprinkle the shaped cookies with cinnamon sugar.
How to Prepare 400 Christmas Cookies
If you want to make hundreds of cookies for the holidays, a little planning can make the process much easier.
The recipe above produces approximately 36–48 cookies, depending on their size. For around 400 cookies, you will need approximately 10–12 batches.
- Prepare and chill the dough in manageable portions.
- Weigh or scoop the dough consistently so the cookies bake evenly.
- Line several baking sheets with parchment paper.
- Bake in batches, keeping unused dough refrigerated.
- Allow each batch to cool completely before stacking or packaging.
- Keep a written count of finished cookies to help you reach your target.
For large quantities, it is often easier to prepare the dough one day and bake and decorate the next.
Serving Suggestions
These cookies are suitable for almost any occasion, but they are especially lovely during Christmas.
- Serve them with coffee, tea, or hot chocolate.
- Arrange them on a festive dessert platter.
- Add them to a Christmas cookie exchange.
- Package them in decorative tins as homemade gifts.
- Serve them after a holiday dinner.
- Arrange them alongside brownies, gingerbread, and shortbread.
- Enjoy them as a simple afternoon snack.
For a beautiful holiday presentation, combine plain butter cookies with chocolate-dipped and decorated varieties on one large platter.
Storage and Freezing Instructions
Storing Baked Cookies
Allow the cookies to cool completely before storing them in an airtight container.
For the best quality, keep them in a cool, dry place and enjoy them within about one week. If your kitchen is very warm or humid, refrigeration may be preferable, although it can alter their texture slightly.
Keep decorated cookies separate from plain cookies if the icing or chocolate is likely to stick.
Freezing Baked Cookies
Place completely cooled cookies in a freezer-safe container, separating layers with parchment paper.
Freeze for up to 2–3 months for best quality.
Thaw them in their closed container at room temperature to help prevent condensation from forming directly on the cookies.
Freezing Cookie Dough
Shape the dough into a flat disc, wrap it tightly, and freeze it in a freezer-safe package.
Alternatively, cut the dough into shapes and freeze the unbaked cookies on a tray before transferring them to a freezer bag.
For the best results, thaw the dough in the refrigerator before rolling or shaping. Frozen cutouts can sometimes be baked directly from frozen, with a small adjustment to the baking time.
Common Mistakes and How to Avoid Them
The cookies spread too much. The butter may have been too warm or the dough insufficiently chilled. Refrigerate the dough before baking.
The cookies are too hard. They may have been overbaked or contained too much flour. Check them early and measure carefully.
The dough is crumbly. Too much flour or insufficiently softened butter may be responsible. Mix gently and check your measurements before adding any liquid.
The cookies lose their shapes. Chill the cutouts before baking and avoid placing them on hot baking sheets.
The cookies brown too quickly. Your oven may run hot or the baking sheet may be too dark. Check the oven temperature and begin checking the cookies earlier.
The cookies taste bland. Use fresh vanilla extract, good-quality butter, and the correct amount of salt.
Frequently Asked Questions
Can I make the dough ahead of time?
Yes. Prepare the dough, cover it tightly, and refrigerate it for up to 24–48 hours. If it becomes too firm to roll, allow it to soften slightly at room temperature.
Can I make these cookies without vanilla?
Yes. The cookies will still have a rich buttery flavor. You can substitute almond extract in a smaller quantity or add a little citrus zest.
Can I use salted butter?
Yes. If you use salted butter, omit the additional salt or reduce it according to your preference.
Why are my butter cookies spreading?
Common causes include butter that is too warm, insufficient chilling, or inaccurate ingredient measurements. Chilling the dough and using a properly preheated oven usually help.
Can I decorate these cookies with icing?
Absolutely. Allow the cookies to cool completely before applying royal icing, powdered sugar icing, or melted chocolate.
Can I double the recipe?
Yes. For the most consistent results, mix two separate batches rather than overfilling a small mixing bowl. This makes it easier to cream the butter and sugar properly and incorporate the flour evenly.
How can I make the cookies extra crisp?
Roll the dough slightly thinner and bake until the edges are lightly golden. Keep a close eye on the cookies because thinner ones bake faster.
Conclusion
Classic Christmas Butter Cookies prove that the simplest recipes are often the most memorable. With a handful of everyday ingredients, a little preparation, and a few minutes in the oven, you can create a delicious homemade treat that brings warmth and sweetness to the holiday season.
Their buttery flavor, delicate texture, and endless decorating possibilities make them perfect for Christmas parties, family gatherings, cookie exchanges, and homemade gifts.
Whether you prepare a single batch for your family or bake hundreds to share with friends and neighbors, these cookies are a wonderful way to celebrate the traditions of homemade baking.
Prepare the dough, gather your favorite decorations, and enjoy the comforting aroma of freshly baked cookies filling your kitchen.
For Christmas Butter Cookie Lovers
If you love traditional cookies, simple ingredients, and the joy of holiday baking, this recipe deserves a place in your collection.
These butter cookies are easy to customize, convenient to prepare ahead of time, and delicious enough to become a yearly family tradition. Make them plain, add chocolate, decorate them with icing, or create festive shapes that everyone will enjoy.
The real beauty of Christmas baking is not just the finished cookie. It is the time spent preparing, decorating, sharing, and creating memories with the people you love.
Bake a batch this Christmas, share a plate with someone special, and make these timeless butter cookies part of your holiday celebrations.
Recipe at a Glance
- Recipe: Classic Christmas Butter Cookies
- Texture: Tender, delicate, and lightly crisp around the edges
- Flavor: Rich butter and sweet vanilla
- Difficulty: Easy
- Yield: Approximately 36–48 cookies per batch
- Best occasions: Christmas, cookie exchanges, family gatherings, and homemade gifts
- Optional additions: Chocolate, lemon zest, cinnamon, festive sprinkles, and icing
Enjoy every batch of these simple, delicious homemade cookies, and share the sweetness of Christmas with family and friends.