
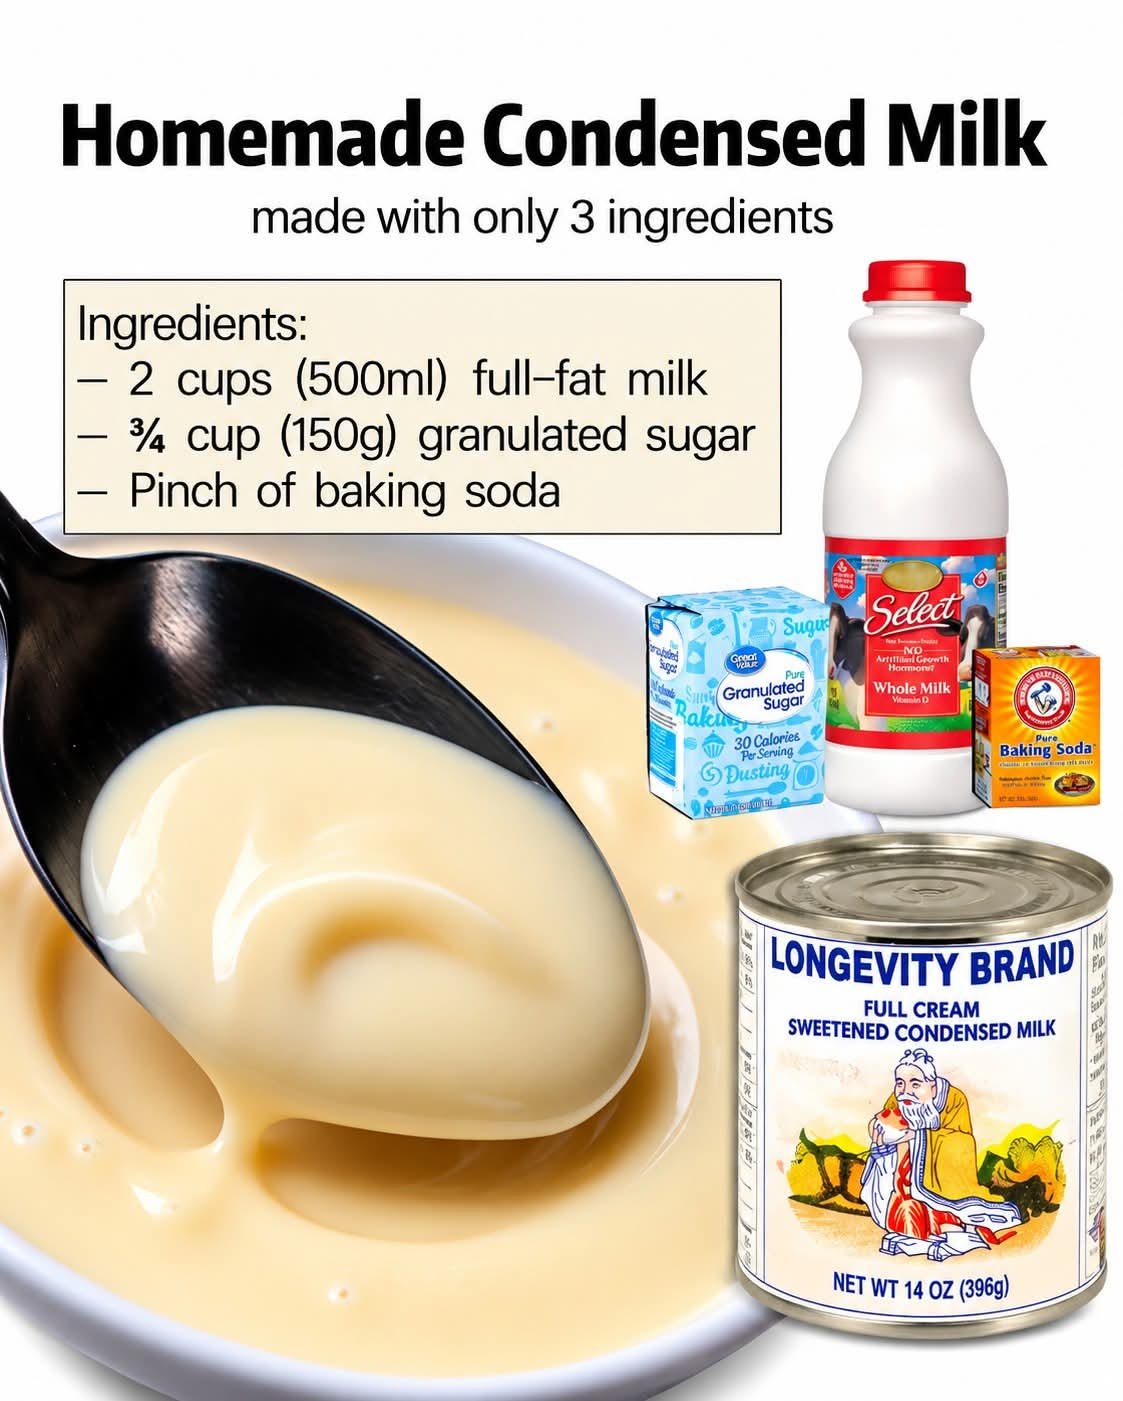
Homemade Condensed Milk – Easy 3-Ingredient Recipe
Introduction
Homemade condensed milk is one of those simple kitchen treasures that can make countless desserts taste richer, creamier, and more delicious. With just a few basic ingredients and a little patience, you can prepare your own sweetened condensed milk right at home without needing to buy a can from the store.
This easy recipe transforms ordinary milk and sugar into a thick, smooth, creamy mixture that is perfect for cakes, cookies, puddings, fudge, ice cream, and many other homemade treats. The milk slowly simmers as the water evaporates, concentrating its flavor and creating that familiar sweetness we love.
The best part is that you can make it with ingredients you probably already have in your kitchen. There are no complicated techniques, no special equipment, and no expensive ingredients required.
Whether you are preparing a family dessert, making a holiday treat, or simply want a homemade alternative to store-bought condensed milk, this recipe is a wonderful one to keep in your kitchen collection.
Ingredients

This recipe uses three simple ingredients, although the baking soda is optional.
- 2 cups (500 ml) full-fat milk: Whole milk creates the richest, creamiest result. You can also use 2% milk, although the finished condensed milk may be slightly less rich.
- ¾ cup (150 g) granulated sugar: Sugar provides the sweetness and helps create the characteristic thick texture as the milk reduces.
- A small pinch of baking soda (optional): This can help reduce the tendency of the milk to curdle and may help keep the mixture smooth during cooking. Use only a tiny pinch.
Yield: Approximately 8 ounces, depending on how much the mixture reduces.
Preparation time: 5 minutes.
Cooking time: Approximately 20–30 minutes.
Cooling time: 30–60 minutes, or until completely cool.
Instructions
Step 1: Prepare the milk and sugar
Pour the milk into a medium-sized, heavy-bottomed saucepan. Add the granulated sugar and stir gently until the sugar begins to dissolve.
Place the saucepan over medium heat. Warm the mixture gradually, stirring frequently so that the sugar does not settle on the bottom and burn.
A heavy-bottomed pan is especially helpful because it distributes heat more evenly and reduces the risk of scorching.
Step 2: Bring the mixture to a gentle boil
Continue heating the milk until it begins to bubble. Stir regularly and watch the saucepan carefully, because milk can rise quickly and boil over.
Once the mixture reaches a boil, reduce the heat to medium-low or low, depending on your stove. The milk should simmer gently rather than boil vigorously.
A gentle simmer allows moisture to evaporate without burning the milk or causing excessive foaming.
Step 3: Reduce the milk slowly
Allow the milk and sugar mixture to simmer for approximately 20–25 minutes, stirring frequently.
As the water evaporates, the mixture will gradually become thicker and more concentrated. Its color may change slightly to a warm cream shade, and the aroma will become sweeter and richer.
Scrape the bottom and sides of the pan regularly with a heat-resistant spatula to prevent sticking.
The exact cooking time depends on the width of your saucepan, the heat level, and the type of milk you use. Focus on the consistency rather than relying entirely on the clock.
Remember that the condensed milk will thicken further as it cools.
Step 4: Add the optional baking soda
Once the milk has reduced sufficiently, remove the saucepan from the heat.
If you are using baking soda, add just a small pinch and stir gently. The mixture may foam slightly, so add it carefully and use a saucepan with enough room.
Avoid adding too much baking soda, as it can affect the final flavor.
Step 5: Cool the condensed milk
Allow the mixture to cool gradually in the saucepan, stirring occasionally to help prevent a thick skin from forming on the surface.
For an especially smooth texture, you can strain the mixture through a fine-mesh sieve if you notice any small milk solids.
Do not judge the final thickness while the mixture is still hot. It should become noticeably thicker as it reaches room temperature.
Step 6: Transfer to a jar
Pour the cooled condensed milk into a clean, airtight jar or container.
Seal the container and refrigerate it promptly. Homemade condensed milk does not contain the same preservatives or undergo the same commercial processing as many canned products, so it should be treated as a perishable dairy food.
For best quality, use it within about 5–7 days, and discard it sooner if there are any signs of spoilage. Always use a clean spoon when taking some out of the jar.
Methods for Making Perfect Homemade Condensed Milk

1. The stovetop reduction method
This is the traditional method used in this recipe. Milk and sugar are simmered together until the water evaporates and the mixture becomes concentrated.
It offers good control over the texture and requires only a saucepan, a spoon, and a little attention.
2. The low-heat method
If you prefer a more hands-off approach, keep the heat low and allow the mixture to reduce gradually. This takes longer but helps prevent scorching.
Stir every few minutes, increasing the frequency as the mixture thickens. Never leave simmering milk unattended for long periods.
3. The smooth-texture method
For the smoothest result, use whole milk, dissolve the sugar completely, avoid vigorous boiling, and stir regularly.
If a thin layer develops on the surface during cooling, gently stir it back in or strain the mixture before storing.
4. The consistency test
A properly reduced mixture should coat the back of a spoon. Run your finger across the coating; the line should remain visible briefly.
The mixture should still be pourable when warm. If you cook it until it becomes extremely thick in the saucepan, it may become too firm once refrigerated.
The History of Sweetened Condensed Milk
Sweetened condensed milk became popular during the nineteenth century, when preserving milk was an important challenge. Fresh milk spoiled quickly without refrigeration, making it difficult to transport and store safely.
In the 1850s, American inventor Gail Borden helped develop and commercialize methods for producing condensed milk. His work contributed to the growth of the condensed milk industry and made milk products more convenient to store and distribute.
Sweetened condensed milk became a familiar ingredient in homes around the world. Its concentrated sweetness made it particularly useful for desserts, especially in recipes that needed a creamy texture without adding large amounts of liquid.
Over time, it became a staple in many traditional dishes, including caramel desserts, fudge, pies, cakes, and chilled puddings.
Today, homemade condensed milk continues this tradition by offering cooks a simple way to prepare a versatile ingredient using everyday kitchen staples.
Formation: How Milk Becomes Condensed Milk
The transformation from ordinary milk to condensed milk happens through a straightforward cooking process.
First, the sugar dissolves. As the milk warms, the sugar dissolves into the liquid and distributes throughout the mixture.
Next, moisture evaporates. Gentle simmering allows some of the water in the milk to escape as steam. This gradually concentrates the milk solids and sugar.
Then, the texture becomes richer. As the mixture reduces, its sweetness and creaminess become more pronounced, and it begins to coat a spoon.
Finally, cooling completes the texture. Once the condensed milk cools, it thickens further, producing a creamy consistency suitable for many dessert recipes.
The key is to allow enough moisture to evaporate without overheating the milk. Slow, controlled cooking gives you a smoother and more flavorful result.
Tips and Tricks for the Best Results
- Use a heavy-bottomed saucepan to help distribute heat evenly.
- Stir frequently, especially near the end of cooking.
- Keep the heat low enough to maintain a gentle simmer.
- Avoid covering the saucepan, because the steam needs to escape for the milk to reduce.
- Remember that the mixture thickens as it cools.
- Use whole milk for the richest flavor.
- If the mixture becomes too thick, whisk in a small amount of warm milk until it reaches your desired consistency.
- If it is too thin, return it to low heat and continue simmering briefly.
- Let the condensed milk cool before closing the storage container.
- Refrigerate promptly and use clean utensils every time.
Delicious Ways to Use Homemade Condensed Milk

1. Homemade Chocolate Fudge
Combine condensed milk with melted chocolate to make rich, creamy fudge. Add chopped nuts or a little vanilla for extra flavor.

2. Creamy Cheesecake
Add condensed milk to a cheesecake filling for a smooth, sweet flavor. Adjust the other ingredients in your recipe to account for its added sweetness and liquid.

3. Homemade Ice Cream
Use it in suitable no-churn ice cream recipes to help create a rich, creamy texture.

4. Cakes and Cupcakes
Use it in recipes specifically designed for condensed milk to add sweetness and moisture.

5. Rice Pudding
Stir a little into cooked rice pudding for extra creaminess and a rich, sweet finish.
Common Mistakes to Avoid
Cooking over excessively high heat: This can cause the milk to scorch, stick to the pan, or develop an unpleasant flavor.
Stopping too early: If too much water remains, the finished product will be thin. Continue simmering gently until it coats the back of a spoon.
Cooking for too long: Over-reduction can make the condensed milk excessively thick or give it a caramelized flavor that may not suit your recipe.
Adding too much baking soda: A large amount can leave an unpleasant taste. A tiny pinch is sufficient, and the ingredient can be omitted.
Storing it while hot: Allow it to cool before transferring it to a storage container, then refrigerate promptly.
Frequently Asked Questions
Can I use 2% milk instead of whole milk?
Yes. Two-percent milk works well, although the finished condensed milk may be less creamy than a version made with whole milk.
Why is my condensed milk still thin?
It may not have reduced enough. Return it to low heat and simmer for a few more minutes, stirring regularly. Remember that it will thicken as it cools.
Will it taste exactly like canned condensed milk?
It will have a similar sweet, milky flavor, but the precise taste and thickness may differ depending on the milk, cooking time, and degree of reduction.
Can I freeze homemade condensed milk?
Freezing may change its texture, causing some separation after thawing. If you freeze it, use a freezer-safe container with room for expansion, thaw it in the refrigerator, and whisk thoroughly before using. For the best texture, refrigeration and prompt use are preferable.
Is evaporated milk the same as condensed milk?
No. Both are concentrated milk products, but sweetened condensed milk contains a substantial amount of added sugar. Evaporated milk is concentrated milk without the large quantity of added sugar.
Can I use this recipe in any dessert?
It works best in recipes that call for sweetened condensed milk and that do not depend on the exact composition of a commercial product. For recipes requiring a precise quantity or consistency, allow the homemade version to cool and measure it before adding it.
Conclusion
Homemade condensed milk proves that a delicious kitchen staple does not need a long list of ingredients. With milk, sugar, and an optional pinch of baking soda, you can create a sweet, creamy ingredient that makes countless desserts even more enjoyable.
The secret is patience: let the milk simmer gently, stir frequently, and give it time to thicken as it cools. Once you learn the process, you will have a simple homemade ingredient ready for cakes, fudge, puddings, ice cream, and many other sweet treats.
Prepare a batch, let it cool, and keep it refrigerated for your next baking project. This easy three-ingredient recipe is a useful addition to any home cook’s collection.
For the Lovers of Homemade Desserts
If you love simple recipes made from everyday ingredients, this homemade condensed milk deserves a place in your kitchen. It is economical, versatile, and easy to prepare whenever a dessert recipe calls for something sweet and creamy.
Keep the recipe handy, share it with friends and family who enjoy baking, and experiment with using it in your favorite desserts. Sometimes, the most useful recipes are the simplest ones.
Recipe summary
- Preparation: 5 minutes
- Cooking: 20–30 minutes
- Ingredients: 2 essential ingredients plus optional baking soda
- Yield: Approximately 8 ounces, depending on reduction
- Storage: Refrigerate in a clean, airtight container and use within about 5–7 days
Enjoy making your own homemade condensed milk and bringing a little extra sweetness to your favorite desserts.