
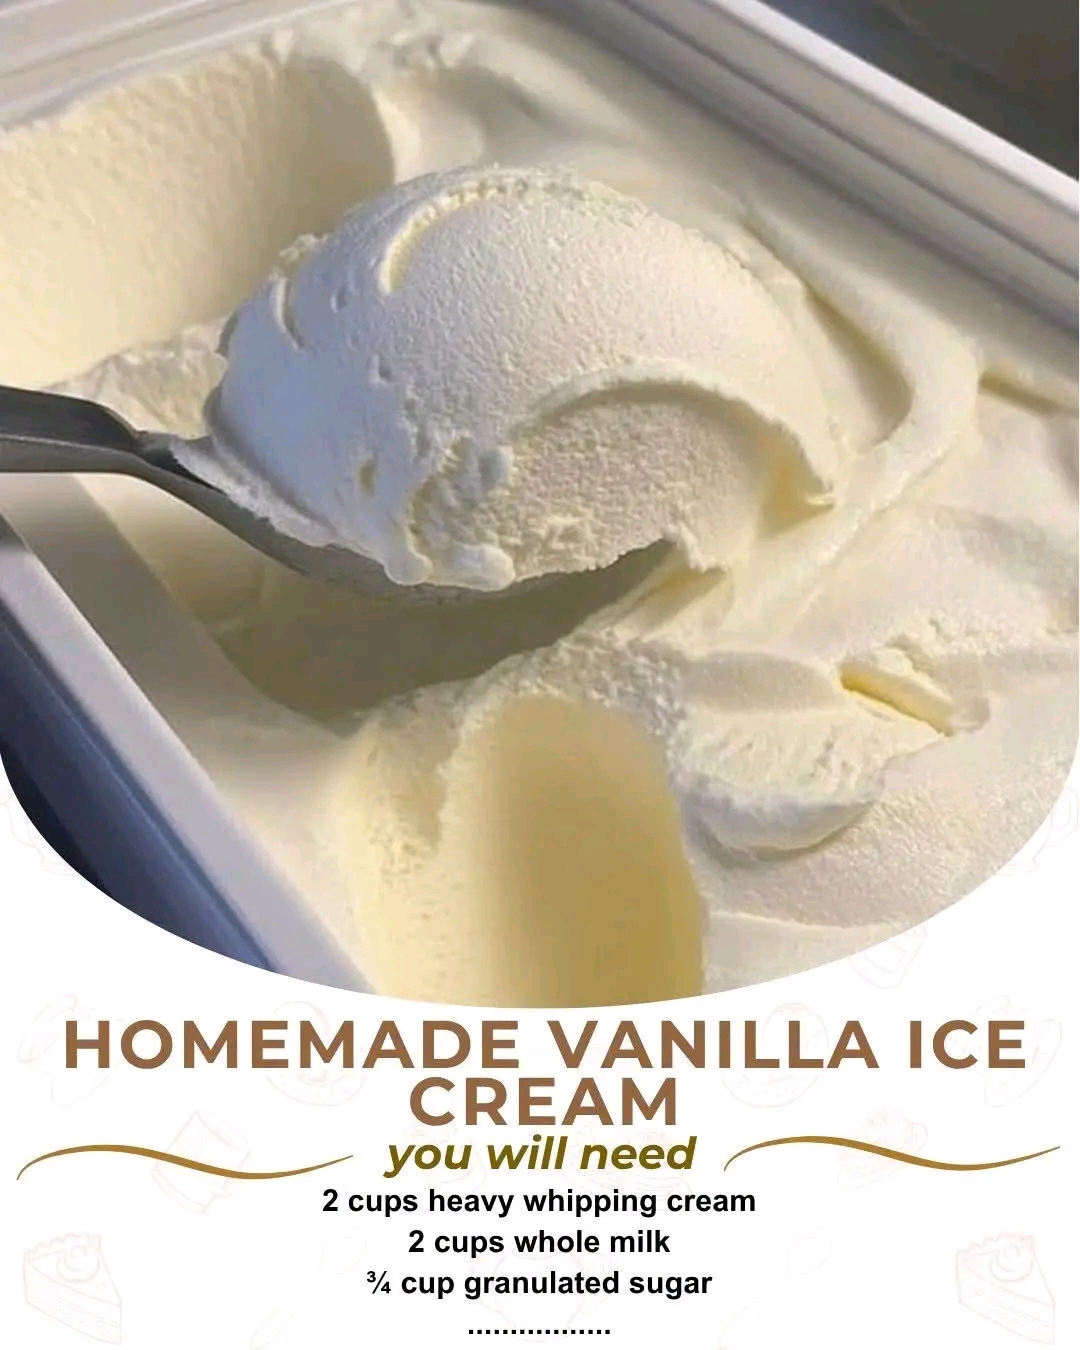
Homemade Vanilla Ice Cream
Introduction
There is something truly timeless about a bowl of homemade vanilla ice cream. With its silky texture, rich creaminess, and delicate vanilla aroma, this classic dessert has been a family favorite for generations. Unlike many store-bought varieties, homemade vanilla ice cream is made with fresh dairy, real vanilla, and simple pantry ingredients, resulting in a dessert that is incredibly smooth and full of authentic flavor. Whether served in a cone, alongside warm pie, with brownies, or enjoyed on its own, this recipe delivers the perfect scoop every time.
Ingredients
For the Ice Cream
- 2 cups heavy whipping cream
- 2 cups whole milk
- ¾ cup granulated sugar
- 1 tablespoon pure vanilla extract
- 1 vanilla bean, split and scraped (optional, for extra flavor)
- ¼ teaspoon fine sea salt
- 4 large egg yolks (optional, for a richer French-style custard)
Optional Mix-Ins
- Chocolate chips
- Crushed cookies
- Fresh strawberries
- Caramel swirls
- Toasted pecans
- Mini marshmallows
- Rainbow sprinkles
Equipment Needed
- Medium saucepan
- Mixing bowls
- Whisk
- Fine mesh strainer
- Ice cream maker
- Freezer-safe container
- Plastic wrap or airtight lid
Step-by-Step Instructions
Step 1: Prepare the Base
Pour the heavy cream and whole milk into a saucepan. Add the sugar and salt, then heat over medium heat while stirring until the sugar completely dissolves. Do not let the mixture boil.
Step 2: Add the Vanilla
Remove the pan from the heat and stir in the vanilla extract. If using a vanilla bean, scrape the seeds into the mixture and add the pod while steeping for about 15 minutes before removing it.
Step 3: Make a Custard (Optional)
Whisk the egg yolks in a bowl until smooth.
Slowly add a little of the warm cream mixture while whisking constantly to temper the eggs.
Pour everything back into the saucepan.
Cook gently over low heat, stirring continuously until the mixture thickens enough to coat the back of a spoon.
Do not boil.
Step 4: Chill
Strain the mixture into a clean bowl.
Cover and refrigerate for at least 4 hours or overnight.
Cold ice cream base produces the smoothest texture.
Step 5: Churn
Pour the chilled mixture into your ice cream maker.
Churn according to the manufacturer’s instructions until it reaches a soft-serve consistency.
Step 6: Freeze
Transfer the ice cream into a freezer-safe container.
Cover tightly and freeze for 3–6 hours for a firm, scoopable texture.
Methods for Success
- Always use full-fat dairy for the creamiest ice cream.
- Chill the mixture thoroughly before churning.
- Use real vanilla extract or vanilla beans for the best flavor.
- Avoid over-churning, which can create an icy texture.
- Store in an airtight container to prevent freezer burn.
- Place plastic wrap directly on the surface before sealing to reduce ice crystals.
History of Vanilla Ice Cream
Vanilla ice cream has been enjoyed for centuries. Frozen desserts date back to ancient China and Persia, where snow was mixed with fruit and sweeteners. In Europe during the 17th century, advances in ice preservation allowed creamy frozen desserts to become popular among royalty. Vanilla, originally cultivated in Mexico, became one of the world’s most treasured flavors. By the 19th century, homemade ice cream had become a cherished family tradition, especially with the invention of hand-cranked ice cream makers. Today, vanilla remains the world’s most popular ice cream flavor because of its rich yet versatile taste.
Formation and Texture
A perfect homemade vanilla ice cream should have:
- A smooth and creamy consistency
- Rich dairy flavor balanced with sweet vanilla
- Tiny air bubbles from churning for a light texture
- No icy crystals
- A soft, scoopable finish after freezing
- A luxurious melt-in-your-mouth feel
Serving Suggestions
Serve with:
- Warm apple pie
- Chocolate brownies
- Fresh berries
- Peach cobbler
- Chocolate syrup
- Caramel sauce
- Waffle cones
- Root beer floats
- Homemade cookies
- Pancakes or waffles
Storage Tips
Store in an airtight container in the freezer for up to 2 weeks.
Allow the ice cream to sit at room temperature for 5–10 minutes before scooping for the perfect texture.
Why People Love Homemade Vanilla Ice Cream
Ice cream lovers appreciate this recipe because it is:
- Rich and creamy
- Made with simple ingredients
- Free from unnecessary preservatives
- Easy to customize with favorite mix-ins
- Perfect for every season
- Delicious for birthdays, holidays, and family gatherings
- A comforting homemade dessert that never goes out of style
Conclusion
Homemade Vanilla Ice Cream is a classic dessert that celebrates the beauty of simple ingredients. Rich cream, fresh milk, fragrant vanilla, and a little patience come together to create an irresistibly smooth frozen treat. Whether enjoyed on a sunny afternoon or paired with your favorite dessert, this old-fashioned recipe is sure to become a treasured favorite that family and friends will request again and again. Every creamy scoop delivers the comforting taste of homemade goodness and the timeless charm of a beloved classic.