
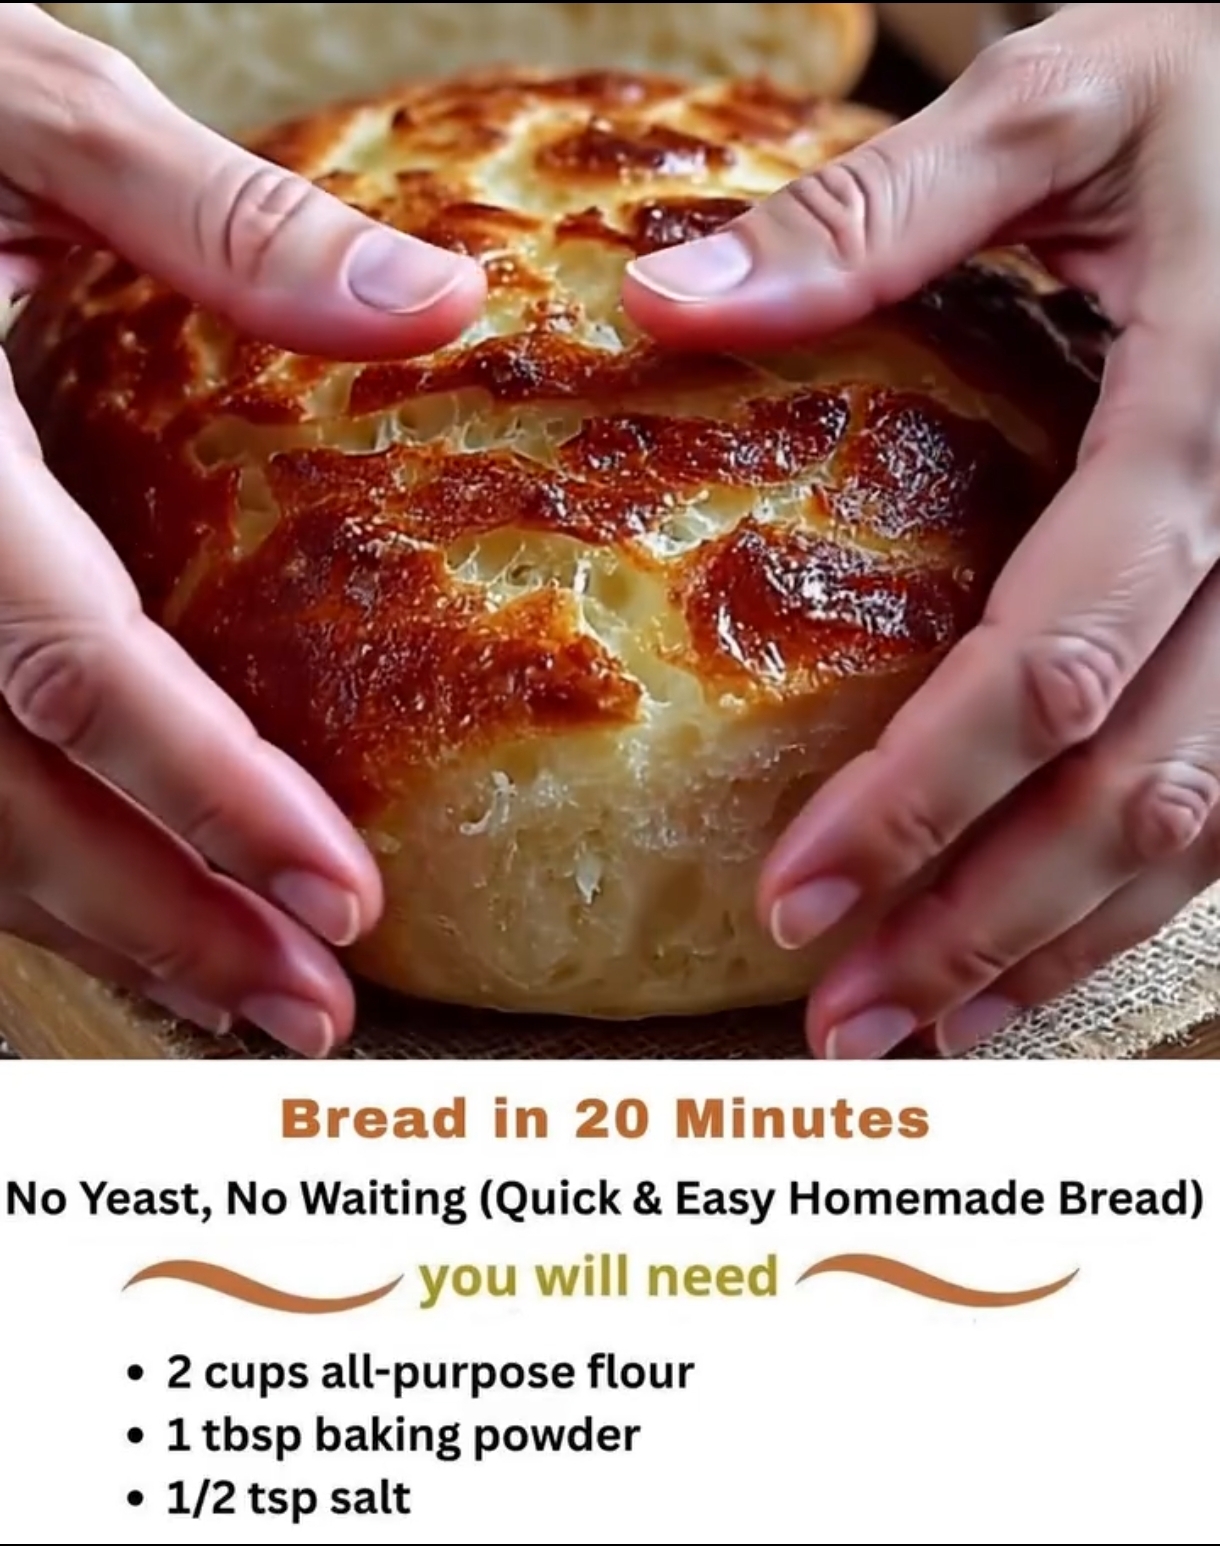
Bread in 20 Minutes (No Yeast, No Waiting)
A Simple Homemade Bread Recipe for Busy Days
Introduction
There is something truly comforting about homemade bread, especially when it comes out warm from the oven with a lightly golden crust and a soft, tender center. But what if you could enjoy fresh bread without yeast, without kneading for a long time, and without waiting hours for the dough to rise?
This easy Bread in 20 Minutes recipe is perfect for those moments when you want homemade bread but do not have much time. Made with just four basic ingredients—flour, baking powder, salt, and milk—it is a wonderful option for beginners, busy families, and anyone who loves simple homemade baking.
Unlike traditional bread, this quick bread does not require yeast or a rising period. Baking powder provides the lift, allowing you to prepare the dough quickly and bake it right away. Serve it warm with butter, jam, honey, cheese, or your favorite soup.
If you have flour, milk, and a few minutes to spare, you may already have everything you need to make this delicious homemade bread.
Ingredients

Preparation time: 5 minutes
Baking time: 12–15 minutes
Total time: Approximately 20 minutes
Yield: 4 small flatbreads or 1 small loaf, depending on the shape and thickness.
- 2 cups all-purpose flour (approximately 250 g)
- 1 tablespoon baking powder
- ½ teaspoon salt
- ¾ cup milk (180 ml)
Optional ingredients for extra flavor:
- 1 tablespoon melted butter or olive oil for a softer texture
- ½ teaspoon garlic powder for a savory flavor
- 1 tablespoon chopped fresh herbs, such as parsley or rosemary
- 1–2 tablespoons grated cheese for a cheesy variation
- A little melted butter for brushing the finished bread
Instructions

Step 1: Prepare the oven
Preheat your oven to 425°F (220°C). Line a baking tray with parchment paper or lightly grease it.
For a quick-baking recipe, preparing the oven before mixing the dough helps you get the bread into the oven without delay.
Step 2: Combine the dry ingredients
In a large mixing bowl, add the flour, baking powder, and salt.
Whisk everything together until the ingredients are evenly distributed. This step is important because it helps the baking powder spread throughout the flour, allowing the bread to rise more evenly.
Step 3: Add the milk
Pour the milk into the dry ingredients gradually, stirring with a wooden spoon until a soft dough begins to form.
The dough should hold together without being excessively sticky. If it feels too dry or crumbly, add a little more milk, one teaspoon at a time. If it is too sticky to handle, sprinkle in a small amount of flour.
Avoid adding too much extra flour, as this can make the finished bread dense.
Step 4: Knead the dough gently
Transfer the dough to a lightly floured surface.
Gently knead it for approximately 30–60 seconds, just until it comes together into a smooth ball. There is no need for lengthy kneading because this is a quick bread rather than a traditional yeast dough.
Overworking the dough can make the bread tougher, so handle it as little as possible.
Step 5: Shape the bread
Choose your preferred shape.
- Small round breads: Divide the dough into four equal portions and flatten each into a thick round.
- Flatbreads: Divide the dough into four pieces and roll each into a circle about ½ inch thick.
- Small loaf: Shape the dough into a compact round or oval and place it on the prepared baking tray.
For the most reliable 20-minute result, small, relatively thin breads are best because they bake faster than a thick loaf.
Step 6: Bake until golden

Place the shaped dough in the preheated oven.
Bake small rounds for approximately 12–15 minutes, or until the surface is lightly golden and the bread is cooked through. Thicker pieces or a small loaf may require additional time.
Because ovens vary, check the bread near the end of the baking period. If you make one thick loaf, allow more time rather than relying strictly on the 20-minute total.
Step 7: Brush and serve
Remove the bread from the oven and let it rest for a few minutes.
For a richer finish, brush the tops with melted butter while the bread is still warm.
Slice or break the bread open and enjoy its soft interior and lightly crisp exterior.
Methods of Preparation
There are several ways to prepare this quick homemade bread, depending on the equipment you have and the texture you prefer.
Method 1: Oven-baked quick bread
This is the main method and the best option for evenly baked bread with a golden exterior.
- Mix the dry ingredients.
- Add the milk and form a soft dough.
- Knead gently and shape into small rounds.
- Bake at 425°F (220°C) for approximately 12–15 minutes.
- Allow the bread to rest briefly before serving.
This method is ideal for breakfast, dinner, or a quick snack.
Method 2: Stovetop quick flatbread

If you do not want to use the oven, you can turn the dough into stovetop flatbreads.
- Prepare the dough according to the recipe.
- Divide it into four portions.
- Roll each portion into a circle approximately ¼ inch thick.
- Heat a lightly greased skillet over medium-low heat.
- Cook each flatbread for approximately 2–4 minutes per side, adjusting the heat as needed.
- Check that the center is cooked before removing it from the pan.
Cooking times vary with thickness and pan temperature. Keep the heat moderate so the outside does not brown before the center cooks.
Method 3: Garlic butter bread
For a more flavorful version, mix ½ teaspoon of garlic powder into the dry ingredients.
After baking, brush the bread with melted butter mixed with a little minced garlic and chopped parsley. Serve alongside soup, pasta, roasted vegetables, or a savory meal.
Method 4: Cheesy quick bread
Add 1–2 tablespoons of finely grated cheese to the flour mixture before adding the milk.
Cheddar, Parmesan, or another firm cheese can give the bread a richer taste. Avoid adding too much cheese, as excess moisture and fat can change the texture.
The History of Quick Bread
Bread has been a staple food in many cultures for thousands of years. Traditional bread often depends on yeast or naturally occurring fermentation to produce gas that expands the dough and creates a light texture.
However, not every type of bread requires yeast.
Quick breads became popular through the use of chemical leavening agents such as baking soda and baking powder. These ingredients release gas during mixing and baking, making it possible to prepare baked goods without the long fermentation and proofing associated with yeast bread.
Biscuits, soda breads, muffins, and many other familiar baked goods belong to the broader family of quick breads.
This four-ingredient recipe follows the same convenient principle: use baking powder for lift, milk for moisture, flour for structure, and salt for flavor.
Although this particular recipe is a modern simplified version rather than a traditional historical bread, it reflects an enduring idea in home cooking: delicious food does not always require complicated techniques or expensive ingredients.
Formation and Texture: What Makes This Bread Work?
Understanding how the ingredients work together can help you achieve better results every time.
1. Flour creates the structure.
Flour contains proteins that form gluten when mixed with liquid. A small amount of gluten development helps the dough hold its shape, but excessive kneading can make the bread tough.
2. Baking powder provides the lift.
Baking powder releases carbon dioxide when activated by moisture and heat. The gas creates air pockets that help the bread expand. This is why there is no need to wait for the dough to rise.
3. Milk adds moisture and tenderness.
Milk brings the dough together and contributes to a softer crumb. It also helps the surface brown during baking.
4. Salt improves the flavor.
Even a small quantity of salt makes a difference by balancing the flour’s mild taste and bringing out the flavor of the other ingredients.
5. Heat sets the bread.
As the dough bakes, the gas expands, the structure firms up, and the outside develops a golden crust. The final texture depends on the thickness of the dough, oven temperature, and baking time.
The result is a simple, rustic bread with a tender interior. It will not have exactly the same chewy texture or large air pockets as traditional yeast bread, but its speed and convenience make it a useful alternative.
Helpful Tips for Perfect Results
- Measure the flour carefully. Too much flour can produce dry, dense bread.
- Check that your baking powder is fresh and active.
- Add the milk gradually because different flours absorb different amounts of liquid.
- Do not knead excessively. A few gentle movements are enough.
- Shape the dough into small pieces if you want the bread ready in approximately 20 minutes.
- Preheat the oven fully before baking.
- Avoid cutting into the bread immediately; a short resting period helps the crumb settle.
- For a softer crust, brush the warm bread with butter and cover it loosely with a clean kitchen towel for a few minutes.
- Store leftovers in an airtight container after they have cooled. For the best texture, enjoy them the same day or reheat them briefly before serving.
Delicious Ways to Serve Your Homemade Bread

One of the best things about this recipe is its versatility. You can serve the bread in many different ways.
For breakfast: Serve warm with butter, honey, jam, or peanut butter.
For lunch: Use the flatbreads to make small sandwiches with cheese, eggs, chicken, or vegetables.
For dinner: Pair the bread with soup, stew, beans, roasted vegetables, or a fresh salad.
For an afternoon snack: Enjoy a warm piece with tea or coffee.
For a savory treat: Brush it with garlic butter and sprinkle with herbs.
For a simple family meal: Serve the bread alongside a favorite homemade dish so everyone can tear off a warm piece and enjoy it together.
Variations to Try
Once you have mastered the basic recipe, you can adapt it to suit your taste.
- Herb bread: Add dried oregano, rosemary, or thyme.
- Black pepper bread: Add a pinch of freshly ground black pepper.
- Cheese bread: Mix in a little grated cheese.
- Whole-wheat version: Replace some of the all-purpose flour with whole-wheat flour, adding a little extra milk if necessary.
- Olive oil bread: Add one tablespoon of olive oil for extra tenderness.
- Seeded bread: Sprinkle sesame seeds on top before baking, pressing them gently into the dough.
Keep additions modest so the dough remains easy to shape and bakes properly.
Storage and Reheating
This bread is best enjoyed fresh and warm, but leftovers can be saved.
- At room temperature: Store in an airtight container for up to 2 days, provided it is fully cooled and kept in a cool, dry place.
- In the refrigerator: Refrigeration can make the bread stale more quickly, so it is generally unnecessary for short-term storage.
- In the freezer: Wrap individual portions securely and freeze for up to 2 months for best quality.
- To reheat: Warm in an oven at 300–325°F (150–165°C) for several minutes, or heat briefly in a skillet.
If frozen, thaw the bread before reheating for more even results.
Frequently Asked Questions
Can I really make bread without yeast?
Yes. This recipe uses baking powder instead of yeast. Baking powder helps the dough rise during baking, so there is no proofing period.
Does the dough need to rest?
No extended resting period is needed. You can shape and bake it immediately after mixing.
Can I use water instead of milk?
Yes. Water can work, although the bread may have a slightly less tender texture and a milder flavor.
Why did my bread turn out hard?
The most common reasons are too much flour, excessive kneading, or overbaking. Measure carefully, handle the dough gently, and check the bread early.
Can I make a large loaf in 20 minutes?
A thick loaf usually needs more time to bake through. Small rounds or flatbreads are the better choice when speed is important.
Can I make the dough ahead of time?
It is best to bake the dough immediately after mixing because the baking powder begins reacting once it becomes wet. Preparing the dry ingredients in advance is a better option.
Conclusion
Bread in 20 Minutes is a wonderful reminder that homemade baking can be simple, affordable, and satisfying. With just four everyday ingredients and no yeast, you can prepare a batch of warm bread without waiting for dough to rise.
Whether you serve it with butter and honey in the morning, alongside a bowl of comforting soup at dinner, or as a quick afternoon snack, this recipe is easy to adapt to your family’s preferences.
The secret is simple: use fresh baking powder, handle the dough gently, and choose small shapes that bake quickly. In return, you get a delicious homemade bread that is ready to share with the people you love.
For the Love of Homemade Bread
Some of the most memorable recipes are not the most complicated ones. They are the simple recipes we return to when we need something warm, comforting, and homemade.
This quick bread is perfect for those days when you suddenly realize there is no bread in the kitchen, when unexpected guests arrive, or when you simply want the pleasure of baking something fresh without spending hours in the kitchen.
Serve it warm, share it around the table, and enjoy the satisfaction of making bread from scratch with ingredients you probably already have at home.
A little flour, some milk, a spoonful of baking powder, and a pinch of salt are all it takes to bring homemade comfort to your table.