
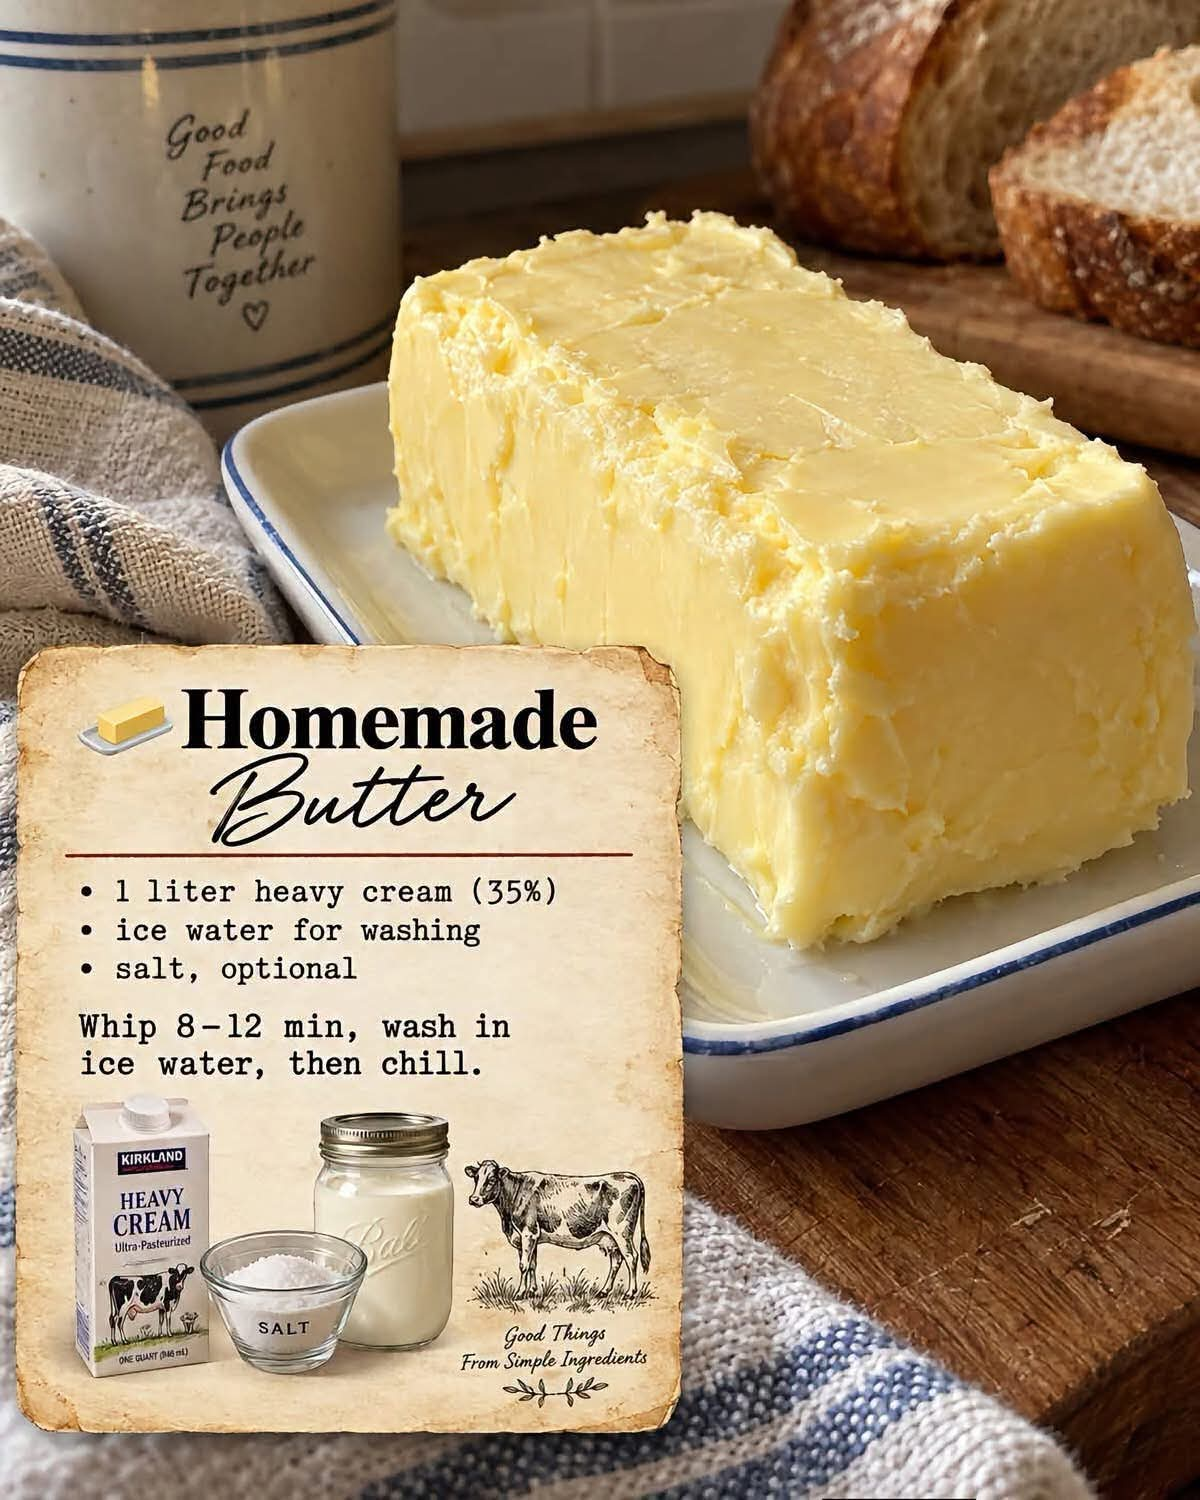
Homemade Butter
Introduction
Making homemade butter is one of the simplest and most satisfying traditional kitchen projects. With just heavy cream, cold water, and a little salt if desired, you can transform rich cream into fresh, creamy butter with a wonderful homemade flavor.
The process is essentially the separation of butterfat from the liquid portion of cream. When the cream is whipped for long enough, the fat particles join together and form small grains of butter. Continued mixing brings those grains together into a solid mass, while the remaining liquid becomes buttermilk.
Homemade butter can be spread on fresh bread, melted over vegetables, used in baking, or served alongside breakfast and dinner. It can also be flavored with herbs, garlic, honey, cinnamon, or other ingredients.
Ingredients
Main Ingredients
- 1 liter heavy cream, preferably cold
- Ice water, as needed for washing the butter
- Salt, optional, to taste
Optional Flavorings
For flavored homemade butter, you can add ingredients such as:
- Fresh chopped parsley
- Chives
- Minced garlic
- Honey
- Cinnamon
- Black pepper
- Fresh herbs
- Lemon zest
For the best results, start with plain butter and add flavorings only after the butter has been thoroughly washed and drained.
Equipment
You will need:
- Large mixing bowl
- Electric mixer, stand mixer, food processor, or tightly sealed jar
- Fine-mesh strainer or colander
- Wooden spoon or spatula
- Clean container for storing the finished butter
Instructions
Step 1: Prepare the Cream
Pour the heavy cream into a large mixing bowl. The bowl should be large enough to allow plenty of room because the cream will increase in volume as it is whipped.
If using an electric mixer, begin at a low or medium speed to prevent splashing. Gradually increase the speed as the cream thickens.
Step 2: Whip the Cream
Continue whipping the cream.
At first, it will become foamy. After several minutes, it will thicken and turn into whipped cream. Do not stop at this stage.
Keep mixing.
Eventually, the whipped cream will become grainy and begin to separate. You will notice yellowish pieces forming while a thin, pale liquid begins collecting around them.
This is the important transformation: the butterfat is separating from the buttermilk.
Step 3: Continue Until the Butter Forms
Keep mixing until the butter clumps become clearly separated from the liquid.
The butter should have a pale yellow color and gather together into larger pieces.
Turn off the mixer and allow the mixture to settle briefly.
Step 4: Separate the Butter From the Buttermilk
Pour the mixture through a fine-mesh strainer or colander.
Press the butter gently with a spoon or spatula to remove as much liquid as possible.
The liquid that drains away is fresh buttermilk. It can be saved and used in pancakes, biscuits, muffins, cakes, or other recipes.
Step 5: Wash the Butter
Place the butter into a clean bowl.
Add very cold ice water.
Gently press and knead the butter with a wooden spoon or spatula. The water will become cloudy as remaining buttermilk is released.
Drain the water.
Repeat the washing process with fresh ice water until the water becomes mostly clear.
This step is important because removing as much remaining buttermilk as possible helps the butter keep longer.
Step 6: Press Out the Water
Once the butter has been thoroughly washed, gather it into one mass.
Use a wooden spoon, spatula, or clean butter paddle to press and knead it gently.
Continue pressing until excess water is removed.
Drain away any liquid that appears.
The butter should become smooth, firm, and easy to shape.
Step 7: Add Salt
If you prefer salted butter, add a small amount of salt.
Start with approximately 1/4 teaspoon per 250 grams of finished butter and adjust according to taste.
Work the salt evenly through the butter.
If you prefer unsalted butter, simply leave the salt out.
Step 8: Shape the Butter
Gather the finished butter into a ball, block, or small individual portions.
Wrap it tightly in parchment paper or place it in a clean airtight container.
Refrigerate until firm.
Traditional Butter-Making Method
Before electric mixers and modern kitchen appliances, butter was commonly made by churning cream.
Cream was placed inside a butter churn and repeatedly agitated using a wooden dasher. The continuous movement caused the fat globules in the cream to join together.
Eventually, butter appeared as small yellow clumps floating in the remaining buttermilk.
The butter was then removed, washed with cold water, pressed to remove excess liquid, salted if desired, and shaped for storage.
You can recreate this traditional process at home by placing the cream in a large, tightly sealed jar and shaking it vigorously. This method requires more physical effort, but it gives you a direct connection to the traditional way butter was made.
Method Using a Jar
If you do not have an electric mixer, pour cold heavy cream into a clean jar, filling it no more than halfway.
Secure the lid tightly.
Shake the jar continuously.
First, the cream will become thick and resemble whipped cream. Continue shaking until the mixture suddenly separates into solid butter and liquid buttermilk.
Pour off the liquid.
Add ice water and gently shake or stir the butter.
Drain the water and repeat the washing process until the water is mostly clear.
Finally, press the butter firmly to remove excess moisture and add salt if desired.
Method Using a Food Processor
Pour the heavy cream into a food processor.
Process the cream until it becomes whipped cream.
Continue processing.
After several minutes, the butterfat will separate from the buttermilk.
Stop the machine and strain the mixture.
Wash the butter several times with ice-cold water, pressing it between washes to remove excess liquid.
Finish by adding salt if desired and shaping the butter.
Why Washing the Butter Matters
Washing is an important part of traditional butter preparation.
After the butter forms, a certain amount of buttermilk remains trapped inside the butter. If too much remains, the butter can spoil more quickly.
Cold water helps rinse away the remaining milk solids and buttermilk.
The goal is not to soak the butter but to gently work it in very cold water and then drain the water completely.
The clearer the final washing water becomes, the more thoroughly the butter has been cleaned.
The Formation of Butter
Butter formation happens because cream contains tiny fat globules surrounded by protective membranes.
When cream is simply sitting still, these fat globules remain dispersed throughout the liquid.
Whipping, shaking, or churning damages those membranes and allows the fat globules to stick together.
As the process continues, the fat gathers into larger particles.
Eventually, these particles form a solid mass of butter while the watery portion separates as buttermilk.
This is why cream first becomes whipped cream and then, with continued agitation, suddenly turns into butter.
History of Homemade Butter
Butter is one of the oldest dairy foods known to humanity. For centuries, families living in farming communities made butter from cream collected from freshly milked cows, goats, or other dairy animals.
Before refrigeration, butter was particularly valuable because it provided a way to preserve some of the fat from milk in a concentrated form.
Traditional butter-making was often a household task. Cream was collected over several days, allowed to accumulate, and then churned.
The finished butter was washed, kneaded, salted, and stored in cool places.
Butter churns eventually became common household equipment, allowing families to make larger quantities more efficiently.
Modern supermarkets make butter readily available, but homemade butter remains popular because of its fresh flavor, simple ingredients, and connection to traditional food preparation.
Tips for Perfect Homemade Butter
Use heavy cream with a high fat content whenever possible. Higher-fat cream generally produces a better yield.
Keep the cream cold before starting.
Do not stop when the cream becomes whipped cream. Continue mixing until the butter separates.
Use ice-cold water when washing the butter.
Remove as much liquid as possible.
Do not aggressively overwork the butter because excessive warmth can make it soft and difficult to handle.
For salted butter, add salt gradually so you can control the flavor.
Keep homemade butter refrigerated.
Storage
Place finished butter in a clean, airtight container and refrigerate it.
For best quality, use homemade butter relatively quickly because it does not contain the preservatives or processing controls found in many commercially produced products.
For longer storage, homemade butter can also be frozen in tightly wrapped portions.
If the butter develops an unusual smell, taste, discoloration, or visible mold, discard it.
Ways to Enjoy Homemade Butter
Homemade butter is incredibly versatile.
Spread it over:
- Fresh homemade bread
- Toast
- Biscuits
- Cornbread
- Pancakes
- Waffles
- Baked potatoes
- Steamed vegetables
- Corn on the cob
It can also be used in:
- Cakes
- Cookies
- Pie crusts
- Dinner rolls
- Mashed potatoes
- Sauces
- Sautéed vegetables
Homemade Honey Butter
For a sweet variation, allow the butter to soften slightly and mix it with honey.
Whip until smooth and creamy.
Serve it with warm biscuits, toast, pancakes, or cornbread.
Homemade Garlic Herb Butter
Mix softened homemade butter with finely chopped parsley, chives, garlic, and a small pinch of salt.
Shape into a log, wrap tightly, and refrigerate.
Slice pieces as needed for bread, vegetables, steak, chicken, or seafood.
Homemade Cinnamon Butter
Combine softened butter with cinnamon and a small amount of honey or sugar.
Mix until completely smooth.
This makes a delicious spread for toast, pancakes, waffles, muffins, and warm breakfast breads.
Conclusion
Homemade butter is a beautiful example of how a simple ingredient can be transformed through a traditional kitchen technique. Starting with nothing more than heavy cream, you can create rich, fresh butter by whipping or churning the cream until the butterfat separates from the buttermilk.
The most important steps are allowing the cream to fully separate, washing the butter thoroughly with ice-cold water, and pressing out as much excess moisture as possible.
Once you understand the basic method, you can make salted butter, unsalted butter, honey butter, garlic herb butter, cinnamon butter, and many other variations.
For Butter Lovers
For anyone who loves rich, creamy, old-fashioned flavors, homemade butter is worth making at least once. There is something special about watching ordinary heavy cream transform into a beautiful golden spread right in your own kitchen.
Serve it with warm bread straight from the oven, spread it over homemade biscuits, melt it over vegetables, or use it in your favorite baking recipes.
Homemade butter is simple, traditional, economical when cream is readily available, and incredibly satisfying. Once you make it yourself, you may never look at a carton of cream quite the same way again.