
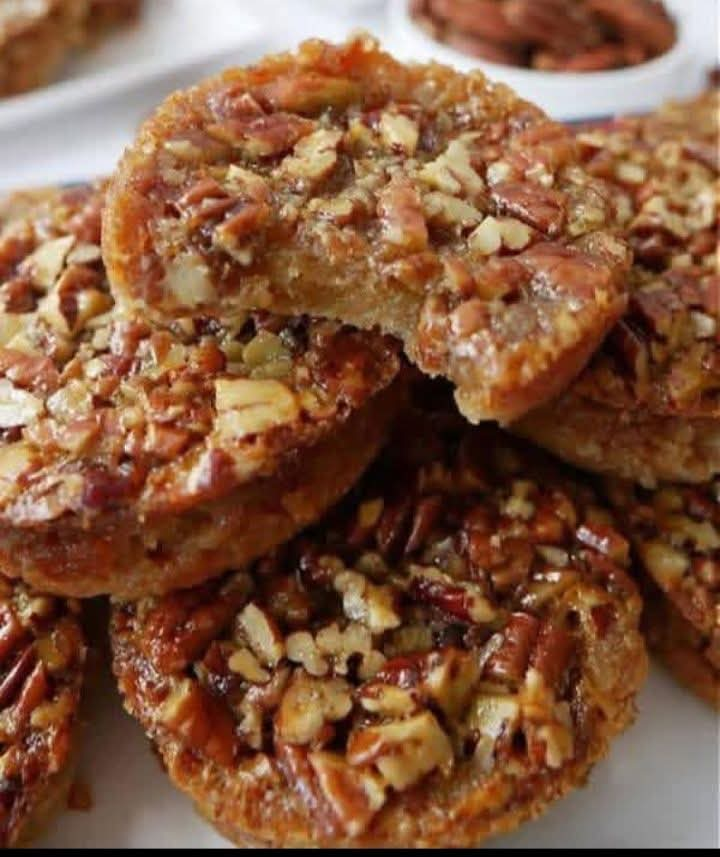
Classic Christmas Butter Cookies
Introduction
These Classic Christmas Butter Cookies are the kind of holiday treat that quickly becomes a family tradition. They are simple enough to prepare without complicated techniques, yet rich, buttery, tender, and full of comforting vanilla flavor.
They are especially perfect for Christmas gatherings because they can be prepared in large quantities and decorated in different ways. A batch can be arranged on a festive cookie platter, packed into tins for gifts, or served alongside coffee, tea, or hot chocolate.
If you are baking for a crowd, these cookies are an excellent choice. Their familiar flavor appeals to both children and adults, and the dough can be prepared ahead of time, making holiday baking much easier.
Ingredients
For the Cookies
- 1 cup unsalted butter, softened
- 1 cup granulated sugar
- 1 large egg
- 2 teaspoons pure vanilla extract
- 3 cups all-purpose flour
- 1 teaspoon baking powder
- 1/2 teaspoon salt
- 2 tablespoons milk, if needed
Optional Decoration
- 1 cup powdered sugar
- 1 to 2 tablespoons milk
- 1/2 teaspoon vanilla extract
- Colored sugar or sprinkles
- Chopped nuts
- Melted white or semisweet chocolate
Instructions
1. Prepare the Oven
Preheat the oven to 350°F (175°C). Line two large baking sheets with parchment paper or lightly grease them.
2. Cream the Butter and Sugar
Place the softened butter and granulated sugar in a large mixing bowl. Beat for about 2 to 3 minutes, until the mixture becomes pale, smooth, and fluffy.
This step is important because properly creamed butter creates a lighter and more tender cookie.
3. Add the Egg and Vanilla
Beat in the egg until completely incorporated. Add the vanilla extract and mix again.
Scrape down the sides of the bowl so all of the ingredients are evenly combined.
4. Combine the Dry Ingredients
In a separate bowl, whisk together the flour, baking powder, and salt.
Gradually add the dry ingredients to the butter mixture. Mix just until a soft dough forms.
If the dough appears unusually dry or crumbly, add the milk one tablespoon at a time until the dough comes together.
5. Chill the Dough
Cover the dough and refrigerate it for approximately 30 minutes.
Chilling makes the dough easier to handle and helps the cookies maintain their shape during baking.
6. Shape the Cookies
Roll the chilled dough on a lightly floured surface to approximately 1/4 inch thick.
Use Christmas cookie cutters to cut the dough into stars, trees, bells, circles, snowflakes, or other festive shapes.
Transfer the cookies to the prepared baking sheets, leaving about 1 inch between each cookie.
For a simpler version, roll the dough into small balls and gently flatten them with the bottom of a glass.
7. Bake
Bake for approximately 9 to 12 minutes, depending on the size and thickness of the cookies.
The edges should be lightly golden while the centers remain relatively pale.
Do not overbake them. The cookies will continue to firm up as they cool.
8. Cool
Allow the cookies to remain on the baking sheet for about 5 minutes.
Transfer them to a wire rack and allow them to cool completely before decorating.
Method
The secret to excellent butter cookies is keeping the process simple and paying attention to the texture of the dough.
Use butter that is softened but not melted. Melted butter can make the dough too loose and can cause the cookies to spread excessively.
When combining the flour with the wet ingredients, avoid overmixing. Once the flour disappears and a dough forms, stop mixing.
For cut-out cookies, chilling the dough is particularly useful. It makes the dough easier to roll and helps preserve the sharp edges of your Christmas shapes.
Bake one test cookie first if you are making a large batch. This allows you to check the baking time and adjust the dough or oven temperature if necessary.
The History of Christmas Cookies
Christmas cookies have a long tradition in European and American holiday baking. Many modern Christmas cookies developed from older European biscuits, shortbreads, gingerbreads, and spiced pastries.
As baking ingredients became more widely available, families developed their own versions of holiday cookies. Butter, sugar, flour, eggs, spices, nuts, dried fruits, and vanilla became common ingredients in festive baking.
Decorated cut-out cookies became especially popular because they could be shaped into seasonal symbols and given as gifts.
Over generations, Christmas cookies became more than a dessert. They became part of holiday celebrations, family gatherings, cookie exchanges, and traditions passed from parents and grandparents to children.
Formation and Texture
The formation of these cookies begins with creaming butter and sugar together. This incorporates air into the mixture and helps produce a tender texture.
The egg provides structure and helps bind the ingredients together. Flour creates the framework of the cookie, while baking powder provides a small amount of lift.
The finished cookie should have lightly crisp edges with a tender, buttery center.
For a softer cookie, avoid overbaking. For a slightly crispier cookie, allow the edges to become a little more golden.
Decorating Ideas
Once completely cooled, the cookies can be decorated in many ways.
For a simple glaze, combine powdered sugar, milk, and vanilla until smooth. Drizzle or spread the glaze over the cookies.
You can also dip half of each cookie in melted chocolate and allow it to set.
For traditional Christmas cookies, spread a thin layer of icing over the surface and finish with colored sugar, chopped nuts, or festive sprinkles.
Another simple option is to brush the tops with a little milk before baking and sprinkle them with granulated sugar.
Tips for Making 400 Cookies
If you are preparing a very large Christmas batch, do not try to make everything at once.
Prepare the dough in several smaller batches so your mixer and ingredients are easier to manage.
Keep unused dough refrigerated while you work. Roll and cut one portion at a time.
Use parchment-lined baking sheets so the cookies can be transferred easily after baking.
Allow every batch to cool completely before stacking.
For approximately 400 small cookies, you will need to multiply the basic recipe substantially. The exact amount depends on the size and thickness of your cookie cutters.
Storage
Store completely cooled cookies in an airtight container at room temperature for approximately 5 to 7 days.
For longer storage, place the cookies in a freezer-safe container and freeze them for up to 2 to 3 months.
Place parchment paper between layers if the cookies are decorated or particularly delicate.
The baked cookies should be completely cool before freezing or storing.
Make-Ahead Method
The dough can be prepared ahead of time and refrigerated for up to several days when properly covered.
You can also shape the cookies, freeze them on a baking sheet, and then transfer the frozen dough shapes to a freezer-safe container.
When ready to bake, place the frozen cookies on a prepared baking sheet and bake, adding a little extra baking time if necessary.
This makes the recipe especially convenient during the busy Christmas season.
Why People Love These Cookies
These cookies are loved because they combine everything people expect from a classic Christmas treat: buttery flavor, a delicate texture, simple preparation, and plenty of opportunities for decoration.
They are also wonderfully versatile. The same basic dough can become Christmas trees, stars, snowflakes, bells, hearts, or simple round cookies.
They are perfect for family baking days because children can help cut and decorate the cookies while adults handle the oven.
Serving Suggestions
Serve these cookies with coffee, tea, hot chocolate, or a glass of cold milk.
They also make beautiful additions to Christmas dessert tables.
For gifting, place assorted cookies into decorative tins or food-safe gift boxes and separate different varieties with parchment paper.
A mixture of decorated and undecorated cookies creates an attractive homemade assortment.
Conclusion
Classic Christmas Butter Cookies are a timeless holiday recipe that proves delicious baking does not have to be complicated.
With basic ingredients, a simple preparation method, and a little creativity, you can make a generous batch of cookies that is perfect for family celebrations, Christmas parties, cookie exchanges, and homemade gifts.
Their buttery flavor, tender texture, and festive shapes make them the kind of cookies that disappear quickly from a holiday table.
For Cookie Lovers
For anyone who loves traditional homemade Christmas baking, these cookies are an excellent recipe to keep in the holiday collection. They are easy enough for beginners, reliable enough for large gatherings, and versatile enough to decorate differently every year.
Make them once and they may quickly become one of those recipes your family asks for every Christmas.