
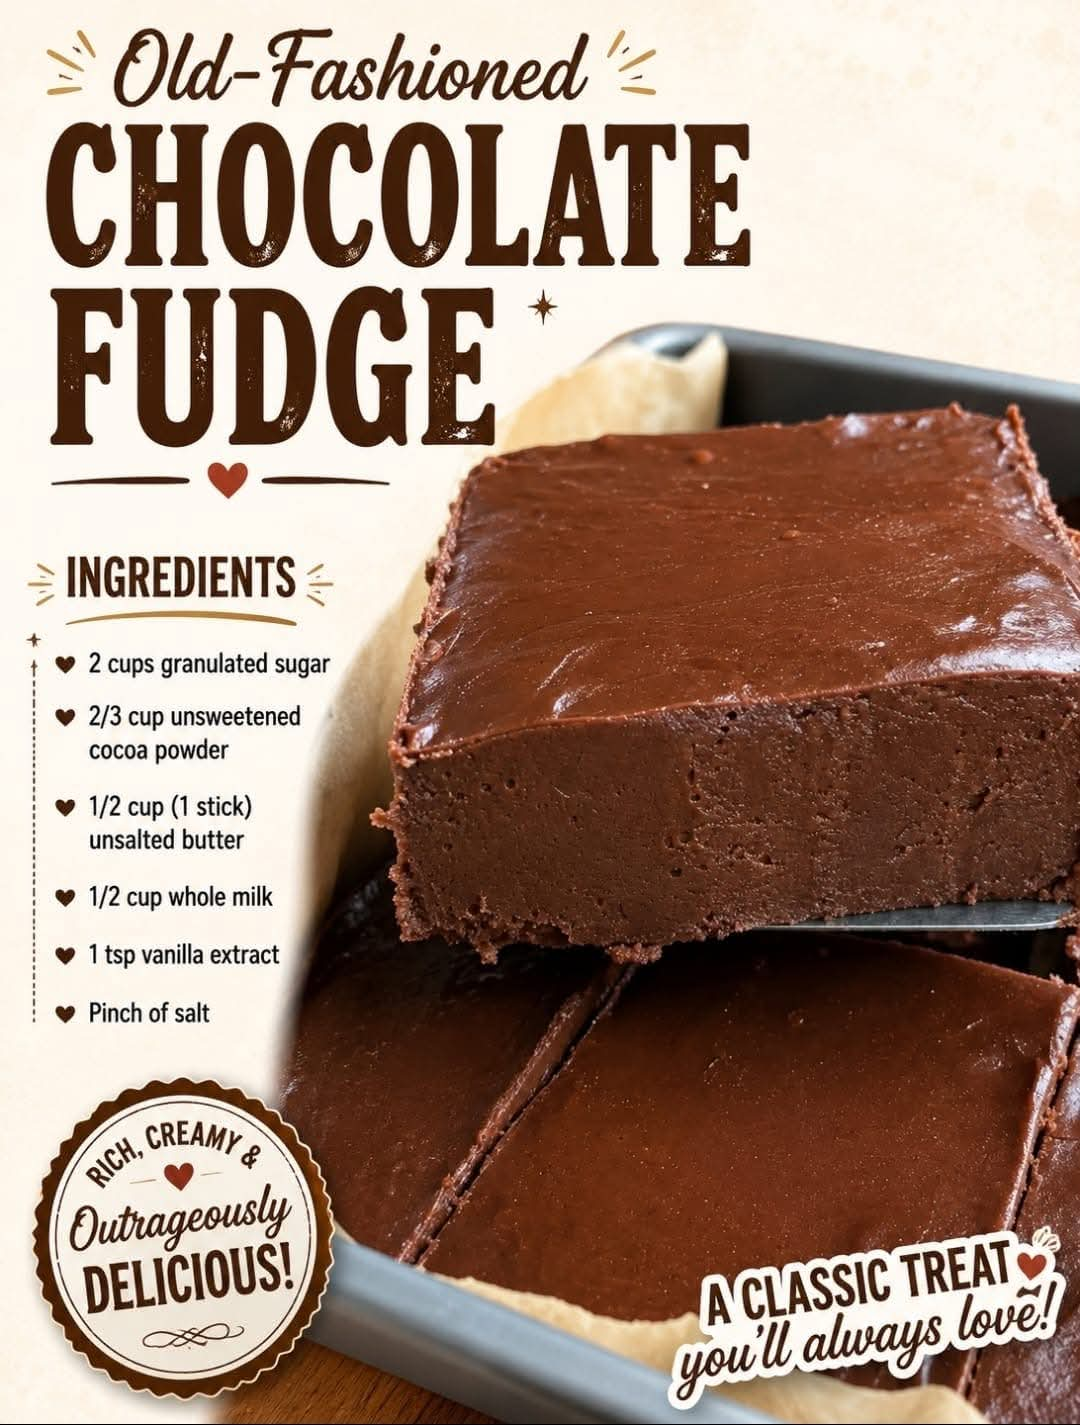
Old-Fashioned Chocolate Fudge
Introduction
There is something wonderfully nostalgic about old-fashioned chocolate fudge. Rich, creamy, deeply chocolatey, and cut into generous little squares, this classic homemade treat brings back memories of holiday candy trays, family kitchens, and recipes carefully prepared on the stovetop.
Unlike many modern shortcut fudge recipes, traditional fudge gets its beautiful texture from slowly cooking the sugar mixture to the proper temperature and then beating it until it becomes thick, smooth, and creamy. The result is a firm but tender fudge that melts pleasantly in your mouth.
This recipe is simple in ingredients but requires a little patience. Once you master the cooking and beating stages, you can make a batch whenever you want a classic chocolate dessert for family gatherings, holidays, parties, or an afternoon treat.
Ingredients
- 3 cups granulated sugar
- 3/4 cup unsweetened cocoa powder
- 1 1/2 cups whole milk
- 1/2 cup unsalted butter
- 1 teaspoon vanilla extract
- 1/4 teaspoon salt
- 1 cup chopped walnuts or pecans, optional
Instructions
Step 1: Prepare the Pan
Line an 8-inch or 9-inch square baking pan with parchment paper or lightly grease it with butter. Leave a little parchment hanging over the sides so the finished fudge can be lifted out easily.
Set the prepared pan aside while you make the fudge.
Step 2: Combine the Dry Ingredients
In a heavy-bottomed saucepan, combine the granulated sugar, cocoa powder, and salt.
Whisk the ingredients together thoroughly to remove any lumps from the cocoa powder.
Step 3: Add the Milk
Slowly pour in the whole milk while stirring continuously. Continue stirring until the mixture becomes smooth and the cocoa is completely incorporated.
Place the saucepan over medium heat.
Step 4: Cook the Fudge
Add the butter and stir gently as it melts.
Bring the mixture to a steady boil, stirring occasionally. Once it begins boiling, continue cooking until the mixture reaches approximately 234 to 238°F (112 to 114°C) on a candy thermometer.
This stage is extremely important. The temperature determines the final texture of the fudge. If it is undercooked, the fudge may remain too soft. If it is overcooked, it can become dry or crumbly.
If you do not have a candy thermometer, you can test a small amount of the mixture by dropping it into a cup of cold water. It should form a soft, flexible ball when pressed between your fingers.
Step 5: Remove From the Heat
Once the fudge reaches the correct temperature, immediately remove the saucepan from the heat.
Do not stir the mixture excessively at this stage. Add the vanilla extract and gently stir it in.
Allow the mixture to cool undisturbed for several minutes.
Step 6: Beat the Fudge
When the mixture has cooled slightly but is still warm, begin beating it with a sturdy wooden spoon or electric mixer.
Continue beating until the mixture becomes noticeably thicker, loses some of its shine, and begins to look creamy and slightly lighter in color.
This process can take several minutes by hand.
If you are adding chopped walnuts or pecans, fold them in toward the end of the beating process.
Step 7: Form the Fudge
Immediately transfer the thickened fudge into the prepared pan.
Spread it evenly with a spatula, gently pressing it into the corners.
Allow the fudge to cool completely at room temperature.
Step 8: Chill and Cut
Once completely set, refrigerate the fudge for about 1 to 2 hours for easier slicing.
Lift the fudge from the pan using the parchment paper and place it on a cutting board.
Use a sharp knife to cut it into small squares.
For cleaner cuts, wipe the knife between slices.
Method
The traditional method for making fudge consists of three important stages: cooking, cooling, and beating.
During cooking, the sugar, cocoa, milk, and butter are heated until enough moisture evaporates and the mixture reaches the soft-ball stage. This creates the foundation for the final texture.
During cooling, the mixture needs time to settle before it is vigorously beaten. Beating too early can affect the texture and encourage unwanted sugar crystallization.
Finally, beating causes tiny sugar crystals to form throughout the mixture. These crystals give traditional fudge its characteristic creamy yet firm texture.
The key is patience. The mixture should not be rushed during any of these stages.
History of Old-Fashioned Fudge
Fudge became popular in the United States during the late nineteenth century and quickly became a favorite homemade confection. Early fudge was commonly prepared in home kitchens, college communities, and family candy-making traditions.
Before modern shortcuts such as condensed milk and marshmallow creme became popular, cooks often relied on sugar, milk, butter, and chocolate or cocoa. They carefully cooked the mixture on the stovetop and used hand beating to create the desired texture.
Because fudge could be prepared with relatively simple pantry ingredients, it became a beloved homemade candy for holidays, school events, family gatherings, and gift giving.
The old-fashioned version remains special because the process itself is part of the tradition.
Formation and Texture
The perfect piece of old-fashioned fudge should be firm enough to hold its shape but soft enough to melt pleasantly in your mouth.
The texture comes from controlled sugar crystallization. Cooking the mixture to the proper temperature ensures that enough water evaporates. Cooling and beating then encourage the formation of very small sugar crystals.
Small crystals create smooth fudge, while uncontrolled crystallization can produce a grainy texture.
For this reason, avoid scraping crystallized sugar from the sides of the saucepan back into the mixture while it is cooking.
Tips for Perfect Homemade Fudge
Use a heavy-bottomed saucepan to distribute heat evenly and reduce the chance of scorching.
Measure the ingredients carefully because small changes in the sugar or liquid can affect the final consistency.
Do not rush the boiling stage. Let the mixture reach the correct temperature naturally.
Avoid vigorous stirring once the mixture begins boiling.
Use a candy thermometer whenever possible for the most reliable results.
Allow the fudge to cool before beating it.
Beat the mixture long enough for it to become thick and creamy, but stop once the desired consistency is reached.
For extra flavor, add toasted walnuts, pecans, chopped almonds, or a small amount of espresso powder.
For an even richer chocolate flavor, use high-quality unsweetened cocoa powder.
Serving Ideas
Old-fashioned chocolate fudge is delicious on its own, but it can also be served alongside coffee, tea, hot chocolate, or a scoop of vanilla ice cream.
For holidays, arrange the fudge on a dessert platter with other homemade candies and cookies.
It also makes a thoughtful homemade gift. Place individual squares into small paper candy cups and arrange them in a decorative box or tin.
Storage
Store the fudge in an airtight container at room temperature for several days or refrigerate it for a longer shelf life.
Place parchment paper between layers so the pieces do not stick together.
For a firmer texture, serve the fudge chilled. For the softest texture, allow refrigerated fudge to sit at room temperature for several minutes before serving.
Conclusion
Old-Fashioned Chocolate Fudge is a classic homemade dessert that proves simple ingredients can create something truly special. The combination of cocoa, sugar, milk, butter, and vanilla produces a rich chocolate flavor and a creamy texture that has made traditional fudge a favorite for generations.
The recipe does require patience, especially during the cooking and beating stages, but the reward is a beautiful batch of homemade fudge that tastes far more special than anything from a store.
Once you make it successfully, this is the kind of recipe you will want to keep close for Christmas, birthdays, family gatherings, bake sales, and every time a serious chocolate craving arrives.
For Chocolate Fudge Lovers
If you love rich chocolate desserts, this old-fashioned fudge is hard to resist. Every square delivers a deep cocoa flavor, buttery richness, and a smooth texture that slowly melts in your mouth.
Chocolate fudge lovers can also customize the basic recipe with toasted pecans, walnuts, almonds, chocolate chips, or a touch of sea salt.
For an especially indulgent dessert, serve a warm brownie with a small square of fudge and a scoop of vanilla ice cream.
This is more than just an easy homemade candy. It is a traditional recipe worth making, sharing, and passing down to the next generation.