
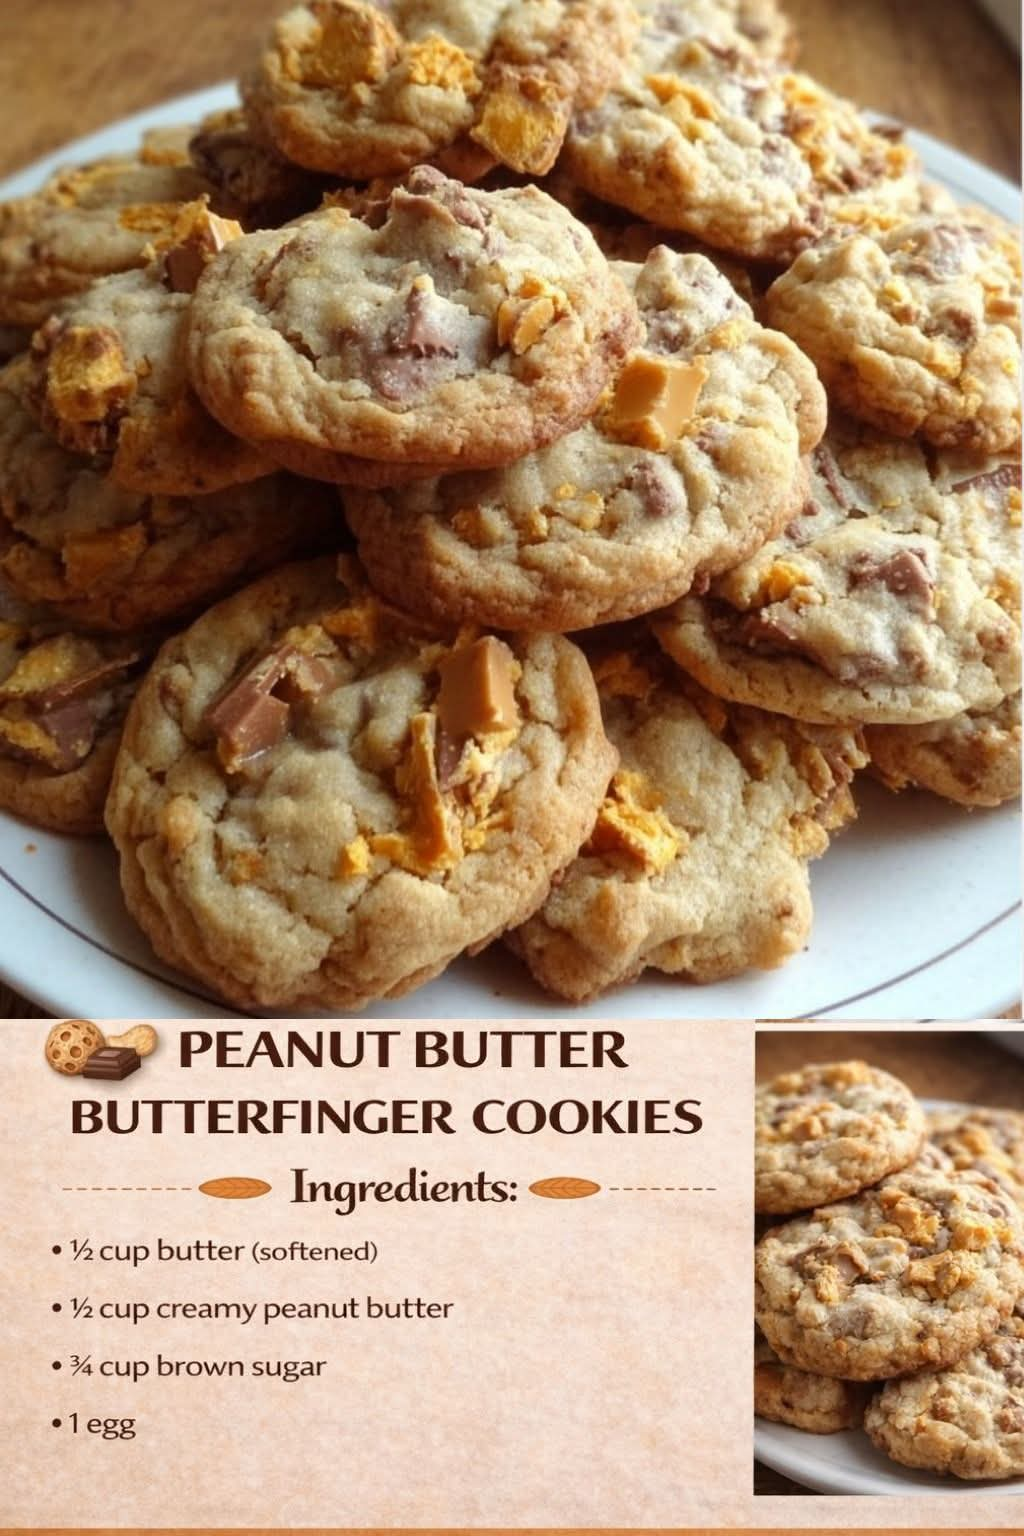
Peanut Butter Butterfinger Cookies
Introduction
Peanut Butter Butterfinger Cookies are a delicious homemade treat that combines the rich, creamy taste of peanut butter with the sweet, buttery flavor of brown sugar and the irresistible crunch of Butterfinger candy bars. These cookies are soft in the center, lightly crisp around the edges, and filled with delightful pieces of crunchy candy that make every bite special.
If you love peanut butter cookies and chocolate-covered candy, this recipe is the perfect combination of both. The peanut butter creates a rich, nutty flavor, while the brown sugar adds moisture and a subtle caramel-like sweetness. Butterfinger candy pieces bring their signature crispy, crunchy texture, making these cookies stand out from ordinary homemade cookies.
These cookies are wonderful for family gatherings, holiday cookie trays, birthday parties, bake sales, afternoon snacks, or simply enjoying with a glass of cold milk. They are easy enough for beginner bakers and delicious enough to become a favorite in your household.
Whether you are baking for your children, sharing treats with friends, or preparing a special dessert for the weekend, Peanut Butter Butterfinger Cookies are guaranteed to bring a little extra sweetness to the table.
Ingredients
Preparation time: 15 minutes Chilling time: 20–30 minutes, optional Baking time: 9–12 minutes Total time: Approximately 40–55 minutes Yield: 18–24 cookies, depending on size
Main Ingredients
- ½ cup unsalted butter, softened
- ½ cup creamy peanut butter
- ¾ cup packed brown sugar
- 1 large egg, preferably at room temperature
- 1 teaspoon vanilla extract
- 1½ cups all-purpose flour
- ½ teaspoon baking soda
- ¼ teaspoon salt, if using unsalted butter
- ¾ to 1 cup chopped Butterfinger candy bars
Optional Ingredients
- ¼ cup semi-sweet chocolate chips
- 2 tablespoons granulated sugar for rolling the dough
- Extra chopped Butterfinger pieces for decorating the tops
- A small pinch of flaky sea salt for a sweet-and-salty finish
Important note: The ingredient list you provided does not include Butterfinger candy or a leavening agent. The additions above help give the cookies their characteristic candy crunch and a tender texture. If your Butterfinger candy bars are very sweet, you can use the smaller amount of candy suggested.
Instructions
Step 1: Prepare the Oven and Baking Sheets
Preheat your oven to 350°F (175°C).
Line two baking sheets with parchment paper or silicone baking mats. This helps prevent the cookies from sticking and encourages even baking.
Measure all your ingredients before beginning. Allow the butter to soften at room temperature so it blends smoothly with the peanut butter and sugar.
Step 2: Cream the Butter, Peanut Butter, and Sugar
Place the softened butter, creamy peanut butter, and brown sugar in a large mixing bowl.
Using an electric mixer or a sturdy wooden spoon, beat the ingredients together for about 2–3 minutes, until the mixture looks creamy and well combined.
Scrape down the sides of the bowl as needed. Properly combining these ingredients helps create a smooth cookie dough with a rich peanut butter flavor.
The mixture should look soft and creamy rather than greasy or separated.
Step 3: Add the Egg and Vanilla
Add the egg and vanilla extract to the butter mixture.
Beat until everything is fully incorporated. The mixture should become smooth and slightly fluffy.
Avoid adding the flour before the egg has been thoroughly mixed in, as this helps distribute moisture evenly throughout the dough.
Step 4: Combine the Dry Ingredients
In a separate bowl, whisk together the all-purpose flour, baking soda, and salt.
This step distributes the baking soda evenly throughout the flour, helping the cookies bake more consistently.
Gradually add the dry ingredients to the peanut butter mixture. Mix on low speed or stir by hand until a soft dough forms.
Do not overmix. Stop as soon as the flour disappears into the dough to help keep the cookies tender.
Step 5: Add the Butterfinger Candy
Chop the Butterfinger candy bars into small pieces.
Fold the chopped candy into the dough using a spatula or wooden spoon. If you are adding chocolate chips, fold them in at the same time.
Reserve a small handful of candy pieces to press onto the tops of the cookies before baking.
The candy should be distributed throughout the dough so that each cookie receives a good balance of peanut butter flavor and crunchy candy.
Step 6: Chill the Dough
For the best results, cover the bowl and refrigerate the dough for 20–30 minutes.
Chilling helps firm the butter and makes the dough easier to handle. It can also help reduce excessive spreading during baking.
If your kitchen is cool and the dough is already firm, you may bake the cookies without chilling, although the final texture and spread may vary.
Step 7: Shape the Cookies
Scoop the dough into balls about 1–1½ tablespoons in size.
Place them on the prepared baking sheets, leaving approximately 2 inches between each cookie to allow room for spreading.
Gently press a few reserved Butterfinger pieces onto the top of each dough ball.
For a slightly flatter cookie, press each ball gently with your fingers or the bottom of a glass. Avoid flattening them too much, because the cookies will spread as they bake.
Step 8: Bake Until Golden
Place the baking sheets in the preheated oven and bake for 9–12 minutes.
The edges should look lightly golden and set, while the centers may still appear slightly soft. This is normal.
Do not wait until the cookies become completely firm in the oven. They will continue to set as they cool.
If baking two trays at once, rotate the trays halfway through baking if your oven has uneven heat.
Step 9: Allow the Cookies to Cool
Remove the baking sheets from the oven and let the cookies rest for approximately 5 minutes.
They will be delicate while hot, so allow them to firm up before transferring them to a wire rack.
Afterward, move the cookies carefully to the rack and let them cool completely.
The result should be cookies with lightly crisp edges, soft peanut butter centers, and crunchy pieces of Butterfinger candy throughout.
Methods for Perfect Peanut Butter Butterfinger Cookies
1. The Creaming Method
The creaming method begins by beating the softened butter, peanut butter, and brown sugar together before adding the egg and dry ingredients.
This technique helps distribute the fat and sugar evenly throughout the dough, producing a consistent texture and rich flavor.
For the best results, use softened butter rather than melted butter.
2. The Folding Method
Once the flour has been incorporated, gently fold in the chopped candy pieces.
Folding prevents excessive mixing and helps keep the cookie dough tender. It also protects the candy pieces from being crushed into tiny crumbs.
3. The Chilling Method
Chilling the dough is especially helpful when the dough feels sticky or soft.
Cold dough is easier to portion and often produces cookies with a thicker center. Refrigeration also gives the flour time to absorb moisture, improving the dough’s consistency.
4. The Controlled Baking Method
Bake the cookies until the edges are set but the centers remain slightly soft.
Every oven is different, so begin checking the cookies at around 9 minutes. Smaller cookies may finish sooner, while larger cookies may require additional baking time.
Allowing them to finish setting on the hot baking sheet is one of the easiest ways to prevent dry, overbaked cookies.
The History of Peanut Butter Butterfinger Cookies
Peanut butter cookies have a long history in American home baking. Peanut butter became increasingly popular in the United States during the late nineteenth and early twentieth centuries, and it eventually found its way into a wide variety of cakes, candies, bars, and cookies.
Traditional peanut butter cookies are known for their rich flavor and familiar fork-pressed pattern. Home bakers appreciate them because peanut butter provides both flavor and richness, making it possible to create a satisfying treat with simple pantry ingredients.
Butterfinger candy bars were introduced in the United States in 1923. Their distinctive combination of a crisp, flaky peanut-butter-flavored center and chocolatey coating made them a popular candy for snacking and dessert recipes.
As home baking evolved, creative bakers began incorporating chopped candy bars into familiar cookie recipes. Candy-bar cookies became a popular way to transform everyday desserts into something more exciting without requiring complicated techniques.
Peanut Butter Butterfinger Cookies bring these two traditions together: the comforting familiarity of homemade peanut butter cookies and the crunchy sweetness of a classic candy bar.
Although this particular combination does not have one universally established origin, it fits perfectly into the tradition of American home baking, where simple recipes are adapted with favorite candies and family-inspired additions.
Formation and Texture of the Cookies
The secret to these cookies lies in the way the ingredients work together during mixing and baking.
The butter contributes richness and helps create tender cookie centers.
The peanut butter supplies the signature nutty flavor and a smooth, creamy consistency.
The brown sugar adds sweetness, moisture, and a subtle caramel note.
The egg binds the ingredients together and helps provide structure.
The flour gives the dough its body and allows the cookies to hold their shape.
The baking soda helps the cookies spread and develop a pleasing texture.
The vanilla extract enhances the sweetness and rounds out the peanut butter flavor.
The Butterfinger pieces create pockets of crunchy, sweet candy throughout the cookies.
During baking, the butter softens, the sugars dissolve, and the dough gradually spreads. The edges set first, while the centers remain softer for a short time. As the cookies cool, their structure becomes firmer.
The finished cookies should have a golden appearance, a pleasant peanut butter aroma, and visible pieces of candy on the surface. Their texture combines the tenderness of a homemade cookie with the distinctive crunch of Butterfinger candy.
Helpful Tips for the Best Results
- Use room-temperature ingredients. Softened butter and a room-temperature egg blend more easily.
- Measure the flour carefully. Too much flour can make cookies dry and crumbly. Spoon flour into the measuring cup and level it off rather than packing it down.
- Choose creamy peanut butter. Regular creamy peanut butter generally gives the dough a consistent texture.
- Chop the candy into small pieces. Smaller pieces distribute more evenly than large chunks.
- Avoid overbaking. The cookies should remain slightly soft in the center when removed from the oven.
- Chill sticky dough. A short refrigeration period can make shaping easier.
- Save candy for the tops. Pressing a few pieces into each dough ball makes the finished cookies look especially appealing.
- Check peanut allergies. Both peanut butter and Butterfinger candy contain peanut-related ingredients, so these cookies are not appropriate for people with peanut allergies.
Variations to Try
Chocolate-Dipped Butterfinger Cookies
Once the cookies have cooled completely, dip half of each cookie into melted chocolate. Place the cookies on parchment paper and allow the chocolate to set.
Extra-Crunchy Butterfinger Cookies
Increase the chopped candy slightly, using up to 1 cup, and reserve some pieces for the tops. Keep the pieces small enough to distribute throughout the dough.
Peanut Butter Chocolate Chip Cookies
Add ¼ cup of semi-sweet chocolate chips to the dough. The chocolate complements the peanut butter and the sweet, crunchy candy.
Soft and Chewy Cookies
Keep the brown sugar in the recipe, avoid adding excess flour, and remove the cookies when the edges are set but the centers still look slightly soft.
Holiday Butterfinger Cookies
Shape the dough into evenly sized balls and decorate the tops with extra candy pieces before baking. Arrange the cooled cookies on a festive serving platter or package them in a cookie box for gifting.
Storage and Make-Ahead Instructions
At room temperature: Store completely cooled cookies in an airtight container for approximately 3–4 days. Keep them away from direct sunlight and heat.
In the refrigerator: Refrigeration is generally unnecessary for these cookies, but you can store them in an airtight container if your kitchen is very warm.
In the freezer: Freeze baked cookies in a freezer-safe container for up to 2 months for best quality. Separate layers with parchment paper to prevent sticking.
Freezing the dough: Shape the dough into balls and freeze them on a lined tray until firm. Transfer the frozen dough balls to a freezer-safe bag or container. Bake from frozen, adding a little extra baking time and checking for doneness.
For the best candy texture, allow the cookies to cool completely before storing them.
Serving Suggestions
Peanut Butter Butterfinger Cookies are delicious on their own, but they can also be served in several creative ways.
- Serve them with a cold glass of milk for a classic afternoon treat.
- Arrange them on a dessert platter alongside brownies and chocolate chip cookies.
- Crumble one over vanilla ice cream for a crunchy dessert topping.
- Serve them with coffee or hot chocolate for a cozy evening snack.
- Package them in small boxes or bags for homemade gifts.
- Add them to a holiday dessert table for guests who enjoy peanut butter and chocolate flavors.
For an especially indulgent dessert, sandwich a small scoop of vanilla ice cream between two completely cooled cookies.
Conclusion
Peanut Butter Butterfinger Cookies are the perfect example of how a few familiar ingredients can become something truly special. The creamy peanut butter, rich brown sugar, fragrant vanilla, and crunchy Butterfinger candy create a delicious balance of sweetness and texture.
With a simple mixing process, a short baking time, and easy-to-follow instructions, these cookies are suitable for beginner bakers and experienced home cooks alike.
The most important secrets are to measure the flour correctly, avoid overmixing, chill the dough when necessary, and remove the cookies before their centers become too firm.
Whether you make them for a family gathering, a holiday celebration, a bake sale, or an ordinary afternoon at home, these cookies offer a wonderful combination of homemade comfort and candy-bar indulgence.
Bake a batch, let them cool, and enjoy the irresistible combination of peanut butter and Butterfinger crunch in every bite.
For Peanut Butter Cookie Lovers
If you love cookies that are soft in the middle, slightly crisp around the edges, and filled with sweet surprises, this recipe deserves a place in your collection.
Peanut butter lovers will appreciate the rich, nutty base, while Butterfinger fans will enjoy the crunchy candy pieces tucked into every cookie. The brown sugar adds a warm sweetness that brings all the flavors together without requiring complicated ingredients or special baking equipment.
These cookies are also easy to personalize. You can add chocolate chips, make them slightly larger, or decorate the tops with extra candy for a bakery-style appearance.
The best part is that they are made for sharing. A plate of freshly baked Peanut Butter Butterfinger Cookies can turn an ordinary afternoon into a special family moment.
Recipe reminder: The original ingredient list contains the basic peanut butter cookie mixture. For the full Butterfinger version, include the chopped candy, baking soda, and salt as listed above. Always check the candy package for current allergen information.