
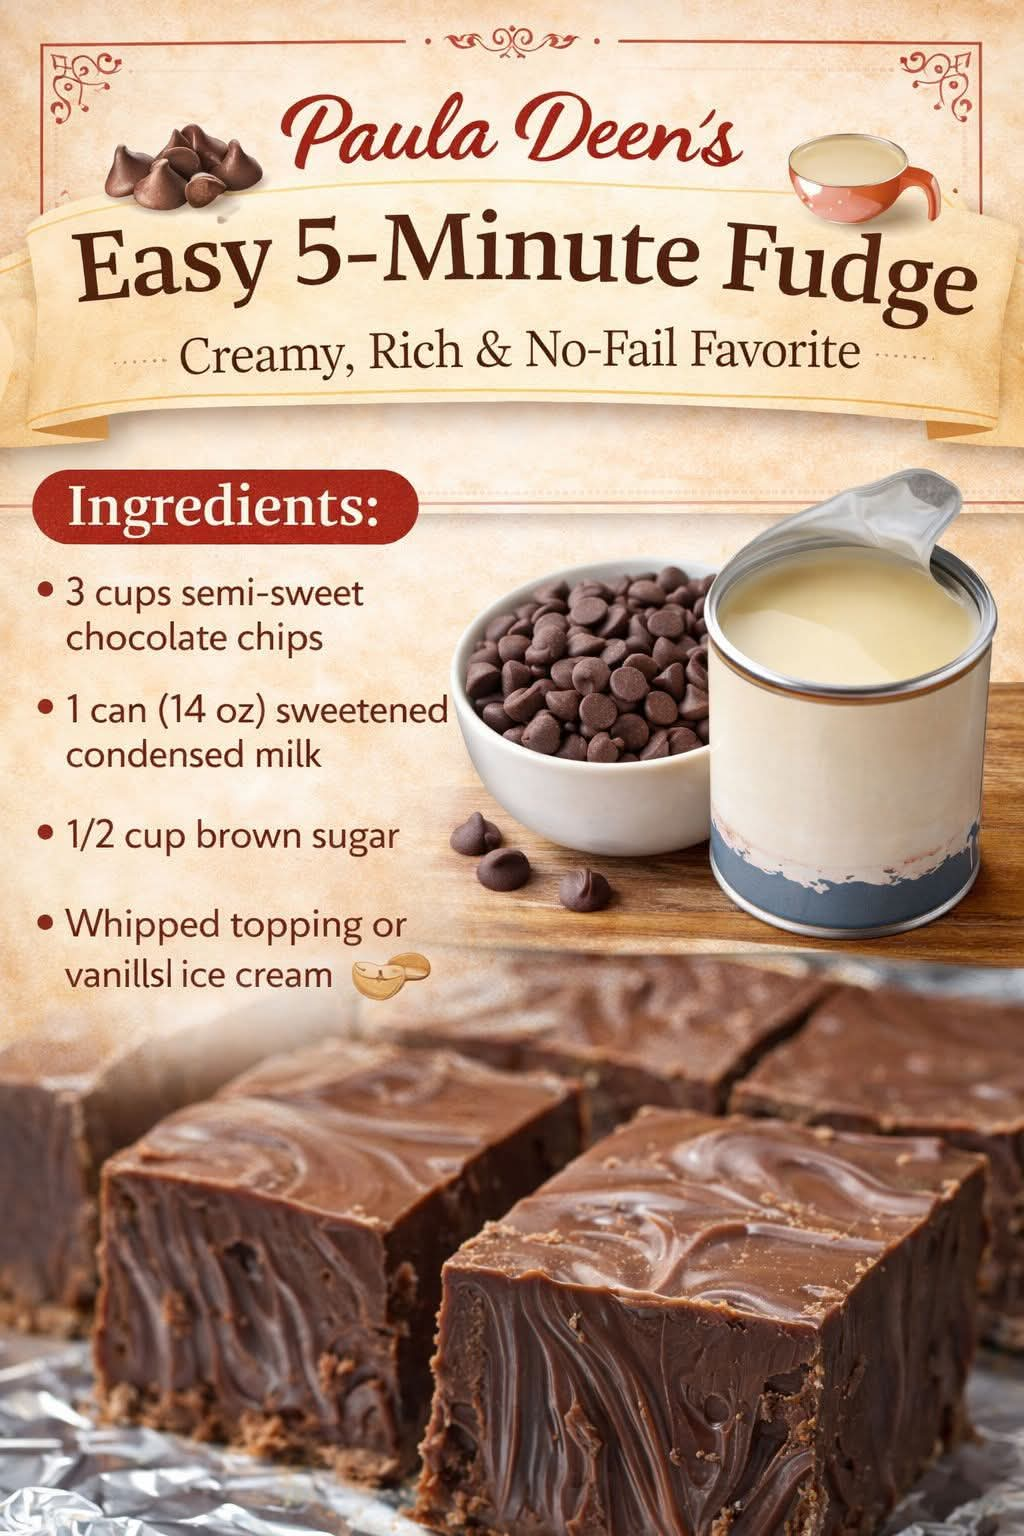
Paula Deen’s Easy 5-Minute Fudge — Creamy, Rich, and No-Fail Favorite


Introduction
If you love old-fashioned chocolate fudge but don’t want to spend hours standing over the stove, this easy 5-minute fudge recipe is the perfect homemade treat. Rich, creamy, smooth, and wonderfully chocolatey, this simple dessert proves that you don’t need complicated ingredients or special candy-making equipment to create something delicious.
Inspired by the comforting, Southern-style desserts associated with Paula Deen, this easy fudge combines semi-sweet chocolate chips, sweetened condensed milk, and vanilla extract to create a sweet treat that tastes wonderfully indulgent. The chocolate melts into the condensed milk, forming a thick, glossy mixture that sets into beautiful squares after chilling.
This recipe is perfect for Christmas cookie trays, holiday dessert tables, birthday celebrations, potlucks, homemade gifts, or a quiet evening when you want something sweet. It is also an excellent recipe for beginners because it doesn’t require a candy thermometer or the traditional sugar-boiling method.
The preparation takes only about five minutes, although the fudge needs additional time in the refrigerator to become firm enough to slice. With just three main ingredients, this recipe is simple, affordable, and easy to customize.
Ingredients

1. Semi-sweet chocolate chips
- 3 cups semi-sweet chocolate chips
- Provide the deep chocolate flavor and rich texture that make this fudge so delicious.

2. Sweetened condensed milk
- 1 can (14 ounces)
- Creates a smooth, creamy consistency and supplies the sweetness needed for the fudge to set.

3. Vanilla extract
- 1 teaspoon
- Enhances the chocolate flavor and gives the finished fudge a warm, familiar aroma.
Optional ingredients
These additions are not necessary for the basic recipe, but they can make it even more special.
- 1 tablespoon butter for extra richness and a softer mouthfeel.
- ½ cup chopped pecans or walnuts for a pleasant crunch.
- ¼ teaspoon salt to balance the sweetness.
- ½ cup mini chocolate chips for a more intense chocolate texture, sprinkled on top before chilling.
Equipment Needed
- An 8-inch square baking pan.
- Parchment paper or aluminum foil.
- A microwave-safe bowl or a heatproof bowl for a double boiler.
- A silicone spatula or wooden spoon.
- A sharp knife for cutting the chilled fudge.
Instructions
Step 1: Prepare the pan
Line an 8-inch square baking pan with parchment paper, leaving some extra paper hanging over the sides. This makes it much easier to lift the finished fudge out of the pan without breaking the edges.
Smooth the parchment paper into the corners and set the pan aside.
Step 2: Combine the chocolate and condensed milk
Place the three cups of semi-sweet chocolate chips into a large microwave-safe bowl. Pour the entire can of sweetened condensed milk over the chocolate chips.
Stir gently to coat the chocolate as evenly as possible.
Step 3: Melt the chocolate mixture
Microwave method:
Microwave the mixture for 30 seconds at a time, stirring well after each interval. Continue until the chocolate chips are almost completely melted and the mixture becomes smooth.
Depending on your microwave, this usually takes approximately 1½ to 2½ minutes in total. Avoid overheating the chocolate because it can become thick, grainy, or scorched.
Stovetop method:
Place the chocolate chips and condensed milk in a heatproof bowl over a saucepan containing gently simmering water. Make sure the bottom of the bowl does not touch the water.
Stir continuously until the chocolate melts and the mixture becomes thick and glossy.
Step 4: Add the vanilla
Remove the bowl from the heat and stir in one teaspoon of vanilla extract.
Mix thoroughly until the vanilla is evenly distributed throughout the chocolate mixture. The fudge should look smooth, thick, and shiny.
If you are adding chopped nuts, stir them in at this stage.
Step 5: Transfer the fudge to the pan
Pour the warm chocolate mixture into the prepared baking pan.
Use a spatula to spread it evenly into the corners. Smooth the top so that the fudge will have an attractive, uniform appearance when cut.
If desired, sprinkle chopped nuts or a few extra chocolate chips over the surface.
Step 6: Chill until firm
Place the pan in the refrigerator for approximately 2–3 hours, or until the fudge is completely firm.
For a firmer texture that produces particularly neat squares, allow it to chill a little longer if necessary.
Although the preparation takes only five minutes, the chilling time is essential for the fudge to set properly.
Step 7: Cut and serve
Lift the fudge from the pan using the parchment paper. Place it on a cutting board and use a sharp knife to cut it into small squares.
For cleaner cuts, warm the knife under hot water, wipe it dry, and slice through the fudge. Repeat between cuts as needed.
Arrange the squares on a serving plate and enjoy.
Cooking Methods
There are two easy ways to prepare this recipe.

Method 1: Microwave fudge
Fastest method
Combine the chocolate chips and condensed milk in a microwave-safe bowl. Heat in short intervals, stirring frequently until smooth. Add vanilla, transfer to the pan, and refrigerate.
This is ideal for busy days, holiday baking, and quick homemade desserts.

Method 2: Double-boiler fudge
Gently melt the chocolate chips with the condensed milk over simmering water. Stir constantly until the mixture is silky and uniform, then add vanilla.
This method provides more gradual, controlled heating and is useful if you prefer not to use a microwave.
Recipe Information
Preparation time
5 minutes
Melting time
2–5 minutes, approximately
Chilling time
2–3 hours
Yield
Approximately 36 small squares
Difficulty
Easy — beginner-friendly
The History of Homemade Chocolate Fudge
Fudge has been a beloved American confection for generations. Its popularity grew during the late nineteenth century, when homemade candy became a familiar part of family kitchens, celebrations, and community gatherings.
Traditional fudge is made by cooking sugar, milk, and butter to a specific temperature before beating the mixture until it develops a creamy texture. Although delicious, the traditional technique requires careful temperature control to achieve the right consistency.
Simplified fudge recipes became increasingly popular as home cooks looked for reliable ways to make candy without complicated equipment. Sweetened condensed milk offered a convenient alternative because it provides concentrated sweetness and a creamy base. Combined with chocolate chips, it makes it possible to create a rich confection with very little preparation.
Paula Deen is widely associated with Southern-inspired comfort food, generous desserts, and accessible home cooking. This three-ingredient version fits that easygoing style of baking. However, the specific three-ingredient formula is a common variation of condensed-milk fudge, and its exact attribution to Paula Deen should not be assumed without a verified original source.
Today, quick chocolate fudge remains popular for holiday gifts, bake sales, dessert platters, and family gatherings because it is easy to prepare and can be adapted with different flavors and toppings.
Formation: How Does the Fudge Become Creamy?
The secret to this recipe is the combination of chocolate and sweetened condensed milk.
Chocolate chips contain cocoa solids, cocoa butter, and sugar. When heated gently, the chocolate softens and melts, allowing these components to form a smooth mixture.
Sweetened condensed milk contributes milk solids, sugar, and moisture. It helps create a dense, creamy confection without requiring the traditional process of boiling sugar syrup to a precise temperature.
As the mixture cools, the cocoa butter and other fats become firmer. This allows the fudge to hold its shape when cut into squares.
Three things are especially important:
- Gentle heat: Chocolate can scorch if heated too aggressively, so short microwave intervals or a double boiler work best.
- Thorough mixing: Stirring ensures that the chocolate and condensed milk combine evenly.
- Adequate chilling: Refrigeration allows the fudge to firm up and makes it easier to cut into neat pieces.
The result is a smooth, rich fudge with a soft bite and an intense chocolate flavor.
Helpful Tips for Perfect, No-Fail Fudge
Use good-quality chocolate chips. The chocolate is the main flavor, so choose a brand you enjoy eating.
Do not add regular milk. The recipe is designed around sweetened condensed milk, which is much thicker and sweeter than ordinary milk. Evaporated milk is not an equivalent substitute.
Avoid overheating. If the chocolate mixture becomes excessively hot, it may turn grainy or lose its smooth consistency.
Stir patiently. If a few chocolate pieces remain, continue stirring gently while the residual heat melts them.
Allow enough time to chill. Cutting the fudge before it is firm can result in sticky, uneven squares.
Use parchment paper. It makes removing the entire slab from the pan much easier.
Cut small portions. This fudge is rich, so small squares are perfect for dessert trays and sharing with guests.
Delicious Variations to Try

1. Chocolate Walnut Fudge
Add ½ cup chopped walnuts or pecans to the melted mixture. The nuts add crunch and balance the smooth chocolate texture.

2. Peanut Butter Chocolate Fudge
Swirl ¼ cup creamy peanut butter into the mixture before chilling for a delicious combination of chocolate and peanut butter.

3. Holiday Peppermint Fudge
Add a small amount of peppermint extract and sprinkle crushed peppermint candy over the top for a festive holiday variation.

4. Dark Chocolate Sea Salt Fudge
Use dark chocolate chips and finish with a light sprinkle of flaky sea salt to create a sophisticated sweet-and-salty dessert.

5. Rocky Road Fudge
Fold in ½ cup chopped nuts and 1 cup mini marshmallows after the chocolate mixture has cooled slightly. The result is a chewy, crunchy, chocolate-filled treat.
Serving Suggestions
This easy fudge is versatile enough for many occasions.
- Serve alongside coffee, tea, or a glass of cold milk.
- Add small squares to Christmas cookie trays.
- Arrange them on a dessert platter with brownies and cookies.
- Wrap individual pieces in parchment paper for homemade gifts.
- Serve after dinner as a small chocolate dessert.
- Include them in party favor bags or holiday gift boxes.
For a beautiful presentation, arrange the squares in neat rows on a white platter. A few chopped nuts or a light sprinkle of flaky salt can make the pieces look especially inviting.
Storage Instructions
Refrigerator: Store the fudge in an airtight container for approximately 1–2 weeks. Place parchment paper between layers to prevent sticking.
Room temperature: In a cool room, the fudge may be kept in an airtight container for several days, but refrigeration is preferable in warm weather.
Freezer: Freeze the fudge in an airtight, freezer-safe container for up to 2–3 months for best quality. Separate the layers with parchment paper.
To serve frozen fudge, thaw it in the refrigerator or allow it to soften slightly at room temperature while still covered.
Troubleshooting Common Problems
Why is my fudge too soft?
It may need more chilling time, or the chocolate-to-condensed-milk ratio may have changed. Refrigerate it longer before cutting.
Why is my fudge grainy?
The chocolate may have overheated, or moisture may have entered the melting bowl. Use gentle heat and keep the utensils dry.
Why is my fudge difficult to cut?
It may be very cold or the chocolate may be particularly firm. Let it stand at room temperature for a few minutes, then use a warm, dry knife.
Can I use milk chocolate chips?
Yes, but the fudge will generally taste sweeter and may have a softer texture depending on the chocolate used. Semi-sweet chocolate is a good choice for balancing sweetness.
Can I double the recipe?
Yes. Double all three ingredients and use a larger lined pan, such as a 9-by-13-inch pan. The fudge may need additional chilling time depending on its thickness.
Conclusion
Paula Deen-inspired Easy 5-Minute Fudge is a wonderful example of how a few simple ingredients can create a memorable homemade dessert. With semi-sweet chocolate chips, sweetened condensed milk, and vanilla extract, you can prepare a rich, creamy chocolate treat without complicated candy-making techniques.
Its biggest advantage is its simplicity. There is no need for a candy thermometer, lengthy cooking, or a long ingredient list. Melt, stir, spread, chill, and slice. The hardest part may be waiting for the fudge to set before enjoying the first piece.
Whether you make it for Christmas, a family celebration, a homemade gift, or an everyday chocolate craving, this easy fudge deserves a place in your dessert collection.
For Chocolate Fudge Lovers
If you love smooth, rich chocolate desserts, this recipe is an excellent starting point for experimenting with your favorite flavors. Try walnuts for crunch, peanut butter for extra richness, peppermint for the holidays, or sea salt for a balanced finish.
The classic three-ingredient version is delicious on its own, but the possibilities are almost endless.
Recipe reminder: Save this recipe for your next dessert craving. With just three ingredients and a few minutes of preparation, homemade chocolate fudge can become one of the easiest treats in your kitchen.
Enjoy every creamy, chocolatey bite.