
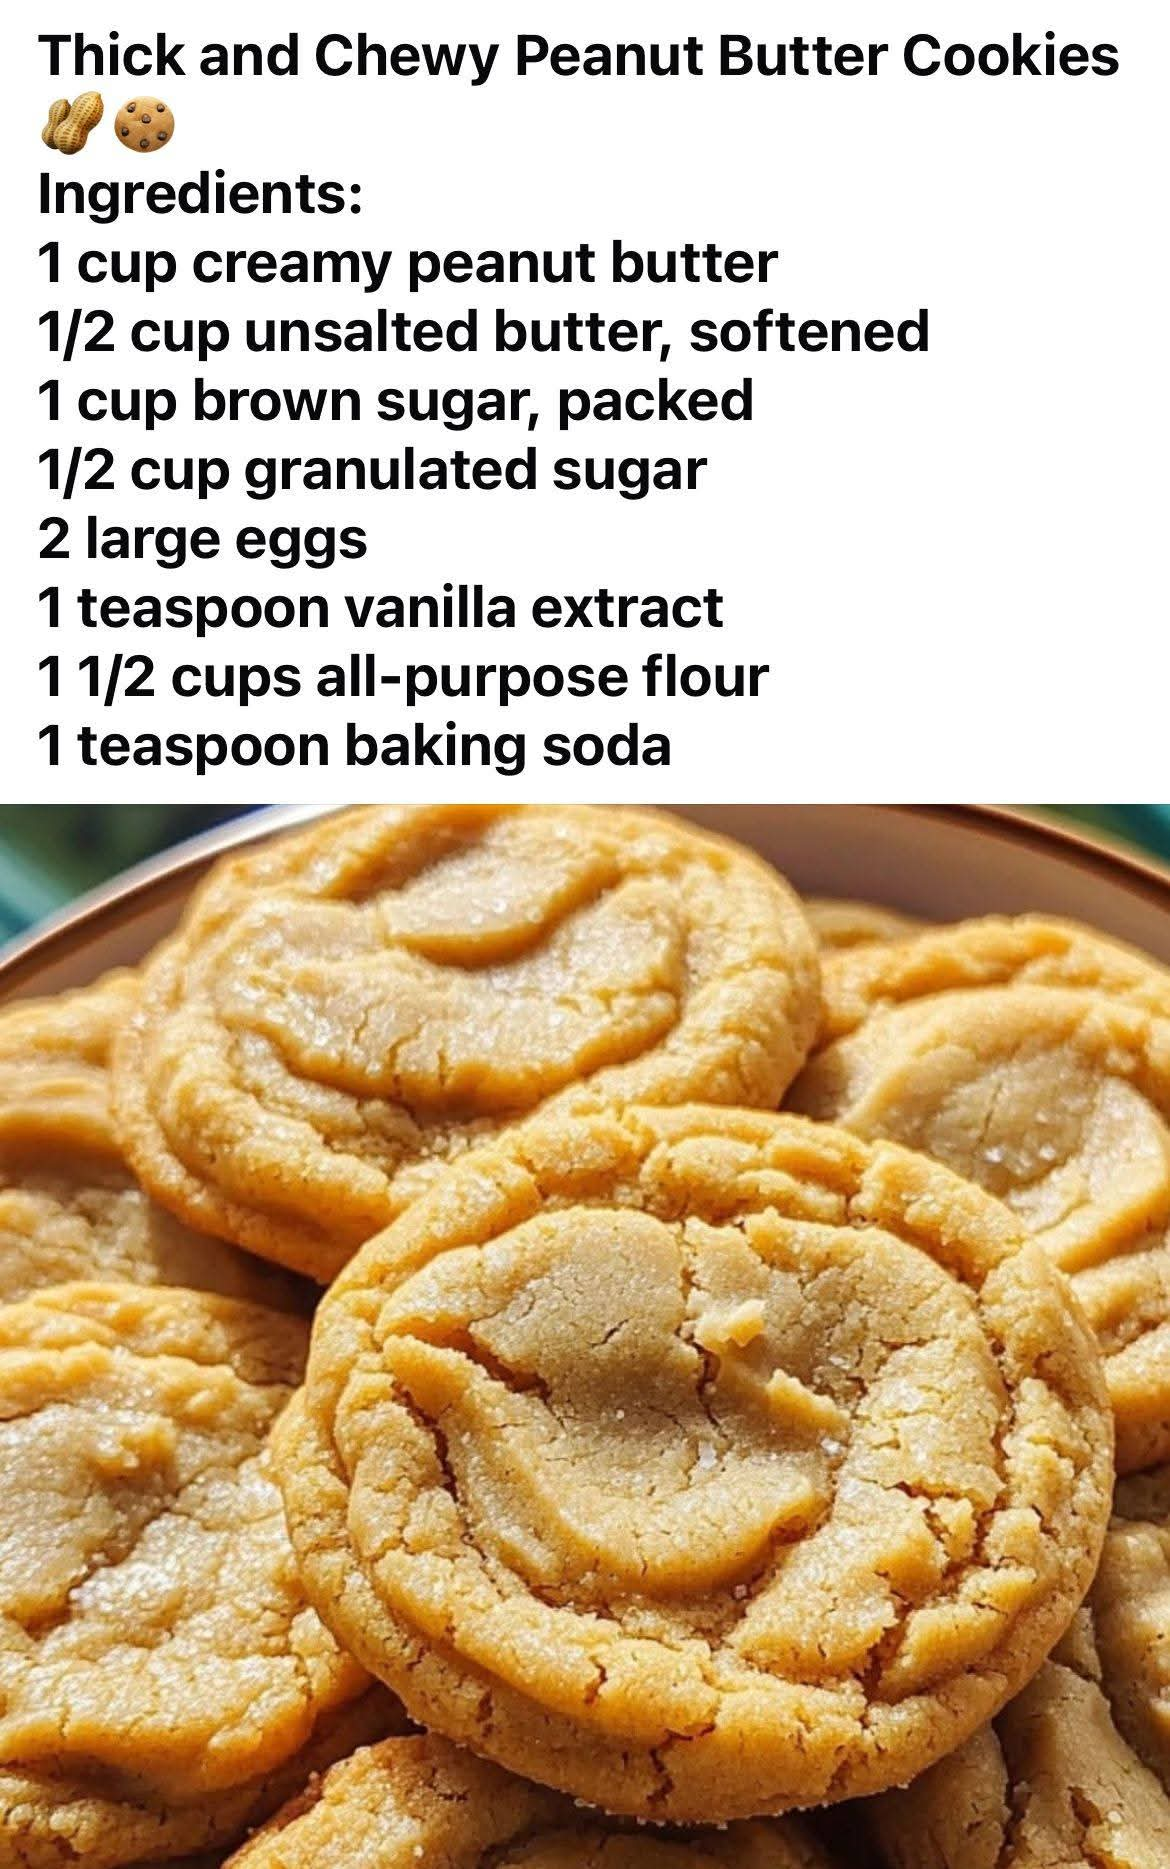
Chewy Peanut Butter Cookies: Soft, Rich, and Irresistible
Introduction
There is something truly special about homemade peanut butter cookies. Their rich nutty flavor, soft centers, slightly crisp edges, and wonderful buttery aroma make them a timeless favorite for cookie lovers of all ages. These chewy peanut butter cookies are simple to prepare, require everyday baking ingredients, and are perfect for sharing with family and friends.
This recipe combines creamy peanut butter, softened butter, and brown sugar to create cookies with a rich flavor and a wonderfully chewy texture. Brown sugar adds moisture and a subtle caramel taste, while peanut butter provides that classic roasted peanut flavor that makes every bite satisfying.
Whether you are preparing an afternoon snack, filling a cookie jar, packing treats for lunchboxes, or making something sweet for a family gathering, these homemade cookies are an excellent choice. Serve them with a cold glass of milk, a warm cup of coffee, or your favorite tea for a comforting homemade treat.
Ingredients

For the chewy peanut butter cookies
- 1 cup creamy peanut butter
- ½ cup unsalted butter, softened
- ¾ cup packed brown sugar
- ¼ cup granulated sugar
- 1 large egg, at room temperature
- 1 teaspoon vanilla extract
- 1¼ cups all-purpose flour
- ½ teaspoon baking soda
- ¼ teaspoon baking powder
- ¼ teaspoon salt, if using unsalted peanut butter
Optional additions
- ½ cup chocolate chips
- ¼ cup chopped roasted peanuts
- 2 tablespoons granulated sugar for rolling the cookie dough
- A little extra peanut butter for a stronger peanut flavor
Preparation and Cooking Time
- Preparation time: 15 minutes
- Chilling time: 20–30 minutes, optional but recommended
- Baking time: 9–12 minutes per batch
- Cooling time: 10–15 minutes
- Yield: Approximately 20–24 cookies, depending on size
Instructions
Step 1: Prepare the oven and baking sheets
Preheat your oven to 350°F (175°C). Line a baking sheet with parchment paper or use a silicone baking mat.
Preparing the baking sheet in advance makes it easier to transfer the cookies without sticking. Make sure the oven has reached the correct temperature before baking so the cookies cook evenly.
Step 2: Cream the butter and sugars
Place the softened butter, brown sugar, and granulated sugar in a large mixing bowl.
Using a hand mixer or stand mixer, beat the ingredients for about 2–3 minutes until the mixture becomes creamy, smooth, and slightly fluffy.
This step helps incorporate air into the mixture and creates a pleasant cookie texture. Avoid using melted butter because it can cause the cookies to spread too much during baking.
Step 3: Add the peanut butter
Add the creamy peanut butter to the butter-and-sugar mixture.
Beat until everything is fully combined and the mixture looks thick, smooth, and creamy. Scrape down the sides of the bowl with a spatula to ensure that no ingredients remain unmixed.
The peanut butter is the star of this recipe, so choose a creamy variety with a flavor you enjoy.
Step 4: Mix in the egg and vanilla
Add the egg and vanilla extract to the bowl.
Beat until the mixture becomes smooth and evenly blended. The egg helps bind the ingredients together, while vanilla enhances the warm, nutty flavor of the peanut butter.
Do not worry if the mixture looks slightly thick. This is normal for peanut butter cookie dough.
Step 5: Combine the dry ingredients
In a separate bowl, whisk together the flour, baking soda, baking powder, and salt.
Mixing these ingredients separately helps distribute the leavening agents evenly throughout the flour. This promotes more consistent baking and prevents concentrated pockets of baking soda or salt.
Step 6: Make the cookie dough
Gradually add the dry ingredients to the peanut butter mixture.
Mix on low speed or stir with a spatula until a soft dough forms. Stop mixing as soon as the flour disappears.
The dough should be thick enough to scoop and shape without being excessively sticky. Avoid overmixing, as this can make the finished cookies less tender.
If the dough feels very soft, cover the bowl and refrigerate it for 20–30 minutes.
Step 7: Shape the cookies
Scoop approximately 1½ tablespoons of dough for each cookie and roll each portion into a ball.
Place the dough balls on the prepared baking sheet, leaving about 2 inches between them to allow room for spreading.
For the traditional peanut butter cookie appearance, gently press each dough ball with a fork to create a crisscross pattern. Dip the fork in a little sugar if the dough sticks.
Do not flatten the cookies too much if you want thick, soft centers.
Step 8: Bake the cookies
Place the baking sheet in the preheated oven and bake for 9–12 minutes.
The edges should look set and lightly golden, while the centers may still appear soft. This is the secret to achieving a chewy texture.
Do not wait for the cookies to become completely firm in the oven. They will continue to cook slightly from the residual heat after being removed.
Baking for too long can make peanut butter cookies dry and crumbly.
Step 9: Allow the cookies to cool
Remove the baking sheet from the oven and let the cookies rest for approximately 5 minutes.
They will be delicate while hot, so avoid moving them immediately. Once they have started to firm up, carefully transfer them to a wire rack.
Allow them to cool for another 10 minutes before serving.
Step 10: Serve and enjoy
Arrange the cookies on a serving plate or place them in a cookie jar once completely cooled.
Enjoy them with cold milk, coffee, tea, or hot chocolate. For an extra-special dessert, sandwich a small amount of chocolate spread or vanilla frosting between two completely cooled cookies.
Methods for Making the Best Chewy Peanut Butter Cookies
1. The creaming method
This is the main method used in this recipe. Butter and sugar are beaten together before the peanut butter, egg, and dry ingredients are added.
Creaming the butter and sugar helps create a tender texture and contributes to the cookies’ structure.
2. The mixing method
After the wet ingredients are combined, the dry ingredients are incorporated gradually. Mixing only until combined helps prevent excessive gluten development and keeps the cookies tender.
3. The chilling method
Refrigerating the dough for 20–30 minutes is particularly helpful if your kitchen is warm or the dough seems too soft.
Chilling firms the butter and makes the dough easier to handle. It can also help reduce excessive spreading during baking.
4. The fork-press method
The familiar crisscross pattern is more than a decoration. Peanut butter cookie dough is naturally thick, and gently flattening the dough balls helps them bake more evenly.
Press only enough to create a pattern while keeping the cookies reasonably thick.
5. The slightly-underdone method
For soft, chewy cookies, remove them from the oven when the edges are set but the centers remain soft.
Allowing them to finish setting on the hot baking sheet helps preserve moisture and prevents overbaking.
The History of Peanut Butter Cookies
Peanut butter cookies have become a beloved part of American home baking, particularly during the twentieth century, when peanut butter became a common household ingredient.
Peanuts have a much older history, with cultivation and culinary uses extending back thousands of years in South America. Over time, peanuts spread to other parts of the world and became an important food ingredient in many cultures.
As peanut butter became increasingly popular in American kitchens, home bakers began incorporating it into cakes, candies, and cookies. Peanut butter cookies eventually became especially recognizable for their rich flavor and distinctive fork-pressed pattern.
The crisscross design is often associated with traditional peanut butter cookie recipes. It gives the cookies their familiar homemade appearance and helps flatten the thick dough before baking.
Today, peanut butter cookies remain popular because they are relatively easy to prepare, adaptable to different tastes, and suitable for everything from everyday snacks to holiday cookie platters.
Formation and Texture of the Cookies
The texture of these cookies develops through the interaction of several ingredients.
Peanut butter: Provides the characteristic roasted peanut flavor, richness, and fat that contribute to the cookies’ tender texture.
Butter: Adds flavor and helps produce a soft, delicate crumb.
Brown sugar: Contains molasses, which contributes moisture, a deeper caramel-like flavor, and a chewy texture.
Granulated sugar: Adds sweetness and helps the edges develop a light crispness.
Egg: Binds the ingredients together and contributes structure and moisture.
Flour: Provides the structure needed to hold the cookies together.
Baking soda and baking powder: Help the cookies spread and rise, creating a balanced texture rather than a dense, heavy cookie.
During baking, the butter softens, the sugars dissolve, and the dough gradually sets. Removing the cookies while their centers are still slightly soft helps preserve their chewy consistency as they cool.
Tips for Perfect Results Every Time
- Use softened butter rather than melted butter.
- Measure the flour carefully to avoid dry cookies.
- Choose creamy peanut butter for a smooth, consistent dough.
- Do not overmix after adding the flour.
- Chill the dough if it is too soft to shape.
- Leave enough space between the dough balls.
- Check the cookies early because oven temperatures can vary.
- Let the cookies rest on the baking sheet before transferring them.
- For a deeper flavor, use dark brown sugar instead of light brown sugar.
- For extra texture, fold chopped roasted peanuts into the dough.
Delicious Variations

1. Peanut Butter Chocolate Chip Cookies
Fold ½ cup chocolate chips into the finished dough before shaping. The chocolate melts into little pockets, creating a delicious contrast with the peanut butter.

2. Sugar-Coated Peanut Butter Cookies
Roll the dough balls in granulated sugar before placing them on the baking sheet. This creates a delicate sugary coating and a slightly crisp exterior.

3. Crunchy Peanut Butter Cookies
Add ¼ cup chopped roasted peanuts to the dough for extra crunch and a more pronounced peanut flavor.

4. Peanut Butter Sandwich Cookies
Once the cookies are completely cool, spread chocolate ganache or vanilla frosting between two cookies to create a delicious sandwich dessert.
Storage and Make-Ahead Instructions
At room temperature: Store the completely cooled cookies in an airtight container for up to 5 days.
In the refrigerator: Refrigeration is generally unnecessary, but the cookies can be kept in an airtight container if your kitchen is very warm. Allow them to come to room temperature before serving for the best texture.
In the freezer: Place baked, cooled cookies in a freezer-safe container with parchment paper between layers. Freeze for up to 3 months for best quality.
Freezing the dough: Shape the dough into balls and freeze them on a tray. Once firm, transfer them to a freezer-safe bag or container. Bake from frozen, adding a little extra baking time and checking that the cookies are properly baked.
Refreshing the cookies: If the cookies become firmer after storage, let them sit at room temperature before serving. A few seconds in the microwave can also soften one cookie, but allow it to cool slightly before eating.
Because this recipe contains peanut butter, clearly label the cookies when sharing them. Peanuts are a common allergen, and these cookies are not suitable for people with peanut allergies.
Serving Suggestions
These chewy peanut butter cookies are delicious on their own, but they can also become part of a larger dessert spread.
- Serve with a cold glass of milk for a classic combination.
- Add them to a homemade cookie platter alongside oatmeal or chocolate chip cookies.
- Crumble them over vanilla ice cream.
- Pack them into lunchboxes for a sweet treat.
- Serve them with coffee or tea during an afternoon break.
- Arrange them in a decorative tin as a homemade gift for friends and family.
Frequently Asked Questions
Why did my peanut butter cookies turn out dry?
They may have been overbaked, or too much flour may have been added. Measure the flour carefully and remove the cookies while the centers are still soft.
Why did my cookies spread too much?
The butter may have been too warm, or the dough may have needed chilling. Refrigerate the dough for 20–30 minutes before baking if necessary.
Can I use crunchy peanut butter?
Yes. Crunchy peanut butter works well and adds extra texture. The finished cookies may have a slightly less uniform appearance.
Can I prepare the dough ahead of time?
Yes. Cover and refrigerate the dough for up to 24 hours. Let it soften slightly if it becomes too firm to scoop.
How do I know when the cookies are ready?
Look for set edges and centers that still appear a little soft. They will firm up as they cool.
Can I make the cookies smaller or larger?
Yes. Smaller cookies generally bake faster, while larger cookies need more time. Keep an eye on them and remove them when the edges are set.
Conclusion
These chewy peanut butter cookies are a wonderful example of how simple ingredients can create a memorable homemade dessert. Creamy peanut butter, butter, brown sugar, and vanilla come together to create a rich flavor, soft center, and lightly crisp edges.
The recipe is easy enough for beginner bakers and flexible enough for experienced home cooks to customize with chocolate chips, chopped peanuts, or a sweet filling. With the right mixing technique and careful baking, you can prepare a batch of cookies that tastes delicious and looks beautiful.
Whether you make them for a quiet afternoon at home, a family celebration, a holiday gathering, or a homemade gift, these cookies are sure to earn a place among your favorite baking recipes.
For Peanut Butter Cookie Lovers
If you love classic homemade cookies, this recipe is worth keeping in your collection. The aroma of peanut butter baking in the oven, the familiar fork-pressed pattern, and the first soft, chewy bite make these cookies a comforting treat to return to again and again.
Bake a batch, pour a glass of cold milk, and share them with the people you love. Sometimes, the simplest homemade desserts create the happiest memories.