
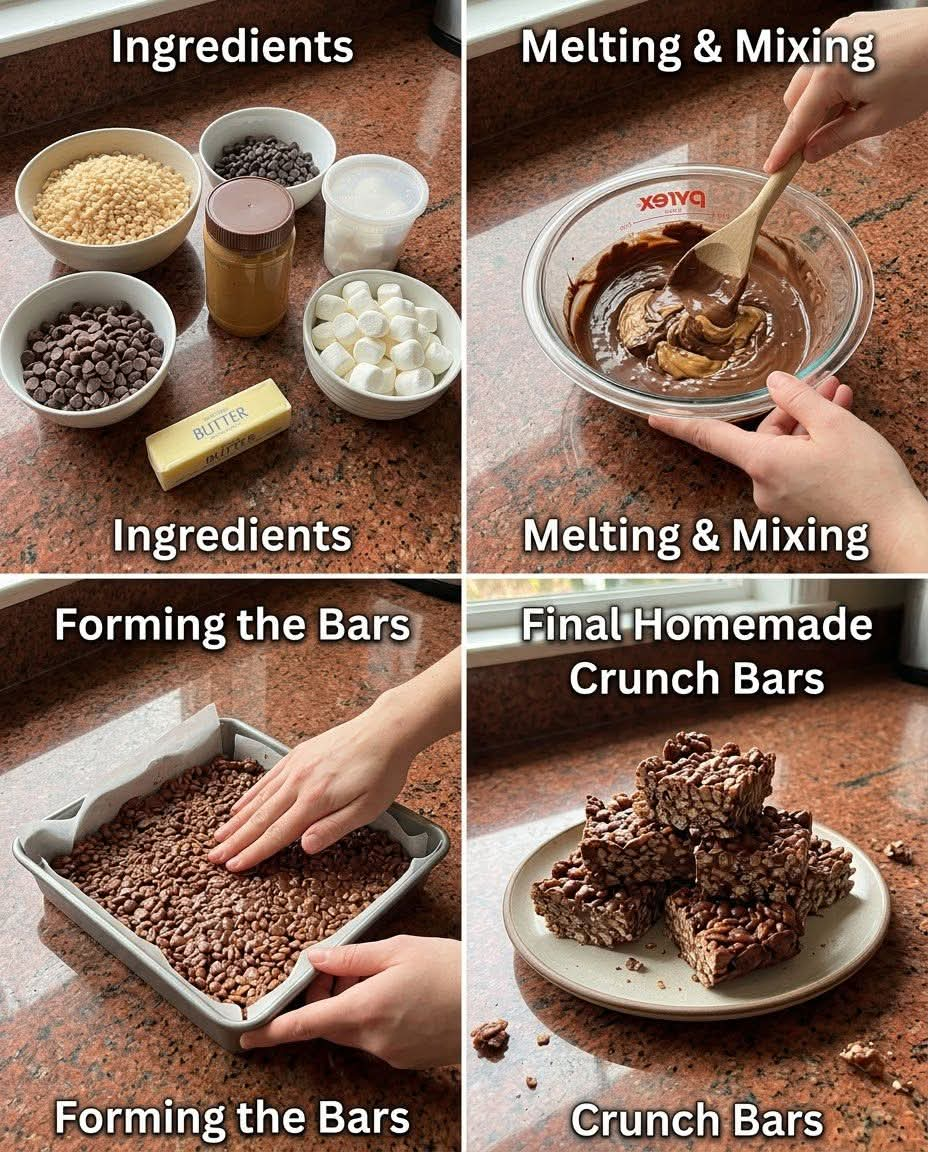
Classic Christmas Cookie Bars
Introduction
These Classic Christmas Cookie Bars are the kind of old-fashioned holiday treat that disappears almost as quickly as you can put it on the dessert table. They are simple to prepare, wonderfully buttery, and packed with the comforting flavors that make Christmas baking so special.
There is something particularly satisfying about a recipe that does not require complicated decorating, unusual ingredients, or hours in the kitchen. These bars are made for busy holiday seasons when you want to bake something generous enough for a crowd and delicious enough that everyone comes back for another piece.
They are especially wonderful for Christmas cookie exchanges, family gatherings, church suppers, office parties, bake sales, and large holiday celebrations. If you need to make several hundred pieces, this is exactly the type of recipe that earns a permanent place in your holiday baking collection.
Ingredients
For the Base
- 2 cups all-purpose flour
- 1 cup butter, softened
- 1/2 cup granulated sugar
- 1/4 teaspoon salt
- 1 teaspoon vanilla extract
For the Filling
- 2 large eggs
- 1 cup packed brown sugar
- 1/2 cup granulated sugar
- 1/2 cup melted butter
- 1 teaspoon vanilla extract
- 1 cup chopped pecans or walnuts
- 1 cup sweetened shredded coconut
- 1 cup holiday baking chips or chopped white chocolate
For the Topping
- 1 cup powdered sugar
- 2 to 3 tablespoons milk
- 1/2 teaspoon vanilla extract
Instructions
Step 1: Prepare the Pan
Preheat the oven to 350°F (175°C).
Line a 9-by-13-inch baking pan with parchment paper, leaving a little paper hanging over the sides. This makes it much easier to lift the finished bars from the pan.
Lightly grease the parchment and the sides of the pan.
Step 2: Make the Base
In a large bowl, beat the softened butter and granulated sugar until smooth and creamy.
Add the vanilla and salt.
Gradually add the flour, mixing just until a soft dough forms. Do not overmix.
Press the dough evenly into the bottom of the prepared pan. Use your fingertips or the flat bottom of a measuring cup to create an even layer.
Bake for approximately 12 to 15 minutes, just until the edges begin to turn lightly golden.
Remove from the oven.
Step 3: Prepare the Filling
While the crust is baking, whisk together the eggs, brown sugar, granulated sugar, melted butter, and vanilla until smooth.
Stir in the chopped nuts, coconut, and baking chips.
Mix until everything is evenly distributed.
Step 4: Add the Filling
Pour the filling over the warm baked crust.
Spread it carefully from edge to edge so that the topping remains evenly distributed.
Return the pan to the oven and bake for approximately 25 to 30 minutes, or until the center is set and the top is lightly golden.
Do not overbake. The bars will continue to firm as they cool.
Step 5: Cool Completely
Place the pan on a wire rack and allow the bars to cool completely.
For cleaner cuts, refrigerate them for 30 to 60 minutes after cooling.
Step 6: Add the Glaze
Whisk the powdered sugar, milk, and vanilla together until smooth.
If the glaze is too thick, add a few drops of milk. If it is too thin, add a little more powdered sugar.
Drizzle the glaze over the cooled bars.
Allow the glaze to set before cutting.
Step 7: Cut and Serve
Lift the entire dessert from the pan using the parchment paper.
Place it on a cutting board and use a sharp knife to cut it into small squares or rectangles.
For a large Christmas gathering, small pieces are ideal because these bars are rich and satisfying.
Method
The secret to these bars is their simple layered construction.
First, the buttery shortbread-style base is baked until just beginning to turn golden. This creates a sturdy foundation that remains tender rather than becoming hard.
The sweet filling is then poured over the warm crust. Brown sugar provides a deep caramel-like flavor, while the nuts and coconut add texture. Holiday baking chips provide creamy sweetness throughout the filling.
The second bake brings everything together into a soft, chewy holiday bar with lightly crisp edges.
Finally, a simple vanilla glaze adds another layer of sweetness without requiring complicated frosting or decoration.
History and Holiday Tradition
Bar cookies have long been popular in American home baking because they are considerably easier to prepare for a crowd than individual cookies.
Instead of shaping dozens of separate cookies, the entire mixture can be baked in one pan and cut into many portions after cooling.
That makes bar desserts especially useful during Christmas. Holiday baking often means preparing several different treats for family, friends, neighbors, coworkers, parties, and cookie exchanges.
Recipes like this became treasured because they were practical as well as delicious. A single pan could produce enough small servings to fill a holiday tray, and the recipe could easily be doubled or tripled when a larger gathering was expected.
Over time, many families developed their own versions, changing the nuts, coconut, chocolate, dried fruit, or glaze according to what they had available.
Formation and Texture
These bars have several distinct layers.
The bottom is tender and buttery, giving the dessert a firm foundation.
The middle becomes soft, chewy, and slightly caramelized as the brown sugar filling bakes.
The nuts provide a pleasant crunch, while the coconut adds chewiness and a subtle toasted flavor.
The final glaze creates a delicate sweetness across the top and gives the bars a beautiful finished appearance.
When cut into small squares, the contrasting textures make every bite satisfying.
Tips for Making a Large Batch
If you are preparing these for a Christmas party or cookie exchange, there are several ways to make the process easier.
Bake several pans separately rather than trying to overcrowd the oven.
Allow each pan to cool completely before cutting.
For very uniform pieces, chill the bars before slicing.
Use a sharp knife and wipe the blade clean between cuts.
If you need hundreds of pieces, cut each 9-by-13-inch pan into small squares. Small portions are perfect for dessert trays because guests can sample several different treats.
The bars can also be prepared ahead of time and stored in an airtight container.
Storage
Store completely cooled bars in an airtight container at room temperature for several days.
For longer storage, place them in an airtight freezer-safe container with parchment paper between layers.
When ready to serve, allow frozen bars to thaw completely before placing them on a dessert tray.
Christmas Serving Ideas
These bars are beautiful on a large holiday platter surrounded by other Christmas cookies.
They can also be placed into small paper candy cups for parties, cookie exchanges, or homemade Christmas gift boxes.
For an attractive dessert tray, combine them with sugar cookies, gingerbread cookies, fudge, peanut butter cookies, and other traditional holiday favorites.
For the Lovers of Easy Christmas Baking
If you love Christmas desserts but do not want to spend the entire day decorating individual cookies, these bars are an excellent choice.
They have the homemade flavor people expect from holiday baking while keeping the preparation wonderfully simple.
They are also ideal when you need a recipe that produces a large number of servings. That is what makes recipes like this so valuable during the holidays: one pan can become an entire platter of treats.
Conclusion
Classic Christmas Cookie Bars are proof that a great holiday dessert does not need to be complicated.
A buttery base, a rich brown-sugar filling, crunchy nuts, sweet coconut, and a simple vanilla glaze come together to create a dessert that feels homemade, nostalgic, and perfect for sharing.
Whether you are baking a single pan for your family or preparing hundreds for a Christmas celebration, these bars are the kind of recipe that deserves to be made year after year.
They are simple, generous, delicious, and wonderfully suited to the spirit of holiday baking.