
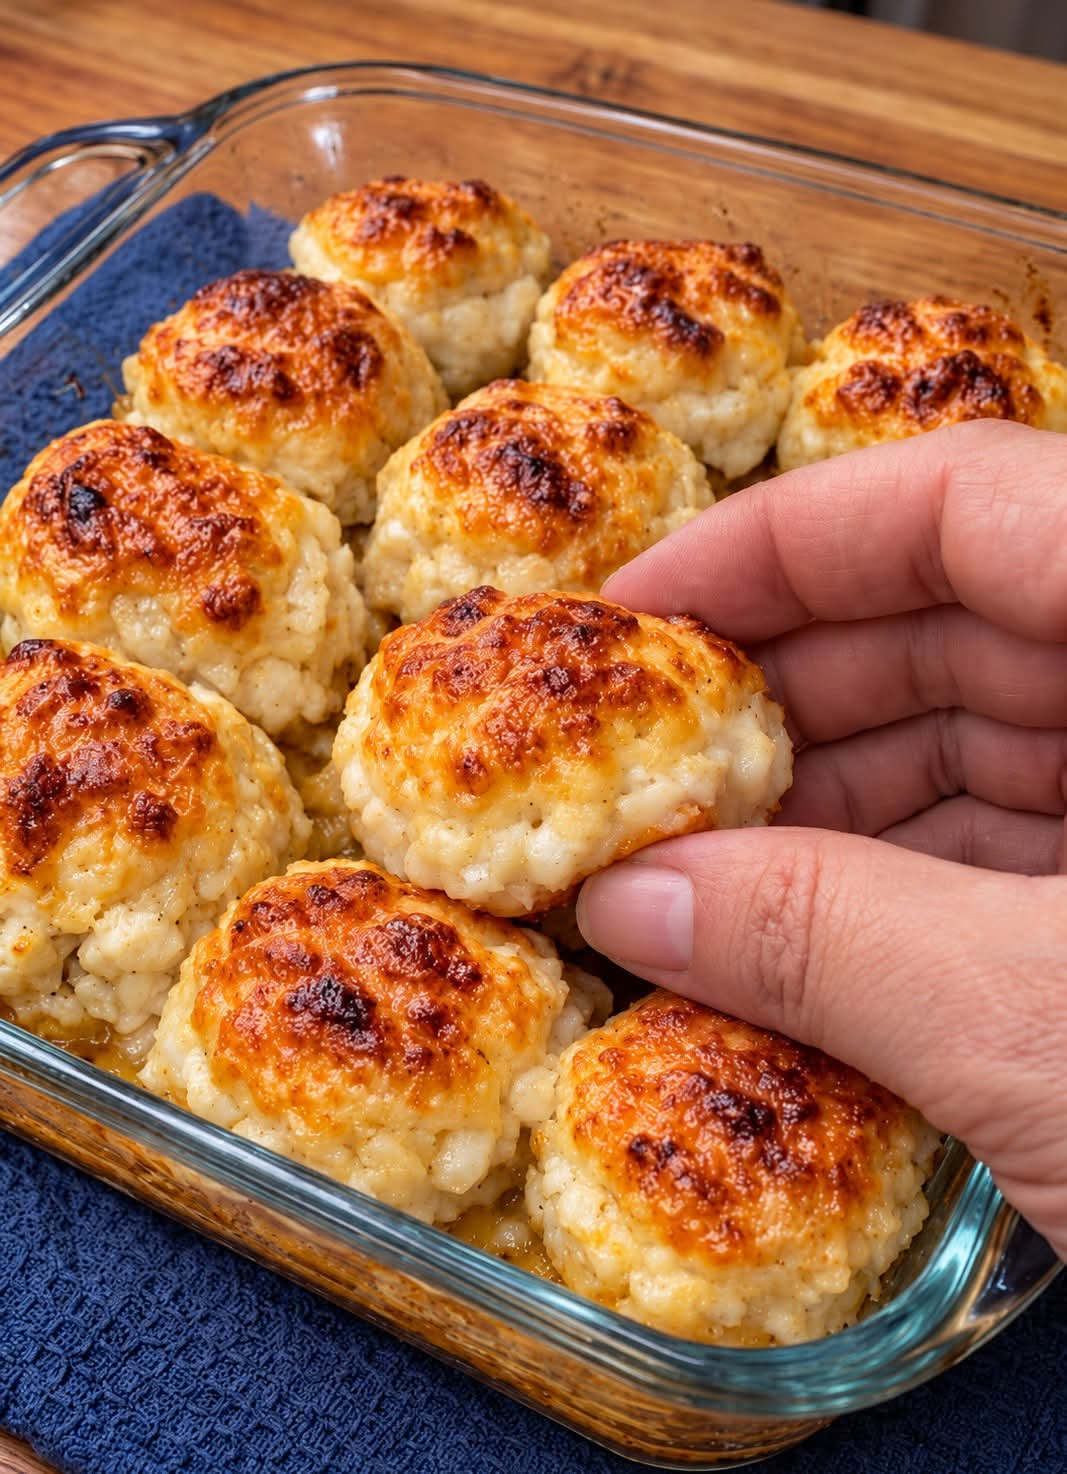
Easy No-Bake Cream Cheese Dessert Bites
Introduction
Some recipes become instant favorites not because they require complicated techniques or expensive ingredients, but because they are wonderfully simple and taste absolutely delicious. These Easy No-Bake Cream Cheese Dessert Bites are the perfect example of a treat that looks beautiful, tastes irresistible, and takes very little effort to prepare.
Imagine bringing a plate of these little sweets to a garden club meeting, family gathering, afternoon tea, or neighborhood potluck. Everyone takes one bite, asks who made them, and soon the entire group wants the recipe. They are creamy, sweet, delicate, and wonderfully easy to customize.
The best part is that you do not need to turn on the oven. With a handful of everyday ingredients and a little chilling time, you can prepare a delightful homemade dessert that looks as though you spent hours making it.
Whether you are preparing treats for guests, looking for something special to serve with coffee, or simply craving a sweet bite after dinner, this recipe is an excellent addition to your collection.
Ingredients
- 8 ounces (225 g) cream cheese, softened
- 1/2 cup (60 g) powdered sugar
- 1 teaspoon vanilla extract
- 1 cup (240 ml) whipped topping, thawed
- 1 1/2 cups (150 g) finely crushed vanilla wafer cookies or graham crackers
- 1/2 cup (60 g) additional crushed cookies or powdered sugar, for coating
- Optional: 2 tablespoons finely chopped nuts, shredded coconut, or mini chocolate chips
Instructions
Step 1: Prepare the Cream Cheese
Remove the cream cheese from the refrigerator and allow it to soften at room temperature for approximately 30 minutes. Softened cream cheese blends more easily and produces a smooth, creamy filling.
Place the cream cheese in a large mixing bowl. Beat with an electric mixer until smooth and free of lumps.
Step 2: Add the Sweetness
Add the powdered sugar and vanilla extract to the cream cheese. Beat again until the mixture is creamy, fluffy, and evenly combined.
Scrape down the sides of the bowl with a spatula to ensure that all the ingredients are incorporated.
Step 3: Fold in the Whipped Topping
Gently fold the thawed whipped topping into the cream cheese mixture. Use a spatula and work slowly to preserve the light texture.
The filling should be smooth, fluffy, and easy to scoop.
Step 4: Add the Crushed Cookies
Gradually stir in the finely crushed vanilla wafers or graham crackers. Continue mixing until the crumbs are evenly distributed and the mixture becomes thick enough to shape.
If the mixture feels too soft, add a little more crushed cookie crumbs, one tablespoon at a time.
Step 5: Chill the Mixture
Cover the bowl and refrigerate for 1 to 2 hours, or until the mixture is firm enough to handle.
Chilling is important because it makes the dessert bites easier to roll and helps them maintain their shape.
Step 6: Shape the Dessert Bites
Line a baking sheet or tray with parchment paper.
Scoop small portions of the chilled mixture using a teaspoon or small cookie scoop. Roll each portion gently between your palms to form a smooth ball.
Arrange the balls on the prepared tray, leaving a little space between each one.
Step 7: Coat the Bites
Place the remaining crushed cookies or powdered sugar in a shallow bowl. Roll each dessert bite in the coating until evenly covered.
For variety, prepare several different coatings using shredded coconut, finely chopped nuts, or additional cookie crumbs.
Step 8: Chill Before Serving
Return the finished dessert bites to the refrigerator for at least 30 minutes.
Serve them cold on a decorative platter. For the best texture and flavor, keep them refrigerated until you are ready to serve.
Preparation Method
Preparation time: 20 minutes
Chilling time: 1 1/2 to 2 1/2 hours
Cooking time: None
Yield: Approximately 20–24 dessert bites, depending on their size
Difficulty: Easy
This recipe follows a simple no-bake method. The cream cheese provides richness, the powdered sugar adds sweetness, and the whipped topping creates a light texture. Crushed cookies help bind the mixture and give the dessert a pleasant, delicate bite.
The refrigerator does most of the work. Once the mixture has chilled sufficiently, shaping and coating the bites takes only a few minutes.
The History of No-Bake Desserts
No-bake desserts have long been popular in home kitchens because they offer a convenient way to prepare sweets without complicated baking techniques. Cream cheese desserts, refrigerator cakes, cookie balls, and chilled confections became especially appealing to home cooks who wanted impressive results using readily available ingredients.
As refrigerators became common in households, chilled desserts grew in popularity. Home cooks could prepare treats in advance, allow them to set in the refrigerator, and serve them when guests arrived.
Cream cheese became a particularly useful ingredient because of its smooth texture and mild tanginess. Combined with sugar, cookies, whipped cream, or other flavorings, it creates a versatile base for countless desserts.
Today’s no-bake dessert bites continue that tradition. They are easy to transport, simple to portion, and suitable for everything from casual coffee mornings to holiday parties.
Although this particular recipe is a modern home-style variation rather than a historically documented traditional dish, it reflects the same practical cooking philosophy: simple ingredients can create something special.
Formation and Texture
The success of these dessert bites depends on achieving the right balance between creaminess and firmness.
The cream cheese creates the rich foundation. Powdered sugar sweetens the mixture while blending smoothly into the filling. Whipped topping introduces airiness, preventing the dessert from becoming too dense.
Crushed cookies absorb some of the moisture and provide structure. When the mixture rests in the refrigerator, the filling firms up, allowing it to be rolled into neat, bite-sized portions.
The final coating adds another layer of texture. Cookie crumbs provide a delicate crunch, coconut adds a pleasant chewiness, and chopped nuts introduce a more substantial bite.
For the prettiest presentation, keep all the portions approximately the same size. Arrange them in small paper candy cups or on a white serving platter for an elegant garden party appearance.
Helpful Tips for Perfect Results
Use softened cream cheese. Cold cream cheese can leave lumps in the filling. Let it soften before mixing.
Crush the cookies finely. Large pieces make the mixture difficult to roll and can cause the bites to break apart.
Chill before shaping. If the mixture sticks to your hands, return it to the refrigerator for another 20–30 minutes.
Avoid adding too much sugar. The cookies and coating already contribute sweetness, so taste the mixture before making adjustments.
Make them ahead. Prepare the bites the evening before your gathering and keep them covered in the refrigerator.
Keep them cool. Because the recipe contains cream cheese and whipped topping, do not leave the bites at room temperature for more than two hours, or one hour when temperatures exceed 90°F (32°C).
Delicious Variations
Coconut Cream Cheese Bites
Replace some of the cookie coating with finely shredded coconut. Add a tablespoon or two of coconut to the filling for a tropical flavor.
Lemon Cream Cheese Bites
Add 1 teaspoon of finely grated lemon zest to the cream cheese mixture. The citrus aroma balances the sweetness beautifully.
Chocolate Cookie Bites
Use finely crushed chocolate sandwich cookies instead of vanilla wafers. Coat the finished bites with additional chocolate cookie crumbs.
Nutty Vanilla Bites
Add finely chopped pecans or walnuts to the filling and roll the finished bites in more chopped nuts.
Holiday Dessert Bites
Roll the bites in a mixture of cookie crumbs and coconut, then arrange them in small paper cups. They make an attractive addition to holiday dessert trays and homemade gift boxes. Keep them refrigerated.
Serving Suggestions
These little desserts are ideal for garden club meetings, afternoon tea, bridal showers, baby showers, birthdays, potlucks, and family celebrations.
Serve them alongside fresh berries, sliced fruit, coffee, or tea. For a larger dessert table, combine them with brownies, mini cheesecakes, cookies, and fruit tarts.
For a garden-themed gathering, arrange the bites on a tiered serving stand with fresh flowers nearby. Keep flowers separate from the food and use only food-safe decorations.
Because each bite is individually portioned, guests can enjoy a small sweet without needing plates, forks, or complicated serving arrangements.
Storage Instructions
Store the dessert bites in an airtight container in the refrigerator for up to 3–4 days.
Separate layers with parchment paper to prevent sticking. Keep the container chilled until serving.
Freezing may change the texture of the whipped topping after thawing, so refrigeration is preferable for the best consistency.
Conclusion
Easy No-Bake Cream Cheese Dessert Bites prove that a delicious homemade treat does not need a long ingredient list or hours in the kitchen. With cream cheese, powdered sugar, vanilla, whipped topping, and crushed cookies, you can create a creamy, sweet dessert that is easy to prepare and lovely to serve.
They are convenient for busy hosts, perfect for sharing, and flexible enough to adapt to different flavors and occasions. Prepare them ahead, chill them until firm, and arrange them on a platter for a simple dessert that looks every bit as inviting as it tastes.
Sometimes the recipes that receive the most compliments are the ones that are easiest to make.
For Dessert Lovers
If you love simple homemade sweets, creamy fillings, and recipes that bring people together, these no-bake dessert bites deserve a place in your recipe collection.
They are especially appealing to anyone who enjoys preparing treats for friends, neighbors, family members, or community gatherings. Their small size makes them easy to share, while the different coating options allow everyone to enjoy a favorite variation.
The next time you need a dessert that looks charming without requiring hours of preparation, give these little bites a try. You may find that your guests are asking for the recipe before the platter is empty.