
Easy No-Roll Pie Crust
Introduction
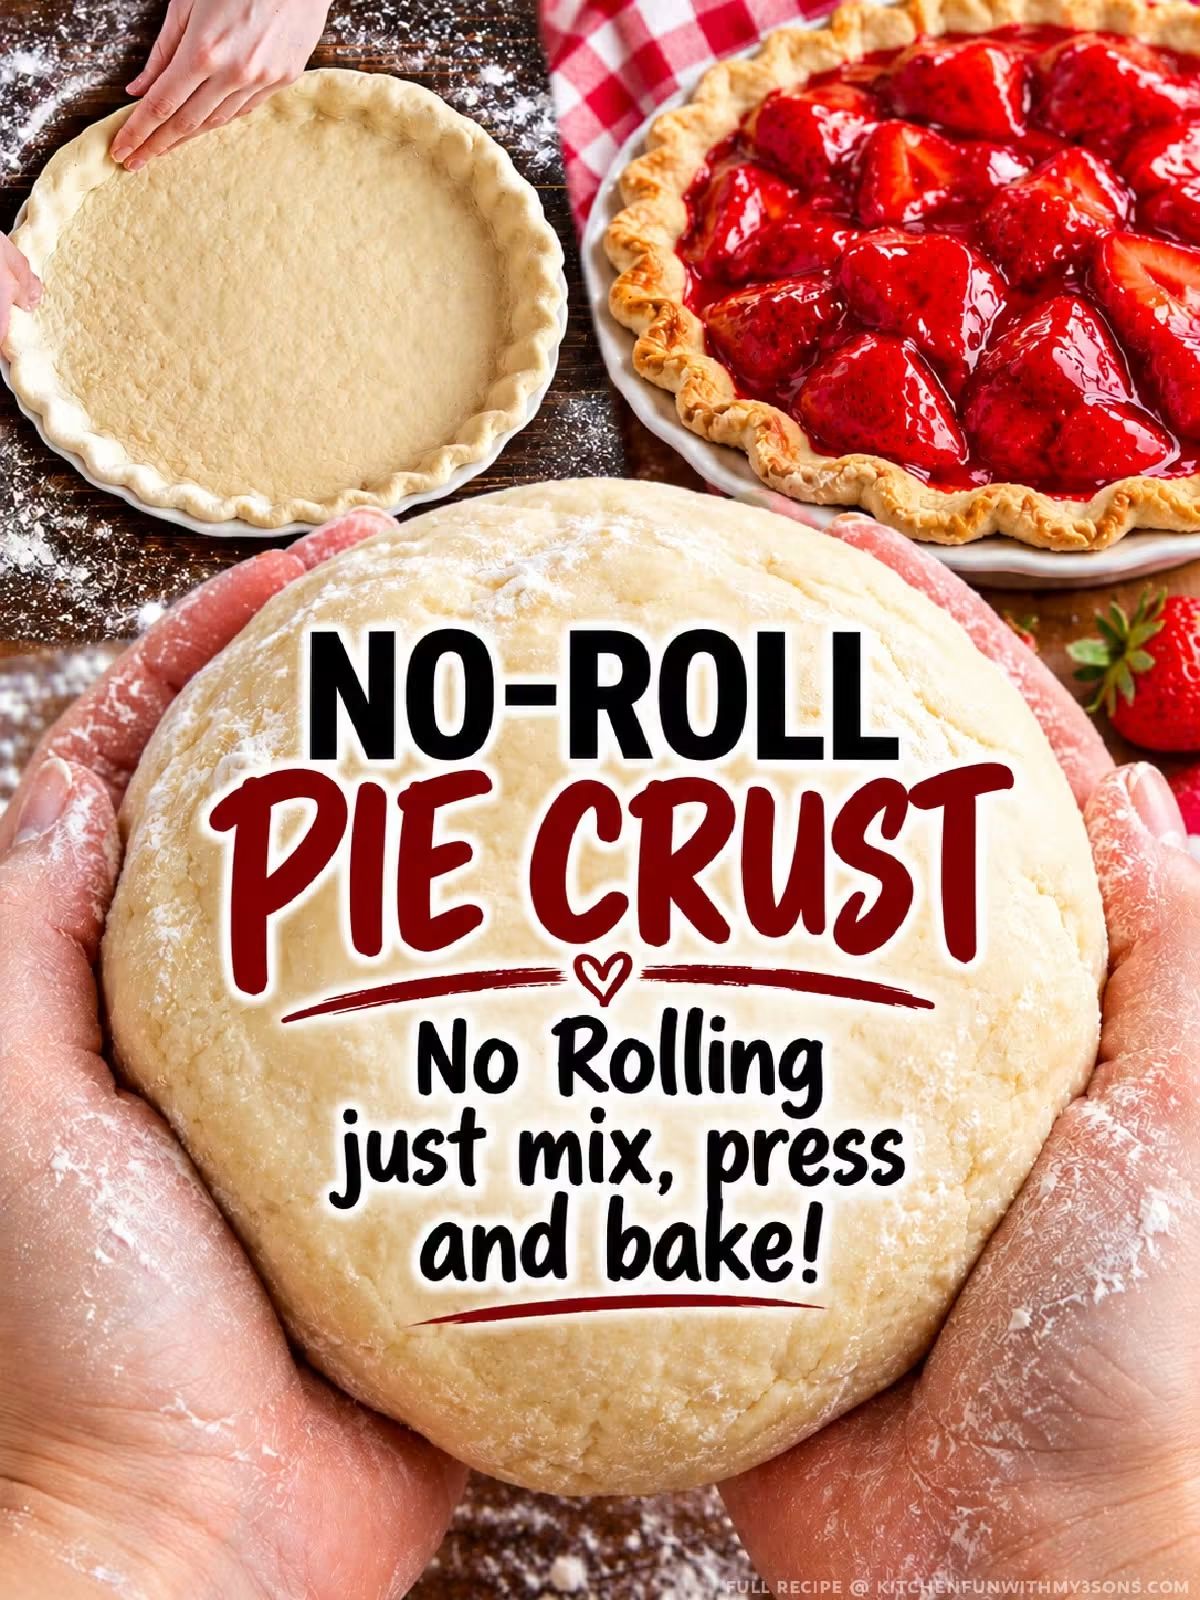
Making homemade pie crust does not have to involve a rolling pin, a floured countertop, or complicated pastry techniques. This easy No-Roll Pie Crust is designed for simplicity. The dough comes together in one bowl and is pressed directly into the pie plate with your fingers or the bottom of a measuring cup.
With only five basic ingredients, this crust is an excellent choice for beginners, busy home cooks, and anyone who wants a dependable homemade base for a delicious pie. There is no rolling, no chilling, no shortening, and no food processor required.
The finished crust has a tender, lightly crisp texture and a pleasant buttery flavor. It works beautifully with fruit pies, cream pies, custard pies, chocolate pies, pumpkin pies, and many other homemade desserts.
Ingredients
- 1 1/2 cups all-purpose flour
- 1/2 teaspoon salt
- 1/2 cup vegetable oil
- 2 tablespoons milk
- 1 tablespoon granulated sugar
These quantities are suitable for one standard 9-inch pie crust.
Instructions
1. Prepare the Pie Plate
Preheat the oven to 425°F (220°C). Lightly grease a 9-inch pie plate with a small amount of butter or cooking spray.
Greasing the plate is optional, but it can make serving the finished pie easier.
2. Combine the Dry Ingredients
Place the flour, salt, and sugar in a medium mixing bowl. Stir thoroughly so the ingredients are evenly distributed.
3. Add the Wet Ingredients
Pour the vegetable oil and milk into the flour mixture.
Using a fork or wooden spoon, gently mix everything together until a soft dough forms. Do not overmix the dough. Stop as soon as the flour has been incorporated.
The dough should be moist enough to hold together but should not be extremely sticky.
4. Press the Dough Into the Pie Plate
Transfer the dough directly into the prepared pie plate.
Using your fingertips, gently press the dough across the bottom of the plate. Continue pressing it outward and upward until it reaches the sides.
Try to keep the thickness reasonably even.
5. Shape the Edges
Once the dough has reached the edges of the pie plate, gently shape or crimp the top edge using your fingers.
If desired, use a fork to make a simple decorative pattern around the edge.
6. Prepare for Filling
If you are making a pie with a filling that will be baked directly in the crust, add the filling according to your chosen recipe.
For a crust that needs to be partially or fully baked before filling, prick the bottom several times with a fork. This helps reduce bubbling during baking.
7. Bake
For a filled pie, follow the baking temperature and time required by the particular pie recipe.
For a pre-baked crust, bake at 425°F (220°C) for approximately 12 to 15 minutes, or until the crust is lightly golden.
Allow the crust to cool according to the filling recipe before adding a chilled or no-bake filling.
Method
The main method behind this recipe is direct pressing rather than rolling.
Traditional pie dough is usually rolled flat on a work surface before being transferred into a pie plate. This version eliminates that step completely. The dough is mixed until it comes together, placed directly into the pie dish, and pressed into shape.
The oil provides tenderness and moisture while eliminating the need to work cold butter or shortening into flour. Milk helps bring the ingredients together and contributes to the texture. A small amount of sugar provides subtle sweetness and helps the crust develop a pleasant golden color.
The key is to avoid overworking the dough. Once the ingredients come together, stop mixing. Excessive mixing can make the crust less tender.
Formation of the Crust
The crust is formed directly inside the pie plate.
Begin by pressing the center of the dough outward with your fingertips. Once the bottom is covered, gradually work the dough toward the sides of the plate.
Use gentle pressure rather than pressing aggressively. If the dough seems slightly uneven, simply redistribute it with your fingers.
The edges can be left rustic or shaped into a decorative border. A fork pressed around the edge creates a simple traditional design.
If you notice a small crack, pinch the dough together with your fingers. If one area is too thin, press a little dough from a thicker area toward it.
Tips for Success
Use accurate measurements, particularly for the flour. Too much flour can make the crust dry and difficult to press.
Do not knead the dough. This is a quick pastry dough, so mix only until the ingredients are combined.
If the dough feels too dry, add a small amount of milk, about one teaspoon at a time.
If it feels unusually sticky, add a small amount of flour until it becomes easier to handle.
For a crispier bottom crust, place the pie on a preheated baking sheet in the oven.
For a decorative edge, use your fingers to create a simple fluted pattern or press the tines of a fork around the perimeter.
Filling Ideas
This versatile crust can be used for many different pies, including:
- Apple pie
- Pumpkin pie
- Sweet potato pie
- Pecan pie
- Chocolate cream pie
- Coconut cream pie
- Banana cream pie
- Lemon pie
- Custard pie
- Blueberry pie
- Peach pie
- Cherry pie
- Strawberry pie
For especially wet fruit fillings, lightly baking the crust first can help maintain a firmer bottom.
History
Pie crust has a long history in European and American cooking. Early pastry crusts were often used as sturdy containers for fillings rather than as the delicate, flaky pastry associated with modern pies.
Over generations, home cooks developed many different pastry methods based on the ingredients and equipment available in their kitchens. Some recipes relied on butter, others on lard or shortening, while simpler versions used vegetable oil.
No-roll crusts became particularly appealing to home cooks because they removed one of the more intimidating parts of traditional pie making. Instead of carefully rolling pastry to a specific thickness, the dough could simply be pressed into the pie dish.
This practical approach fits the style of old-fashioned home cooking, where recipes were often designed to be simple, economical, and easy to prepare without specialized equipment.
Why People Love This Recipe
People love this crust because it removes much of the work normally associated with homemade pastry.
There is no rolling pin to clean, no pastry board to flour, and no need to worry about transferring a fragile sheet of dough into the pie plate.
It is also convenient when you want to make a pie quickly or when you are still learning how to make pastry.
The ingredients are inexpensive and commonly found in most kitchens, making this a useful recipe to keep on hand.
Conclusion
This Easy No-Roll Pie Crust proves that homemade pastry does not need to be complicated. With five simple ingredients and a few minutes of preparation, you can create a homemade crust directly in the pie plate.
The beauty of this method is its simplicity. Mix the ingredients, press the dough into the dish, add your favorite filling, and bake.
Whether you are making a classic fruit pie, a creamy custard dessert, or a traditional holiday pie, this no-roll crust provides a convenient homemade foundation without the fuss of traditional pastry preparation.
For Pie Lovers
For anyone who loves homemade pies, this recipe is worth keeping in your collection. It is especially useful for busy days, last-minute desserts, beginner bakers, and family gatherings when you want a homemade pie without spending extra time preparing a traditional rolled crust.
Once you try the press-in method, you may find yourself using it whenever you want a simple, reliable pie crust.
Storage
An unbaked crust can be prepared shortly before baking and kept covered in the refrigerator for a short period.
A completely baked crust can be cooled, covered, and stored according to the needs of the particular pie recipe.
Once filled, storage depends on the type of filling. Cream, custard, and other perishable fillings should generally be refrigerated.
For the best texture, allow the finished pie to cool properly before slicing.