
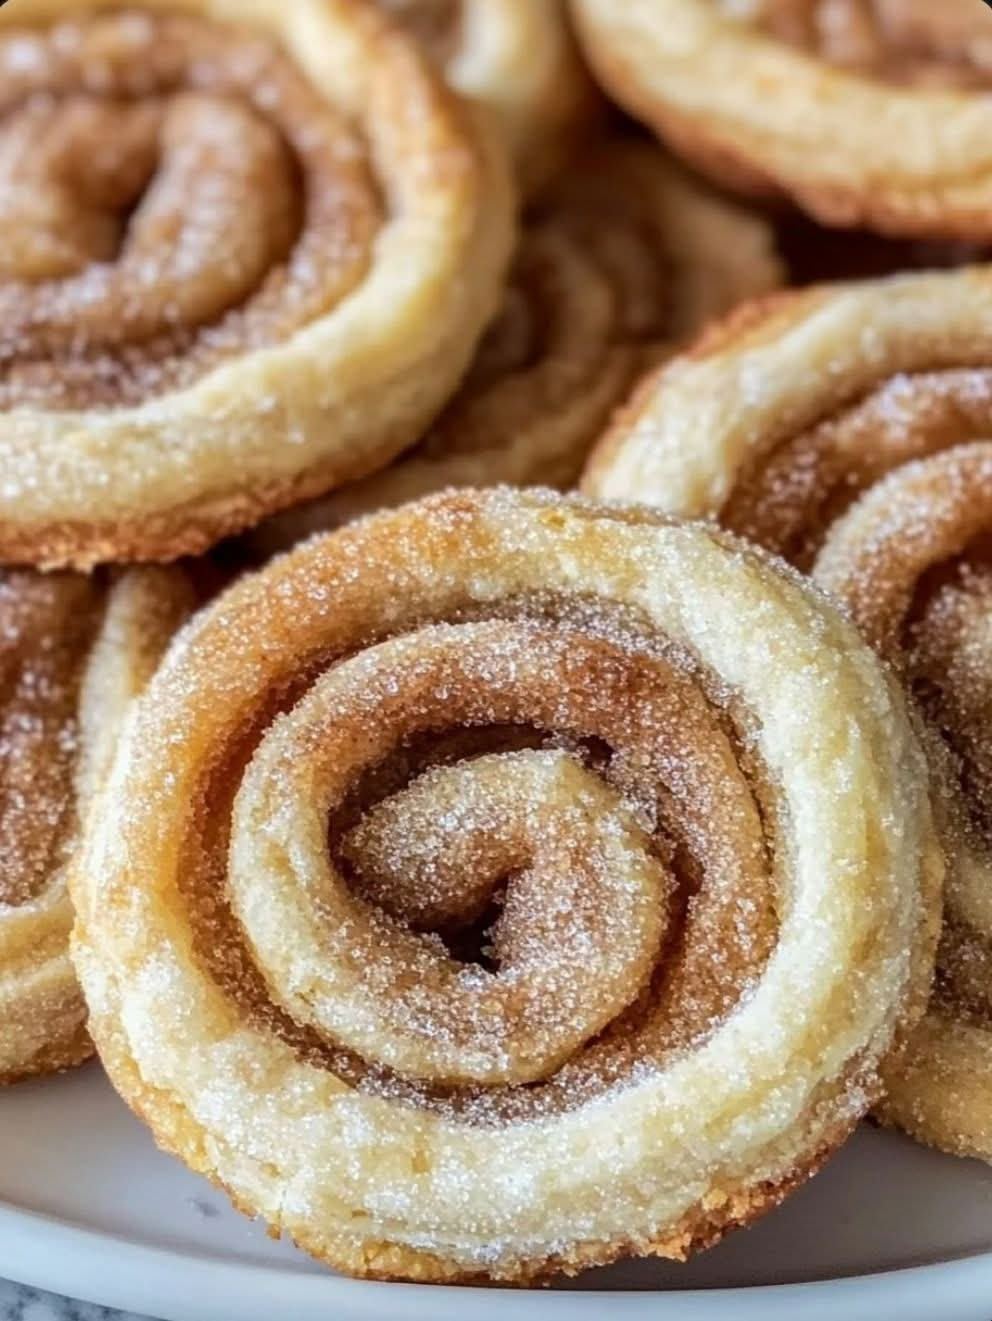
Old-Fashioned Homemade Treats: A Nostalgic Recipe to Share With Your Kids
Introduction
Some recipes bring back the sweetest memories of childhood. They remind us of afternoons spent in the kitchen, treats prepared by parents and grandparents, and the excitement of enjoying something homemade that seemed to taste better than anything bought at the store.
These old-fashioned homemade treats are perfect for bringing those memories back to life. They are simple to prepare, fun to make with children, and delicious enough to become a new family tradition. Whether you remember enjoying them after school, during holidays, or at family gatherings, making them again is a wonderful way to share a little piece of your childhood with the next generation.
The best part is that you do not need complicated equipment or professional baking skills. With a handful of familiar ingredients and a little time, you can prepare a batch of sweet, comforting treats that everyone will want to enjoy.
Because the original post does not identify the specific treat, this version uses a classic old-fashioned peanut butter cornflake candy recipe as a nostalgic, kid-friendly option.
Ingredients
Preparation time: 15 minutes
Cooling time: 30–45 minutes
Yield: Approximately 18–24 treats
- 1 cup granulated sugar
- 1 cup light corn syrup
- 1 cup creamy peanut butter
- 1 teaspoon vanilla extract
- 6 cups cornflakes cereal
- A small pinch of salt, optional
- 1/2 cup chocolate chips, optional, for decorating
Instructions
Step 1: Prepare the Ingredients
Measure all the ingredients before you begin. Line a large baking sheet or tray with parchment paper and set it aside.
Place the cornflakes in a large heatproof mixing bowl. If the flakes are exceptionally large, gently break a few into smaller pieces, but avoid crushing them too much. Keeping the cereal whole gives the treats their signature crunchy texture.
Step 2: Heat the Sugar and Corn Syrup
In a medium saucepan, combine the granulated sugar and light corn syrup.
Place the saucepan over medium heat, stirring gently until the sugar dissolves and the mixture becomes smooth. Bring it just to a gentle boil, then remove it from the heat.
Avoid prolonged boiling, because excessive heating can make the finished treats hard rather than pleasantly chewy.
Adult supervision is important: The sugar mixture becomes extremely hot and can cause burns.
Step 3: Add the Peanut Butter
Stir the creamy peanut butter into the hot sugar mixture until everything is completely combined.
Add the vanilla extract and the optional pinch of salt. Continue stirring until the mixture becomes glossy, smooth, and fragrant.
The peanut butter gives the treats their rich, nutty flavor, while the warm syrup helps bind the cereal together.
Step 4: Fold in the Cornflakes
Pour the warm peanut butter mixture over the cornflakes.
Using a sturdy spoon or silicone spatula, gently fold everything together until the cereal is evenly coated. Work carefully so that the flakes retain as much of their crunch as possible.
Make sure there are no large pockets of dry cereal remaining at the bottom of the bowl.
Step 5: Shape the Treats
Using two spoons, drop small mounds of the mixture onto the prepared baking sheet.
You can make them bite-sized for children or slightly larger for a more substantial snack. If you prefer a neater appearance, gently press each mound together with the back of a spoon.
For a fun family activity, let the children help choose the size and shape of each treat once the mixture has cooled enough to handle safely.
Step 6: Add an Optional Chocolate Topping
For an extra-special finish, melt the chocolate chips in short microwave intervals, stirring between each interval until smooth.
Drizzle the melted chocolate over the treats.
You can also leave some pieces plain to enjoy the traditional peanut butter flavor.
Step 7: Allow the Treats to Set
Leave the treats at room temperature for approximately 30–45 minutes, or until they are firm enough to pick up without falling apart.
Once set, transfer them to an airtight container. If your kitchen is particularly warm, refrigerate them briefly to help them firm up.
Methods of Preparation
Traditional Stovetop Method
The stovetop method is the classic approach. Heating the sugar and syrup together creates the sticky base that holds the cornflakes in place.
For the best results, keep the heat moderate and remove the pan from the stove once the mixture reaches a gentle boil. This helps preserve the chewy texture.
No-Bake Preparation Method
These treats do not require an oven. After mixing the ingredients, simply shape them and allow them to cool.
This makes them convenient for family cooking days, school holiday activities, bake sales, and occasions when you want something sweet without turning on the oven.
Family-Friendly Preparation Method
Children can help measure the cereal, prepare the parchment-lined tray, and decorate the cooled treats.
An adult should handle the saucepan, hot syrup, and melted chocolate. Never allow children to touch or taste the hot mixture before it has cooled sufficiently.
Chocolate Variation
For chocolate lovers, add a drizzle of melted chocolate or a small handful of mini chocolate chips after the mixture has cooled slightly.
You can also dip the bottoms of the fully cooled treats in melted chocolate and allow them to set on parchment paper.
Crunchy Variation
For additional texture, mix in a small amount of chopped roasted peanuts, provided there are no nut allergies. You can also sprinkle a few crushed cornflakes over the top before the treats set.
The History of Old-Fashioned Homemade Treats
Homemade cereal candies and no-bake sweets have long been popular in American home kitchens because they are economical, quick to prepare, and made from familiar pantry ingredients.
As packaged breakfast cereals became widely available during the twentieth century, home cooks found creative ways to use them beyond the breakfast table. Cereal could add crunch to cookies, bars, marshmallow treats, and stovetop candies.
Peanut butter became another popular ingredient in homemade sweets because it provides a rich flavor and combines easily with sugar-based mixtures. Together, peanut butter and cornflakes create a simple confection that requires very little equipment.
Recipes like these were often handwritten on recipe cards, shared among neighbors, or passed down from one generation to another. Many families developed their own versions, adding chocolate, nuts, coconut, or other favorite ingredients.
Although individual recipes vary, the appeal remains the same: inexpensive ingredients, straightforward preparation, and the pleasure of making something delicious at home.
Formation and Texture: What Makes These Treats Special?
The success of this recipe comes from the balance between the sticky binder and the crisp cereal.
- The sugar and corn syrup create the sweet mixture that holds the treats together.
- The peanut butter adds richness, flavor, and a creamy consistency.
- The cornflakes provide a light crunch that contrasts with the chewy binder.
- The vanilla extract adds warmth and rounds out the sweetness.
- The chocolate topping, if used, introduces a deeper flavor and a slightly different texture.
When the mixture cools, the syrup becomes firmer and helps the cereal maintain its shape. The result is a treat that is crunchy, chewy, sweet, and easy to eat in a few bites.
For the best texture, coat the cereal evenly and avoid crushing it during mixing. If the mixture becomes difficult to shape, work a little more quickly while it is still warm enough to handle with utensils.
Tips for Perfect Results
- Measure everything first. The syrup mixture sets as it cools, so having your ingredients ready makes the process easier.
- Do not overboil the syrup. Excessive cooking can produce hard treats.
- Fold gently. Keeping the cornflakes intact creates a lighter, crunchier result.
- Make evenly sized portions. Similar-sized treats will set at approximately the same rate.
- Let them cool completely. They need time to firm up before being transferred to a storage container.
- Customize the toppings. Chocolate drizzle or chopped peanuts can make the recipe feel special without complicating the preparation.
- Store them properly. Keep the treats in an airtight container in a cool, dry place for about 3–5 days. Refrigeration can help in warm weather, although it may make the treats firmer.
Serving Suggestions
These homemade treats are perfect for many occasions.
- Serve them as an after-school snack with a glass of milk.
- Arrange them on a dessert platter for birthdays and family celebrations.
- Pack them in lunchboxes, following any school allergy rules.
- Bring a batch to a neighborhood gathering or potluck.
- Prepare them during the holidays and package them in small food-safe gift boxes.
- Serve them alongside fresh fruit for a simple afternoon snack.
For a dessert platter, arrange the treats in paper candy cups and alternate plain peanut butter pieces with chocolate-drizzled ones. The different finishes make the presentation attractive without requiring elaborate decoration.
Variations to Try
1. Chocolate Peanut Butter Cornflake Treats
Stir a small handful of chocolate chips into the mixture after it has cooled slightly. Finish with an additional chocolate drizzle.
2. Honey Peanut Butter Treats
For a variation, experiment with honey as part of the sweet binder. Because honey behaves differently from corn syrup, the proportions and setting texture may change, so it is best to use a tested honey-based recipe rather than replacing all the syrup directly.
3. Salted Peanut Butter Treats
Add a small pinch of flaky salt to the finished treats. The contrast between salty and sweet makes the peanut butter flavor stand out.
4. Holiday Cornflake Candy
Drizzle the cooled treats with white or dark chocolate and decorate with festive sprinkles. Check that any decorations are suitable for the people you are serving.
5. Chocolate-Dipped Treats
Once the treats are completely cool, dip their bottoms in melted chocolate. Place them on parchment paper until the chocolate hardens.
Frequently Asked Questions
Can I make these treats ahead of time?
Yes. Prepare them a day or two before serving and store them in an airtight container in a cool, dry place.
Why did my treats turn out too hard?
The syrup may have been boiled for too long, causing it to become too firm as it cooled. Next time, remove the mixture from the heat as soon as it reaches a gentle boil.
Why are my treats falling apart?
The cereal may not have been coated evenly, or the syrup mixture may not have been sufficient to bind it. Fold the cereal thoroughly into the warm mixture and press each portion together gently when shaping.
Can I use crunchy peanut butter?
Yes. Crunchy peanut butter adds extra texture, although the finished treats will have a more pronounced nutty crunch.
Can I make them without peanuts?
Yes, provided you use an appropriate alternative such as sunflower seed butter and a recipe tested for that substitution. Check every ingredient label carefully if preparing food for someone with allergies.
Are these treats suitable for freezing?
They can be frozen in a well-sealed, freezer-safe container with parchment between layers. Thaw them while still covered to help prevent condensation from making the cereal soggy. Texture may vary after freezing.
Conclusion
Old-fashioned peanut butter cornflake treats are a wonderful reminder that some of the most memorable desserts are also the simplest. With just a few pantry staples, you can create a sweet, crunchy treat that brings the family together without requiring hours in the kitchen.
The real charm lies in the memories made while preparing them: measuring ingredients with little helpers, shaping each piece, adding chocolate decorations, and waiting impatiently for the treats to set.
Whether you make them for your children, share them with friends, or prepare them simply because you miss a favorite childhood snack, these homemade treats are an easy way to bring a little nostalgia into the kitchen.
For the Lovers of Homemade Nostalgic Recipes
If you love recipes that remind you of childhood, this one deserves a place in your family recipe collection. Keep it handy for weekends, school holidays, family gatherings, and those moments when everyone wants something sweet and homemade.
The best family recipes are not always the fanciest. Sometimes, they are the simple treats we remember years later and finally get to share with our own children.
A little question for fellow home cooks: What old-fashioned treat did you grow up eating that you would love to make again with your children? Share its name and the memories attached to it.
Recipe note: The original caption does not name the specific food. This is a complete suggested recipe inspired by its nostalgic theme; if you share the original recipe photo or name, I can write the long-form version for the exact dish.