
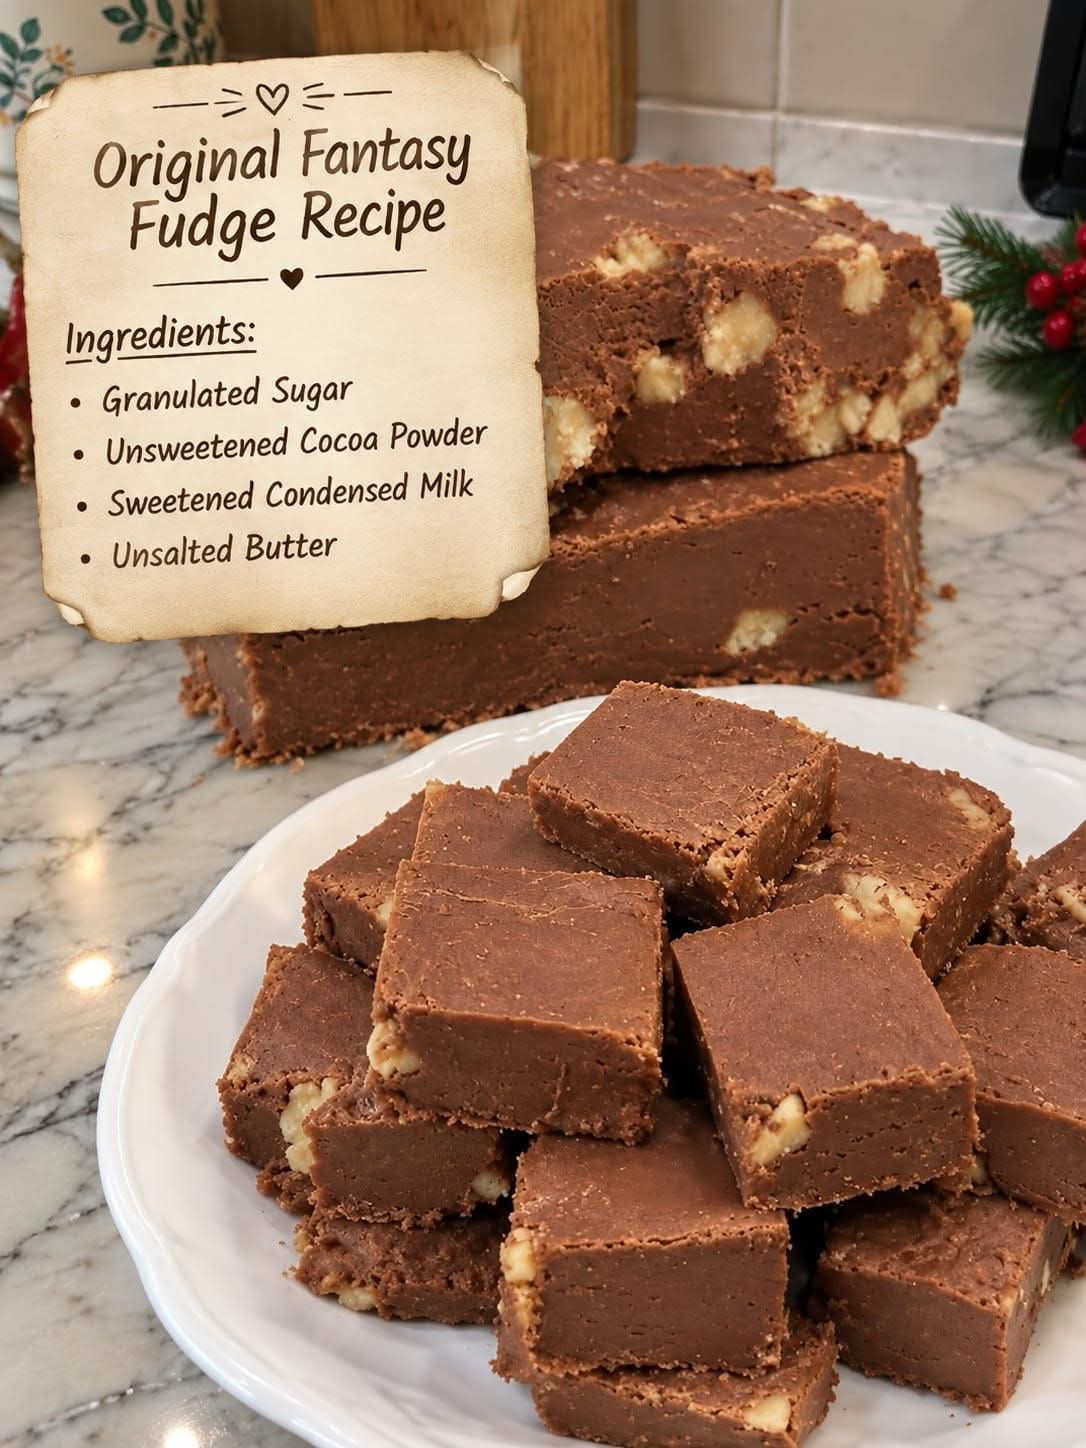
Original Fantasy Fudge Recipe
Introduction
Few homemade candies are as nostalgic and comforting as rich, creamy chocolate fudge. Original Fantasy Fudge is a classic-style confection known for its smooth texture, deep cocoa flavor, and melt-in-your-mouth consistency. Made with simple pantry ingredients, this recipe is wonderful for holidays, family gatherings, cookie exchanges, dessert tables, or simply enjoying a small square with a cup of coffee.
The combination of granulated sugar, unsweetened cocoa powder, sweetened condensed milk, and butter creates a wonderfully rich chocolate candy. The secret is in carefully cooking the mixture and allowing it to cool properly so the fudge sets with the right texture.
Ingredients
- 3 cups granulated sugar
- 3/4 cup unsweetened cocoa powder
- 1 can sweetened condensed milk, approximately 14 ounces
- 1/2 cup unsalted butter
- 1 teaspoon vanilla extract
- 1/4 teaspoon salt
- 1 cup chopped walnuts or pecans, optional
For preparing the pan:
- 1 teaspoon butter for greasing
- Parchment paper, optional
Instructions
1. Prepare the Pan
Line an 8-inch or 9-inch square baking pan with parchment paper, leaving some paper hanging over the sides. Lightly butter the parchment and the sides of the pan.
If you prefer a thicker fudge, use an 8-inch pan. For slightly thinner pieces, use a 9-inch pan.
2. Combine the Dry Ingredients
Place the granulated sugar and unsweetened cocoa powder in a heavy-bottomed saucepan.
Whisk them together thoroughly so the cocoa is evenly distributed throughout the sugar. Breaking up any cocoa lumps at this stage will help produce a smoother fudge.
3. Add the Butter and Condensed Milk
Add the unsalted butter and sweetened condensed milk to the saucepan.
Place the saucepan over medium heat. Stir continuously with a wooden spoon or heat-resistant spatula as the butter melts and the ingredients come together.
4. Cook the Fudge Mixture
Continue stirring while the mixture heats. Bring it to a steady boil.
Once boiling, continue cooking while stirring frequently until the mixture reaches approximately 234 to 238°F on a candy thermometer. This is the soft-ball stage that helps the finished fudge become firm while remaining creamy.
If you do not have a candy thermometer, the mixture should become noticeably thicker and glossy. However, a thermometer provides the most reliable results.
5. Add the Flavoring
Remove the saucepan from the heat.
Immediately stir in the vanilla extract and salt. If using chopped walnuts or pecans, fold them in at this stage.
Mix thoroughly until everything is evenly incorporated.
6. Pour Into the Pan
Quickly pour the hot fudge mixture into the prepared baking pan.
Spread it evenly with a spatula. Work fairly quickly because the fudge will begin to thicken as it cools.
Allow it to sit undisturbed at room temperature.
7. Cool Completely
Let the fudge cool for several hours, or until completely firm.
For easier slicing, you can refrigerate it after it has cooled slightly. Once fully set, lift the fudge from the pan using the parchment paper.
8. Cut and Serve
Place the fudge on a cutting board and use a sharp knife to cut it into small squares.
Because fudge is rich, small pieces are usually enough to satisfy a chocolate craving.
Method
The traditional fudge-making method depends on controlled heating, constant attention, and proper cooling.
First, the sugar and cocoa are combined to create an even chocolate base. Butter and sweetened condensed milk are then added to provide richness, moisture, and a creamy texture.
The mixture must be heated sufficiently to concentrate the sugar and reach the soft-ball stage. This step is important because the final texture depends heavily on the cooking temperature.
After cooking, vanilla and optional nuts are added. The mixture is then transferred to a prepared pan and allowed to cool completely. As it cools, the sugar structure changes and the fudge develops its characteristic firm but creamy texture.
History
Chocolate fudge has a long history as a beloved American confection. Fudge became especially popular in the United States during the late nineteenth and early twentieth centuries, when homemade candy became a favorite treat for families, students, and holiday celebrations.
The name “Fantasy Fudge” became particularly associated with a famous recipe printed on jars of marshmallow creme. Over time, many home cooks developed their own versions, adapting the recipe with cocoa, condensed milk, butter, nuts, and other ingredients.
This cocoa-based version follows the spirit of those traditional homemade fudge recipes: simple ingredients, careful cooking, and a rich chocolate result.
Formation and Texture
The formation of fudge is all about controlling sugar crystallization.
During cooking, the sugar dissolves into the liquid ingredients. Heating the mixture to the proper temperature concentrates the syrup. As the fudge cools, the sugar begins forming very small crystals.
The goal is to create tiny crystals rather than large ones. Tiny crystals give fudge its smooth, creamy texture, while uncontrolled crystallization can make it grainy.
That is why careful cooking, avoiding unnecessary stirring after boiling, and allowing the fudge to cool properly are important parts of the process.
Tips for Perfect Fudge
Use a heavy-bottomed saucepan to distribute heat evenly and reduce the chance of scorching.
Measure the ingredients carefully because changes in the sugar-to-liquid ratio can affect the final texture.
Do not rush the cooking process. Reaching the correct temperature is one of the most important steps.
Avoid scraping crystallized sugar from the sides of the saucepan into the fudge mixture.
Allow the fudge to cool completely before cutting it.
For clean slices, use a sharp knife and wipe the blade between cuts.
For a classic nutty version, chopped walnuts or pecans can be added before the fudge is poured into the pan.
Storage
Store the finished fudge in an airtight container.
At room temperature, it can generally be kept for several days in a cool, dry place. For longer storage, refrigerate it in a tightly sealed container.
Place parchment paper between layers if stacking the pieces so they do not stick together.
The fudge can also be frozen in an airtight container for longer-term storage. Allow it to thaw before serving.
For Fudge Lovers
This recipe is especially appealing to people who love old-fashioned homemade candy. It has the deep chocolate character of cocoa fudge while remaining rich and buttery.
For an extra-special holiday version, try adding chopped pecans or walnuts. A small amount of peppermint extract can create a festive chocolate-mint variation, while a sprinkle of flaky salt can provide a pleasant contrast to the sweetness.
For an even richer dessert table, serve small fudge squares alongside cookies, brownies, caramel treats, and homemade truffles.
Serving Suggestions
Serve the fudge as an after-dinner treat with coffee or tea.
It also makes a beautiful addition to holiday dessert trays, Christmas candy boxes, birthday celebrations, potlucks, and family gatherings.
For gifting, place individual pieces in small paper candy cups and arrange them in a decorative airtight box.
Conclusion
Original Fantasy Fudge is a timeless homemade chocolate treat that proves a few simple ingredients can create something wonderfully indulgent. The combination of cocoa, sugar, sweetened condensed milk, and butter produces a rich confection with a smooth, satisfying texture.
The most important part of the recipe is patience. Cook the mixture carefully, reach the proper temperature, add the flavorings, and allow the fudge enough time to cool and set.
Once sliced into neat little squares, this classic chocolate fudge is ready to share with family and friends or enjoy as a special homemade dessert.