
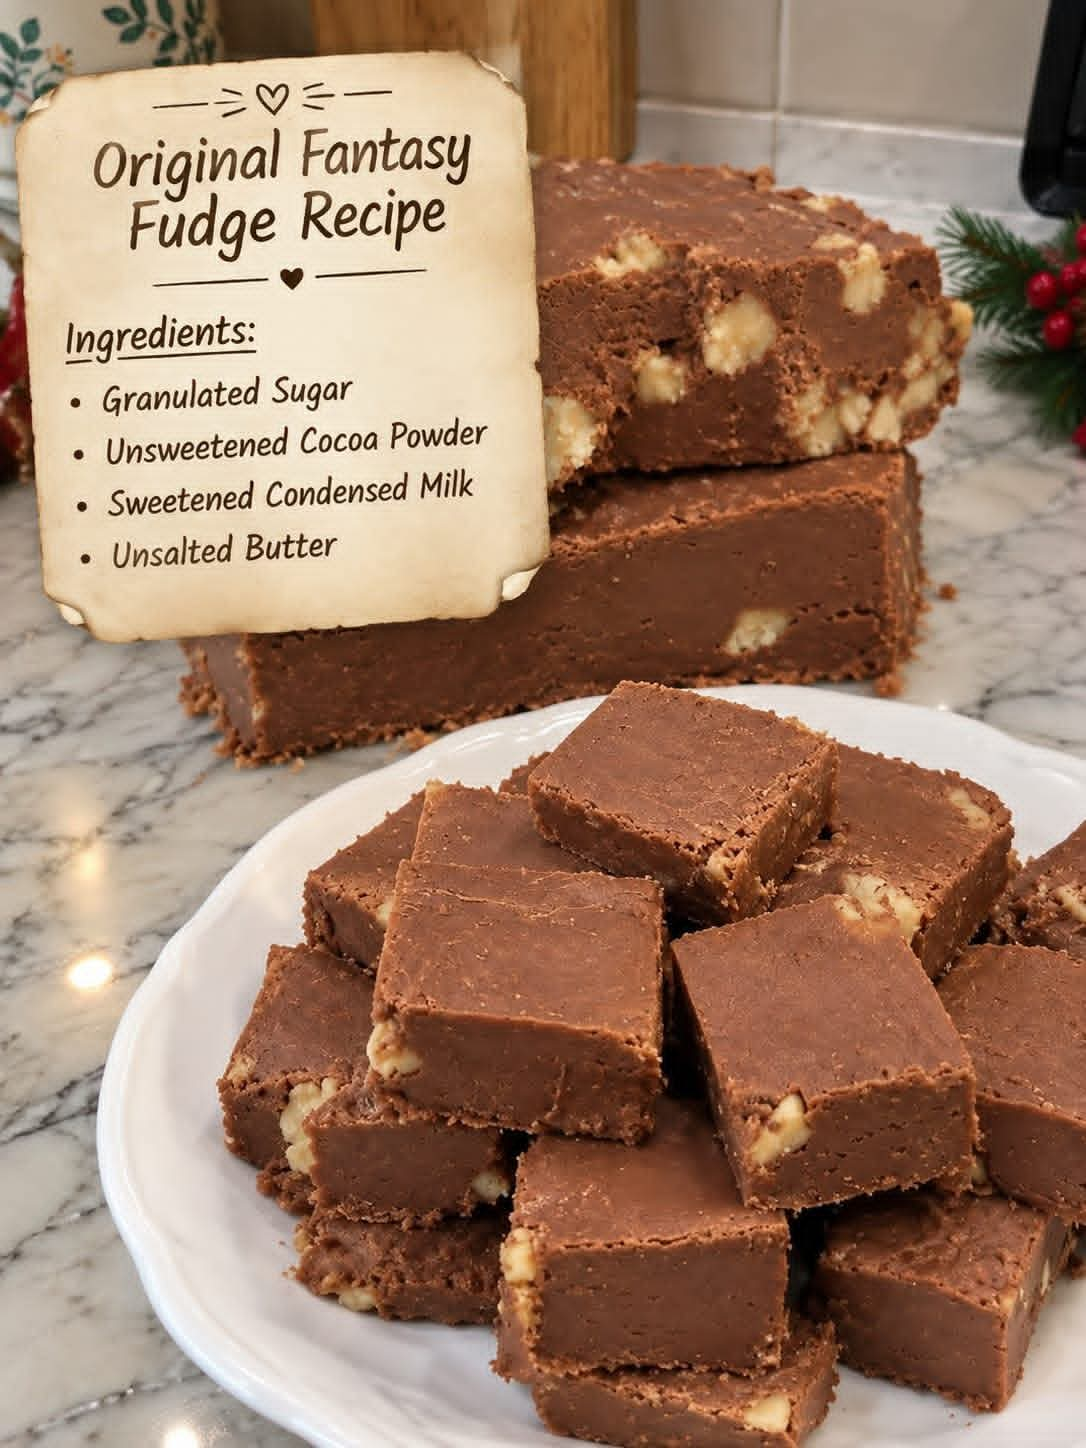
Original Fantasy Fudge Recipe
Introduction
Fantasy Fudge is a classic chocolate fudge known for its rich cocoa flavor, smooth texture, and wonderfully creamy finish. It is the kind of old-fashioned sweet that feels at home on a holiday dessert table, at family gatherings, bake sales, and afternoon coffee breaks.
The recipe is especially appealing because it uses a handful of familiar ingredients: granulated sugar, unsweetened cocoa powder, sweetened condensed milk, and butter. When cooked carefully and allowed to cool properly, these simple ingredients transform into a firm yet tender fudge with an intense chocolate taste.
This homemade fudge can be prepared in advance, cut into small squares, and stored for several days, making it an excellent choice when you need a dessert that can be prepared ahead of time.
Ingredients
Main Ingredients
- 3 cups granulated sugar
- 3/4 cup unsweetened cocoa powder
- 1 can sweetened condensed milk, approximately 14 ounces
- 1/2 cup unsalted butter
- 1 teaspoon vanilla extract
- 1/4 teaspoon salt
Optional Additions
For a more traditional candy-shop style fudge, you can add:
- 1 cup chopped walnuts or pecans
- 1/2 cup chocolate chips for an extra-rich chocolate flavor
- 1/2 teaspoon espresso powder to intensify the cocoa flavor
Preparation
Begin by preparing an 8-inch or 9-inch square baking pan. Line it with parchment paper, leaving some paper hanging over the sides. This makes it much easier to remove the finished fudge.
Lightly butter the parchment paper or spray it with a small amount of nonstick cooking spray.
Measure all of your ingredients before beginning. Fudge requires careful attention while cooking, so having everything ready makes the process easier.
Instructions
Step 1: Combine the Dry Ingredients
Place the granulated sugar and unsweetened cocoa powder in a heavy-bottomed saucepan.
Whisk them together thoroughly so the cocoa is evenly distributed throughout the sugar. Breaking up any cocoa lumps at this stage will help produce a smooth fudge.
Step 2: Add the Milk and Butter
Add the sweetened condensed milk and unsalted butter to the saucepan.
Place the saucepan over medium heat and begin stirring slowly with a wooden spoon or heat-resistant spatula.
Continue stirring until the butter has completely melted and the mixture becomes smooth.
Step 3: Cook the Fudge Mixture
Increase the heat slightly and bring the mixture to a controlled boil.
Once it begins boiling, continue cooking while stirring constantly. Scrape the bottom and sides of the pan frequently to prevent the chocolate mixture from sticking or burning.
For a properly set fudge, the mixture should reach approximately 234 to 238°F, also known as the soft-ball stage.
If you have a candy thermometer, use it to monitor the temperature carefully.
Without a thermometer, you can test a small amount of the mixture by dropping it into cold water. It should form a soft, flexible ball when ready.
Step 4: Remove From the Heat
Once the correct temperature has been reached, immediately remove the saucepan from the heat.
Do not continue cooking longer than necessary, because overcooking can result in dry, crumbly fudge.
Stir in the vanilla extract and salt.
If you are adding chopped nuts, fold them into the mixture at this stage.
Step 5: Beat the Fudge
Allow the mixture to cool slightly, then beat it vigorously with a wooden spoon or sturdy spatula.
Continue beating until the mixture begins to thicken and loses some of its glossy appearance.
This step helps create the characteristic creamy texture of homemade fudge.
Step 6: Transfer to the Pan
Immediately pour the thickened fudge into the prepared baking pan.
Use a spatula to spread it evenly into the corners.
Smooth the surface as much as possible.
Step 7: Cool Completely
Leave the fudge at room temperature until it has cooled and become firm.
This can take several hours.
For faster setting, you can place the pan in the refrigerator once the mixture has cooled sufficiently.
Do not cut the fudge while it is still warm, because the pieces may not hold their shape.
Step 8: Cut Into Squares
Once completely firm, lift the fudge from the pan using the parchment-paper edges.
Place it on a cutting board and use a sharp knife to cut it into small squares.
For clean cuts, wipe the knife between slices.
Method
The traditional method for making fudge depends on controlled heating and accurate cooking.
The sugar, cocoa, condensed milk, and butter are first combined and heated until the mixture reaches the soft-ball stage. This cooking process allows the sugar to dissolve properly and gives the finished fudge its characteristic structure.
After cooking, the mixture is removed from the heat and allowed to cool slightly. Beating the mixture encourages the sugar crystals to become extremely small, producing a smooth and creamy texture rather than a coarse or grainy one.
The fudge is then transferred to a lined pan and allowed to cool completely before cutting.
The most important parts of the method are controlling the temperature, stirring carefully, and allowing enough time for the fudge to set.
The History of Fantasy Fudge
Fantasy Fudge is associated with American home baking and holiday candy making. It became particularly well known through recipes that circulated widely among home cooks and were printed on food-product packaging and in community recipe collections.
The name “Fantasy Fudge” became strongly associated with a popular fudge recipe made with chocolate ingredients, sugar, butter, and a creamy milk component. Over the years, many families developed their own versions by adding nuts, marshmallows, chocolate chips, or different flavorings.
Like many traditional fudge recipes, its appeal comes from turning inexpensive pantry ingredients into a rich confection suitable for celebrations and gift giving.
Formation and Texture
The formation of fudge is largely determined by the behavior of sugar during cooking and cooling.
When the sugar mixture is heated, the sugar dissolves into the liquid ingredients. As the mixture reaches the soft-ball stage, enough water has evaporated for the fudge to develop the correct concentration.
Once the mixture cools and is beaten, tiny sugar crystals begin forming. Properly controlled crystallization gives fudge its smooth, creamy texture.
If the mixture is undercooked, the fudge may remain too soft. If it is overcooked, it can become hard, dry, or crumbly.
That is why temperature and timing are important when preparing homemade fudge.
Helpful Tips
Use a heavy-bottomed saucepan to distribute heat evenly.
Keep the heat controlled and avoid scorching the chocolate mixture.
Stir frequently while the mixture is cooking.
Use a candy thermometer if possible for the most consistent results.
Do not rush the cooling process.
For easier cutting, refrigerate the completely cooled fudge for a short period before slicing.
Use parchment paper in the pan so the entire block can be lifted out easily.
Store the finished fudge in an airtight container with parchment paper between layers.
Variations
Walnut Fantasy Fudge
Add 1 cup of finely chopped walnuts after removing the mixture from the heat. The nuts provide a pleasant crunch and complement the rich chocolate flavor.
Pecan Fudge
Replace the walnuts with chopped pecans for a buttery, slightly sweet nutty flavor.
Extra Chocolate Fudge
Add chocolate chips after removing the saucepan from the heat. Stir until completely melted before transferring the fudge to the pan.
Vanilla Chocolate Fudge
Increase the vanilla slightly for a softer, more aromatic flavor.
Holiday Fudge
Cut the finished fudge into small squares and arrange them on a dessert platter with other homemade candies and cookies.
Serving Suggestions
Fantasy Fudge is delicious served at room temperature with coffee, tea, or a glass of cold milk.
It can also be placed on holiday dessert trays alongside cookies, brownies, peanut butter treats, and other homemade candies.
Because the flavor is rich, small squares are usually enough for one serving.
Storage
Store the fudge in an airtight container at room temperature for several days.
For longer storage, keep it refrigerated in a tightly sealed container.
Place parchment or wax paper between layers so the pieces do not stick together.
The fudge can also be wrapped carefully and frozen for longer-term storage. Allow it to thaw while still wrapped so condensation does not collect directly on the surface.
For Chocolate Lovers
This fudge is especially appealing to chocolate lovers because the unsweetened cocoa provides a deep chocolate flavor while the sweetened condensed milk contributes sweetness and creaminess.
For an even richer experience, serve a small square with a scoop of vanilla ice cream or drizzle the fudge with melted chocolate.
Chopped pecans or walnuts can also be added for a combination of creamy chocolate and crunchy nuts.
Conclusion
Original Fantasy Fudge is a timeless homemade confection that demonstrates how a few simple ingredients can become something wonderfully rich and satisfying.
The key to successful fudge is patience. Careful cooking, accurate temperature control, proper beating, and complete cooling all contribute to the final texture.
Once prepared, the fudge can be cut into neat little squares and enjoyed as an everyday treat or saved for special occasions. Its rich chocolate flavor and creamy texture make it a classic recipe worth keeping in the family recipe collection.
Whether prepared for Christmas, a birthday, a family gathering, or simply because you are craving homemade chocolate fudge, this recipe brings the comforting character of traditional homemade candy to the table.