
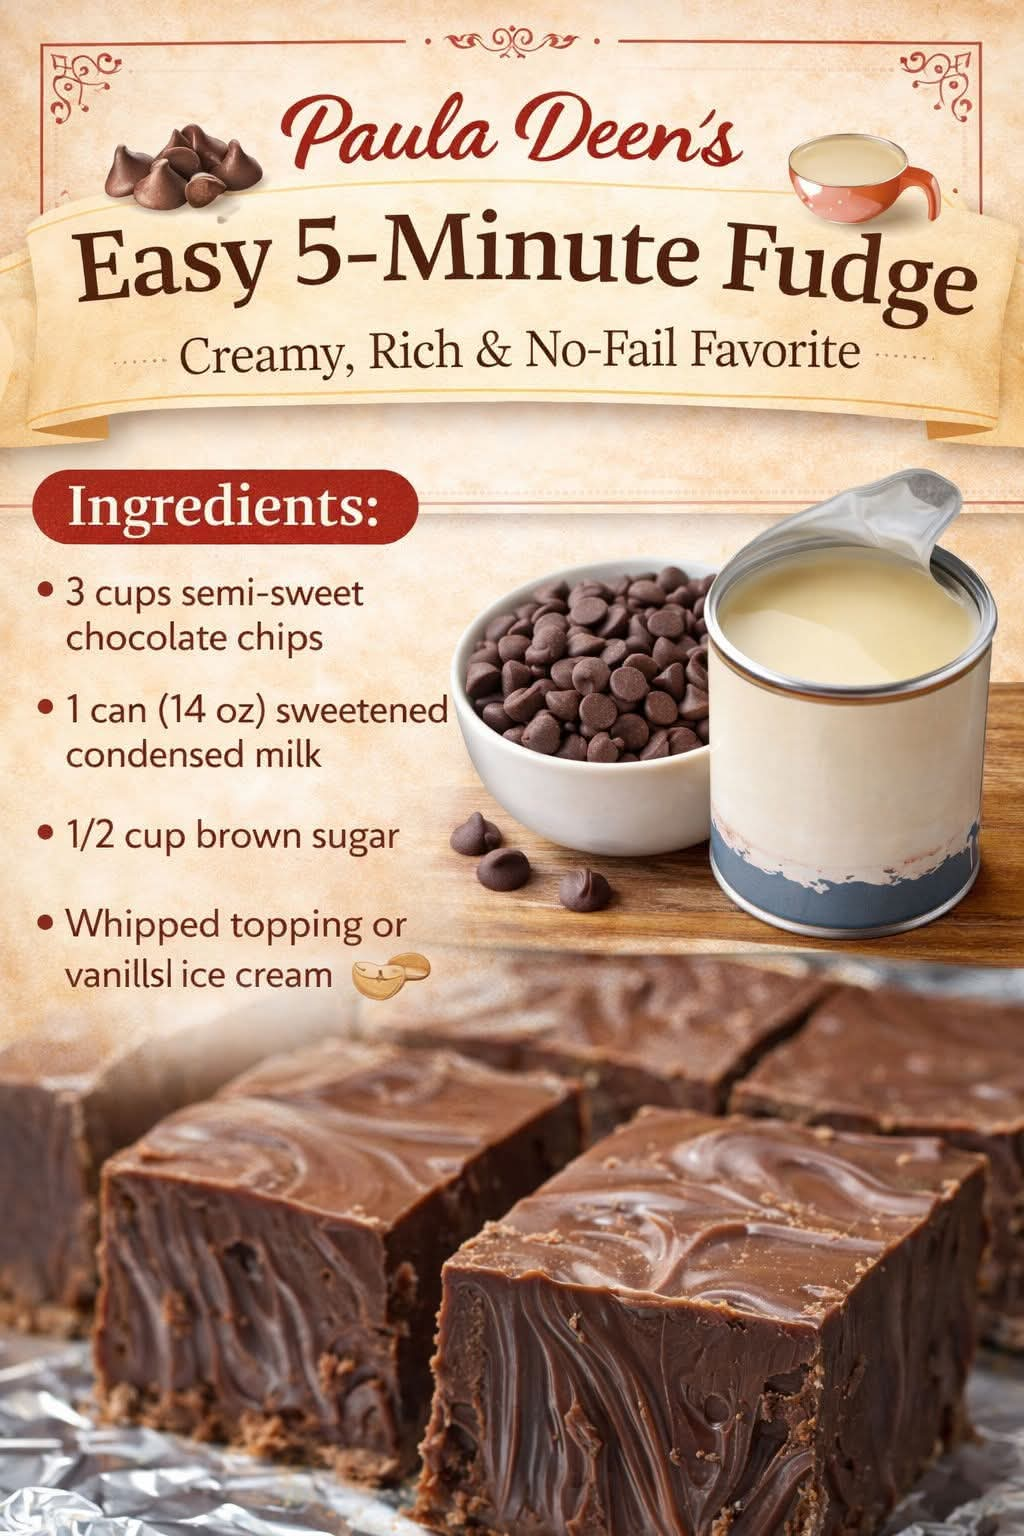
Paula Deen’s Easy 5-Minute Fudge
Introduction
Paula Deen’s Easy 5-Minute Fudge is the kind of old-fashioned chocolate treat that proves a delicious dessert does not have to be complicated. With only three main ingredients and a few minutes of preparation, you can create rich, creamy fudge with a smooth texture and deep chocolate flavor.
This simple fudge is especially useful during the holidays when you need homemade treats for family gatherings, cookie trays, parties, or gifts. It can also be prepared whenever a chocolate craving strikes. The combination of semi-sweet chocolate chips and sweetened condensed milk produces a wonderfully creamy mixture, while vanilla adds a subtle flavor that rounds everything out.
The finished fudge is firm enough to cut into neat squares while remaining rich and tender when you take a bite.
Ingredients
Main Ingredients
- 3 cups semi-sweet chocolate chips
- 1 can (14 ounces) sweetened condensed milk
- 1 teaspoon vanilla extract
Optional Additions
For different variations, you can add:
- 1/2 cup chopped walnuts or pecans
- 1/2 cup mini marshmallows
- 1/2 teaspoon instant espresso powder for deeper chocolate flavor
- A small pinch of salt to balance the sweetness
- 1/2 cup shredded coconut
- 1/2 cup crushed peppermint candies for a holiday version
Equipment
- Medium saucepan or microwave-safe bowl
- Wooden spoon or heat-resistant spatula
- 8-inch square baking pan
- Parchment paper or aluminum foil
- Sharp knife
- Measuring cups and spoons
Preparation
Begin by preparing the baking pan. Line an 8-inch square pan with parchment paper, leaving some paper hanging over two sides. This makes it much easier to lift the finished fudge from the pan.
If desired, lightly grease the parchment paper. Set the prepared pan aside while you make the chocolate mixture.
Instructions
Step 1: Combine the Chocolate and Condensed Milk
Place the semi-sweet chocolate chips and sweetened condensed milk in a medium saucepan.
Heat the mixture over low heat, stirring frequently with a spatula or wooden spoon.
The chocolate will gradually begin to melt into the condensed milk. Continue stirring until the mixture becomes smooth, thick, and completely combined.
Do not use high heat. Chocolate can scorch easily, and gentle heating helps produce a smooth fudge.
Step 2: Add the Vanilla
Once the chocolate mixture is completely melted and smooth, remove the saucepan from the heat.
Immediately stir in the vanilla extract.
If you are using nuts, coconut, espresso powder, or another optional addition, stir it in at this stage.
Work fairly quickly because the fudge mixture begins to thicken as it cools.
Step 3: Transfer to the Pan
Pour the warm fudge mixture into the prepared baking pan.
Use a spatula to spread it evenly from corner to corner.
Smooth the surface as much as possible. If you like a slightly rustic homemade appearance, you can simply leave the top lightly textured.
Step 4: Chill
Place the pan in the refrigerator.
Allow the fudge to chill for approximately 1 to 2 hours, or until it is firm enough to cut cleanly.
For the best texture, allow it to become completely set before slicing.
Step 5: Cut and Serve
Once firm, lift the fudge from the pan using the parchment-paper edges.
Place it on a cutting board and use a sharp knife to cut it into small squares.
For especially clean cuts, wipe the knife between slices.
Method
The basic method behind this fudge is a simple combination of melting, mixing, setting, and chilling.
The chocolate chips provide the chocolate base, while sweetened condensed milk supplies sweetness and moisture and helps create the characteristic soft, creamy texture. Because the ingredients are already formulated to work well together, there is no need for a traditional candy thermometer or complicated sugar-cooking process.
The most important part of the method is gentle heating. The chocolate should melt gradually rather than being exposed to intense heat. Constant or frequent stirring helps distribute the heat and prevents the mixture from sticking or scorching.
Once the mixture is smooth, vanilla is added off the heat. The fudge is then transferred to a lined pan and chilled until firm.
Formation and Texture
As the fudge cools, the melted chocolate mixture changes from a soft, glossy consistency into a firm but creamy confection.
The finished pieces should hold their shape when picked up but should not feel hard or brittle. Properly prepared fudge has a smooth, dense texture that melts pleasantly in the mouth.
The thickness of the fudge depends on the size of the pan. An 8-inch square pan produces relatively thick pieces. Using a larger pan will create thinner fudge.
Tips for Perfect Fudge
Use good-quality chocolate chips when possible because the chocolate is the main flavor in this recipe.
Keep the heat low while melting. High heat can cause the chocolate to seize or scorch.
Stir frequently so the chocolate and condensed milk combine evenly.
Do not confuse sweetened condensed milk with evaporated milk. They are very different products, and evaporated milk will not provide the same sweetness or consistency.
Line the pan with parchment paper so the fudge can be removed easily.
Allow the fudge to cool completely before cutting. Cutting it too soon can result in soft, uneven pieces.
For cleaner squares, use a large sharp knife and wipe it clean between cuts.
Flavor Variations
Chocolate Walnut Fudge
Stir 1/2 cup of chopped walnuts into the melted mixture before transferring it to the pan. Pecans also work beautifully.
Chocolate Coconut Fudge
Add 1/2 cup of sweetened or unsweetened shredded coconut for a chewy coconut variation.
Peppermint Chocolate Fudge
Add a small amount of peppermint extract to the chocolate mixture and sprinkle crushed peppermint candies over the top before chilling.
Espresso Chocolate Fudge
Add approximately 1/2 teaspoon of instant espresso powder. It will intensify the chocolate flavor without necessarily making the fudge taste strongly like coffee.
Chocolate Marshmallow Fudge
Fold in mini marshmallows just before transferring the mixture to the pan. The marshmallows add a soft, chewy texture.
Storage
Store the finished fudge in an airtight container.
It can be kept at room temperature for several days in a cool environment. For longer storage, refrigerate it in a tightly covered container.
Separate layers with parchment or wax paper to prevent the pieces from sticking together.
For the best texture and flavor, allow refrigerated fudge to sit at room temperature for a short time before serving.
Freezing
This fudge can also be frozen.
Place the completely cooled and cut pieces in an airtight freezer-safe container, separating layers with parchment paper.
Freeze for up to a few months for best quality. Thaw the fudge in the refrigerator and then allow it to come closer to room temperature before serving.
A Brief History of Homemade Fudge
Fudge became popular in the United States during the late nineteenth century and developed into one of the country’s best-known homemade candies. Traditional fudge generally involves cooking sugar, butter, milk, and chocolate to a specific temperature before beating the mixture until it thickens.
Modern shortcut recipes simplified this process considerably. Sweetened condensed milk and chocolate chips made it possible to create smooth fudge without the lengthy cooking and temperature control required by older recipes.
This quick style of fudge became particularly popular for holiday baking because it requires relatively few ingredients and can be prepared in a short amount of time.
Why This Recipe Is So Popular
The appeal of this recipe is its simplicity.
There is no complicated dough to prepare, no oven required, and no candy thermometer necessary. The ingredients are easy to find, the preparation is quick, and the finished fudge looks impressive when arranged on a dessert tray.
It is also an excellent base recipe because the chocolate mixture can be customized with nuts, peppermint, coconut, marshmallows, or other favorite additions.
Serving Ideas
Serve the fudge as part of a holiday dessert platter alongside cookies and other candies.
It also makes a thoughtful homemade gift. Place individual squares in small paper cups and arrange them in a decorative box or airtight container.
For an elegant dessert, serve a small square of fudge with fresh berries, whipped cream, or vanilla ice cream.
You can also chop the fudge into small pieces and use it as a topping for ice cream, brownies, or milkshakes.
Conclusion
Paula Deen’s Easy 5-Minute Fudge is a simple, dependable chocolate dessert that brings together rich chocolate, sweet condensed milk, and vanilla in one quick recipe.
Its greatest strength is that it delivers the comforting taste of homemade fudge without the complicated techniques traditionally associated with candy making. Once the chocolate is melted and combined with the condensed milk, the mixture only needs to be spread into a pan and chilled until firm.
Whether prepared for Christmas, a family celebration, a bake sale, a homemade gift, or an ordinary afternoon chocolate craving, this fudge is an easy recipe worth keeping in your collection.
For Fudge Lovers
Chocolate lovers can easily make this recipe their own by adding chopped pecans, walnuts, coconut, peppermint, marshmallows, or a touch of espresso.
The basic recipe is simple enough for beginners, yet versatile enough to become a favorite homemade treat. Once you learn the basic method, you can experiment with different chocolate chips and additions to create your own signature version.
The result is a rich, creamy, old-fashioned-style chocolate fudge that takes only minutes to prepare and is perfect for sharing with family and friends.