
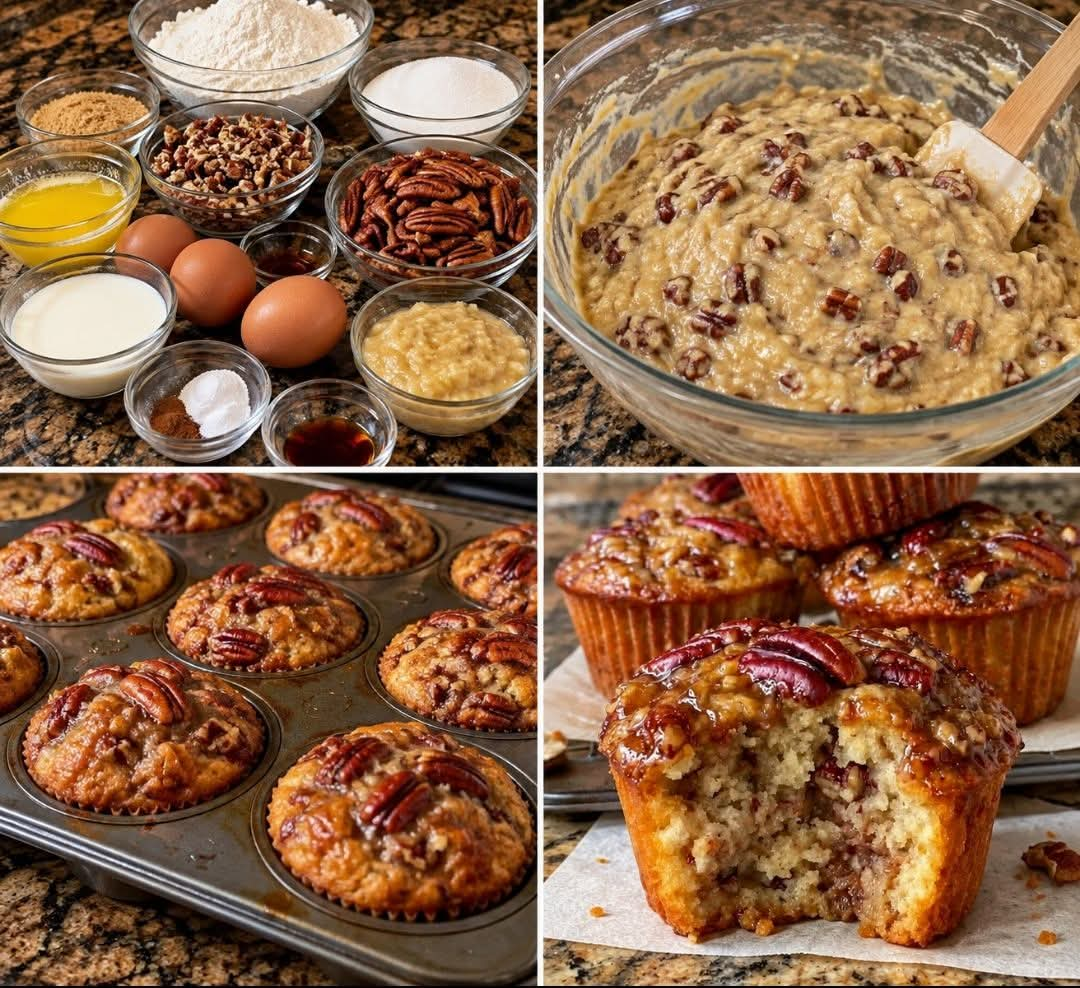
Soft and Buttery Chocolate Chip Cookies
Introduction
My husband invited a couple of our neighbors over, and I wanted to make something homemade to welcome everyone. I decided to bake a batch of soft, buttery chocolate chip cookies, thinking they would be a sweet little treat to enjoy while we visited.
I had no idea they would be such a hit! The wonderful smell of butter, brown sugar, and melting chocolate filled the kitchen, and before dinner was even ready, the cookie plate was practically empty. Everyone kept reaching for another cookie, and more than one person asked me to share the recipe.
These cookies have everything you want in a classic homemade dessert: golden edges, soft centers, plenty of chocolate chips, and a rich buttery flavor. They are easy to prepare with simple pantry ingredients and are perfect for family gatherings, friendly visits, holidays, bake sales, or an ordinary afternoon when you want something sweet.
Ingredients
For the cookies:
- 1 cup (226 g) unsalted butter, softened
- 3/4 cup (150 g) granulated sugar
- 3/4 cup (165 g) packed light brown sugar
- 2 large eggs, at room temperature
- 2 teaspoons vanilla extract
- 2 1/4 cups (280 g) all-purpose flour
- 1 teaspoon baking soda
- 1/2 teaspoon salt
- 2 cups (340 g) semi-sweet chocolate chips
- 1/2 cup chopped walnuts or pecans, optional
Optional finishing touch:
- A small pinch of flaky sea salt for sprinkling over the cookies before baking
Instructions
Step 1: Prepare the oven
Preheat your oven to 350°F (175°C). Line two baking sheets with parchment paper to prevent sticking and make cleanup easier.
Measure all your ingredients before beginning. Allow the butter and eggs to reach room temperature for a smoother, more evenly mixed dough.
Step 2: Cream the butter and sugars
Place the softened butter, granulated sugar, and brown sugar in a large mixing bowl.
Beat with an electric mixer for about 2–3 minutes, until the mixture becomes creamy, light, and fluffy. This step helps create cookies with a tender texture and a delicious buttery flavor.
Scrape down the sides of the bowl as needed to ensure everything is evenly combined.
Step 3: Add the eggs and vanilla
Add the eggs one at a time, mixing well after each addition. Stir in the vanilla extract.
Continue mixing until the ingredients form a smooth, creamy mixture. Avoid overmixing once the eggs have been incorporated.
Step 4: Combine the dry ingredients
In a separate bowl, whisk together the flour, baking soda, and salt.
Gradually add the dry ingredients to the butter mixture. Mix on low speed just until a soft cookie dough forms.
Do not overmix the dough, because too much mixing can make the finished cookies tougher.
Step 5: Fold in the chocolate chips
Using a wooden spoon or spatula, gently fold the chocolate chips into the dough.
If desired, add the chopped walnuts or pecans for extra crunch and flavor.
Make sure the chocolate chips are distributed throughout the dough so every cookie has plenty of chocolate in each bite.
Step 6: Chill the dough
For thicker cookies with a richer flavor, cover the dough and refrigerate it for 30 minutes.
This step is optional if you’re in a hurry, but chilling helps reduce spreading during baking and allows the flavors to develop.
Step 7: Shape the cookies
Scoop approximately 1 1/2 tablespoons of dough for each cookie and place the portions on the prepared baking sheets.
Leave about 2 inches between each portion to allow room for spreading.
If desired, press a few extra chocolate chips onto the tops of the dough balls for a bakery-style appearance.
Step 8: Bake until golden
Bake for 10–13 minutes, depending on the size of the cookies and your oven.
The edges should look lightly golden, while the centers may still appear slightly soft. Do not wait until the centers are completely firm, because the cookies will continue to set as they cool.
For an extra touch, sprinkle a tiny amount of flaky sea salt over the cookies immediately after baking.
Step 9: Cool and serve
Remove the baking sheets from the oven and allow the cookies to rest for 5 minutes.
Carefully transfer them to a wire rack to cool further. This resting period helps the cookies hold their shape while keeping the centers soft.
Serve them slightly warm, when the chocolate chips are still deliciously melty.
Cooking Methods
Traditional oven-baking method
The oven method is ideal for producing cookies with golden edges and soft centers. Bake one sheet at a time in the center of the oven for the most even results.
If baking two sheets simultaneously, rotate them halfway through the baking time if your oven has uneven heat.
No-mixer method
You can also make these cookies without an electric mixer. Use a sturdy whisk or wooden spoon to combine the softened butter and sugars, then mix in the eggs and vanilla before adding the dry ingredients.
The dough may take a little more effort to combine, but the cookies can still turn out wonderfully.
Make-ahead method
Prepare the dough up to 48 hours ahead and keep it covered in the refrigerator. When ready to bake, scoop the chilled dough onto baking sheets and bake as directed, adding a minute or two if necessary.
You can also freeze individual dough portions in an airtight container for up to 3 months. Bake from frozen, allowing a little extra baking time.
A Little History of Chocolate Chip Cookies
Chocolate chip cookies are one of America’s most beloved homemade desserts. They are widely associated with Ruth Wakefield, who developed the famous Toll House chocolate chip cookie at the Toll House Inn in Massachusetts during the 1930s.
The combination of butter, sugar, flour, eggs, and pieces of chocolate became enormously popular. Over time, home bakers created countless variations, adding nuts, oats, caramel, peanut butter, and different types of chocolate.
Today, chocolate chip cookies remain a favorite because they are easy to make, adaptable, and perfect for sharing. Their familiar flavor brings back memories of childhood kitchens, after-school snacks, family celebrations, and fresh cookies cooling on the counter.
Formation and Texture
The secret to a wonderful chocolate chip cookie is balancing the ingredients and avoiding overbaking.
- Butter provides richness and a tender texture.
- Brown sugar adds moisture, a caramel-like flavor, and chewiness.
- Granulated sugar helps the edges develop a delicate crispness.
- Eggs bind the ingredients and provide structure.
- Flour gives the cookies their shape.
- Baking soda helps the dough spread and brown.
- Chocolate chips create sweet, rich pockets of chocolate throughout each cookie.
- Chilling the dough helps produce thicker cookies and enhances flavor.
For softer cookies, remove them from the oven while the centers are still slightly underdone. For crispier cookies, bake them a little longer, watching carefully to prevent burning.
Tips for Perfect Cookies Every Time
- Use softened butter, not completely melted butter, for the intended texture.
- Measure flour accurately. Too much flour can make cookies dry and cakey.
- Use room-temperature eggs to help the ingredients combine evenly.
- Avoid overmixing after adding the flour.
- Leave enough space between dough portions.
- Remove the cookies when their edges are golden and their centers remain soft.
- Let them cool on the baking sheet for a few minutes before moving them.
- Store completely cooled cookies in an airtight container to maintain freshness.
Serving Suggestions
These cookies are delicious on their own, but you can make them even more special by serving them with:
- A cold glass of milk
- Hot coffee or tea
- Vanilla ice cream for a simple cookie sundae
- Fresh strawberries or sliced bananas
- A warm mug of hot chocolate
For a casual gathering, arrange the cookies on a large serving platter and place them in the center of the table. They make a welcoming homemade treat without requiring elaborate preparation.
Storage and Freezing
Store completely cooled cookies in an airtight container at room temperature for up to 4–5 days.
To keep them soft, avoid leaving them uncovered for long periods. If the cookies become slightly firm, briefly warming one in the microwave can restore some of its softness.
For longer storage, freeze baked cookies in a freezer-safe container for up to 3 months. Separate layers with parchment paper to prevent sticking. Thaw at room temperature before serving.
Variations for Cookie Lovers
Double chocolate chip cookies: Replace 1/4 cup of the flour with unsweetened cocoa powder, adjusting the dough consistency as needed.
Chocolate and walnut cookies: Add chopped walnuts or pecans for a pleasant crunch.
White chocolate cookies: Replace some or all of the semi-sweet chocolate chips with white chocolate chips.
Peanut butter chocolate chip cookies: Add 1/3 cup creamy peanut butter and adjust the flour as needed for a soft, scoopable dough.
Festive holiday cookies: Mix in colorful baking candies or use a combination of dark and white chocolate chips.
Extra-chocolate cookies: Mix semi-sweet chocolate chips with chunks of milk or dark chocolate for larger pockets of melted chocolate.
Conclusion
These soft and buttery chocolate chip cookies are proof that a simple homemade dessert can turn an ordinary visit into a memorable occasion. With golden edges, tender centers, and generous amounts of chocolate, they are easy to love and even easier to share.
Whether you’re baking for your neighbors, preparing an after-dinner treat, filling a holiday cookie tray, or simply satisfying a sweet craving, this recipe is one worth keeping close.
The best part is watching everyone reach for another cookie and hearing someone ask, “Can I please have the recipe?”
For All the Cookie Lovers
If you love classic homemade desserts, save this recipe for the next time you have guests coming over. Make a batch, serve them warm, and enjoy the smiles around the table.
Sometimes, the most memorable recipes aren’t complicated or fancy. They’re the simple ones made with everyday ingredients, a little care, and the intention to share something delicious with the people around you.
Recipe details
- Preparation time: 15 minutes
- Chilling time: 30 minutes, optional
- Baking time: 10–13 minutes per batch
- Total time: Approximately 55–60 minutes with chilling
- Yield: About 30 cookies, depending on size
- Oven temperature: 350°F (175°C)
- Difficulty: Easy
A final baking reminder: Every oven is different, so check the first batch early. Slightly soft centers and lightly golden edges are the key to that classic chewy chocolate chip cookie texture.