
The Best Easy Chocolate Chip Cookies Ever
Introduction
Few homemade desserts are as comforting and familiar as a warm batch of chocolate chip cookies. These classic cookies are buttery, soft in the center, lightly crisp around the edges, and filled with delicious pockets of melted chocolate.
This recipe uses simple pantry ingredients and straightforward preparation, making it perfect for beginners as well as experienced home bakers. The combination of brown sugar and white sugar gives the cookies a wonderful balance of moisture, chewiness, sweetness, and lightly caramelized flavor.
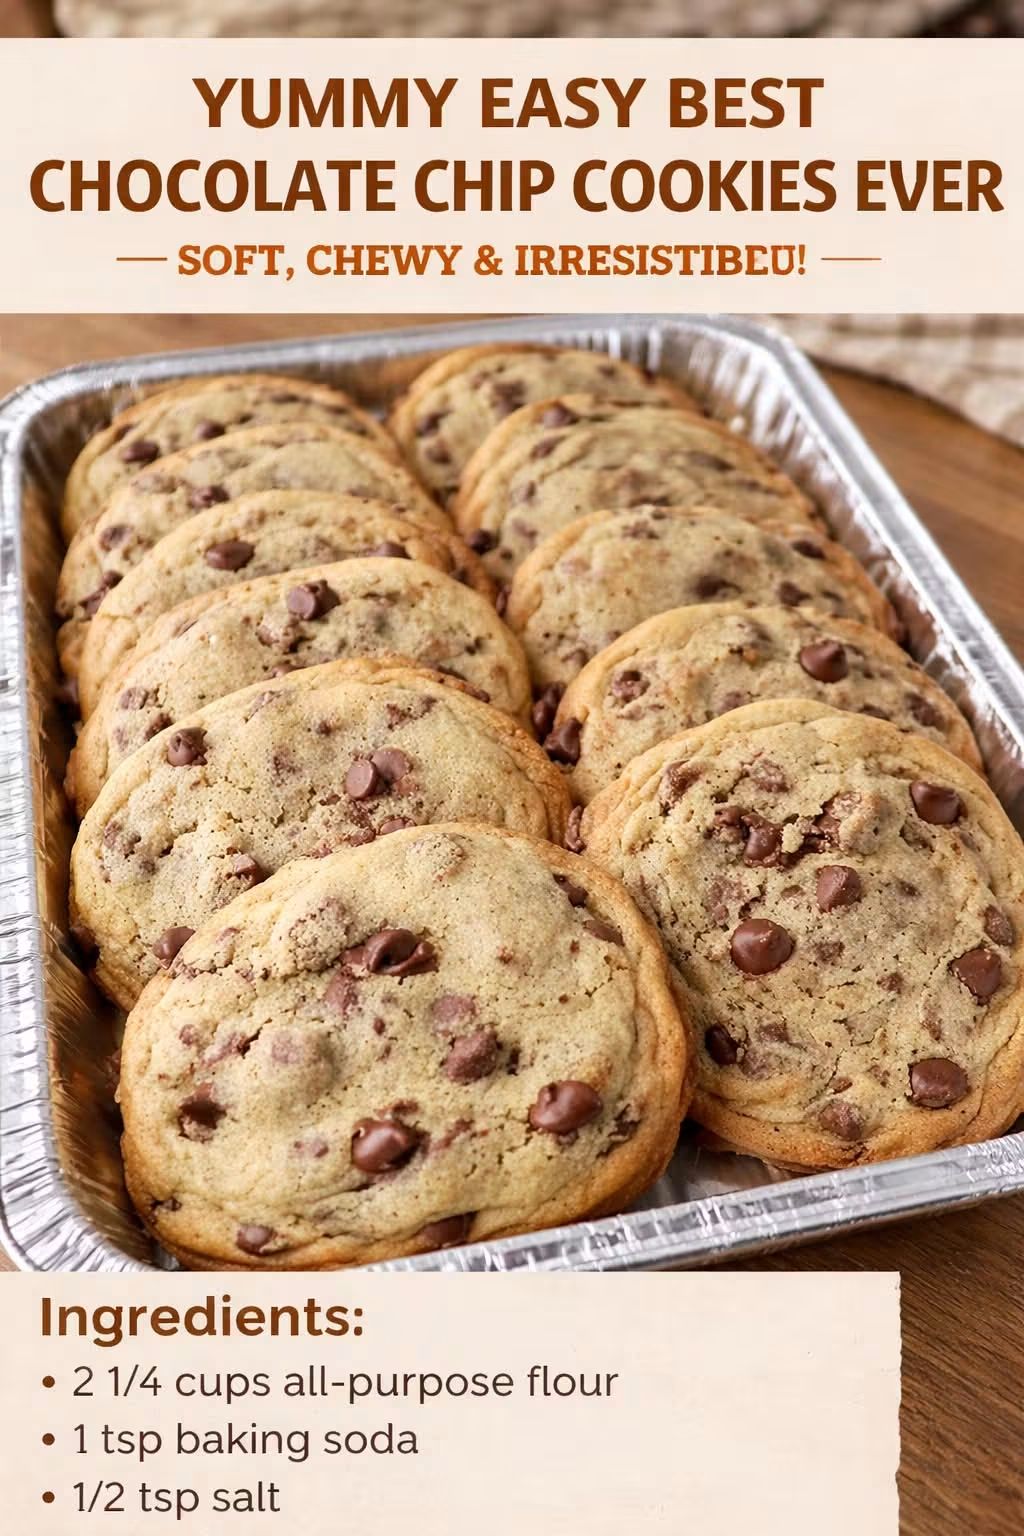
Fresh from the oven, these cookies have golden edges and soft centers. As they cool, the centers become pleasantly chewy while the chocolate chips remain rich and satisfying. They are excellent for afternoon snacks, lunchboxes, family gatherings, bake sales, or simply enjoying with a glass of cold milk or a cup of coffee.
Ingredients
Dry Ingredients
- 2 1/4 cups all-purpose flour
- 1 teaspoon baking soda
- 1/2 teaspoon salt
Wet Ingredients
- 3/4 cup unsalted butter, softened
- 3/4 cup packed brown sugar
- 1/2 cup white granulated sugar
- 1 large egg
- 2 teaspoons vanilla extract
Chocolate
- 1 1/2 to 2 cups semisweet chocolate chips
Optional additions:
- 1/2 cup chopped walnuts or pecans
- 1/2 teaspoon cinnamon
- A small pinch of flaky salt for finishing
Instructions
1. Prepare the Oven
Preheat the oven to 350°F (175°C). Line two baking sheets with parchment paper or lightly grease them.
Allow the butter to soften at room temperature. It should be soft enough to mix easily but should not be melted.
2. Combine the Dry Ingredients
In a medium bowl, whisk together the flour, baking soda, and salt.
Mixing these ingredients separately helps distribute the baking soda and salt evenly throughout the flour. Set the bowl aside while you prepare the cookie dough.
3. Cream the Butter and Sugars
Place the softened butter, brown sugar, and granulated sugar in a large mixing bowl.
Beat for approximately 2 to 3 minutes until the mixture becomes lighter, smoother, and creamy. This step helps incorporate air into the dough and contributes to the final texture of the cookies.
4. Add the Egg and Vanilla
Add the egg and vanilla extract to the butter and sugar mixture.
Beat until everything is well combined and smooth. Scrape down the sides of the bowl if necessary.
5. Add the Dry Ingredients
Gradually add the flour mixture to the wet ingredients.
Mix on low speed or stir by hand just until the flour disappears. Avoid overmixing because excessive mixing can develop the gluten in the flour and make the cookies tougher.
6. Fold in the Chocolate Chips
Add the chocolate chips and gently fold them into the dough.
If you are using chopped nuts, add them at this stage as well.
Try to distribute the chocolate evenly so that every cookie contains plenty of chocolate.
7. Chill the Dough
For thicker and more flavorful cookies, refrigerate the dough for 30 minutes to 1 hour.
Chilling is optional, but it can help reduce spreading during baking and allows the flavors to develop.
8. Shape the Cookies
Scoop the dough into portions using approximately 1 1/2 tablespoons of dough for each cookie.
Place the dough balls on the prepared baking sheets, leaving about 2 inches of space between them because the cookies will spread while baking.
9. Bake
Bake for approximately 9 to 12 minutes, depending on the size of the cookies.
The edges should look lightly golden while the centers should still appear slightly soft. Do not wait for the centers to become completely firm in the oven, because the cookies will continue cooking from the residual heat after they are removed.
10. Cool
Remove the baking sheet from the oven and allow the cookies to rest for about 5 minutes.
Transfer them carefully to a wire rack and allow them to cool further.
For an especially delicious texture, enjoy one while it is still slightly warm and the chocolate is soft and melted.
Method
The key to excellent chocolate chip cookies is controlling the texture at every stage.
Start with softened rather than melted butter. Creaming the butter with the sugars creates a smooth mixture and helps give the cookies their characteristic texture.
Brown sugar contributes moisture and a deeper caramel-like flavor, while granulated sugar helps the cookies spread and develop lightly crisp edges.
The baking soda reacts with the ingredients in the dough and helps the cookies brown and spread. Adding just enough flour keeps the cookies tender rather than dense.
Once the flour is added, mix only until combined. Overmixing is one of the easiest ways to end up with cookies that are less tender than intended.
For thicker cookies, refrigerate the dough before baking. For softer centers, remove the cookies when the edges are golden but the middle still looks slightly underbaked.
History of Chocolate Chip Cookies
Chocolate chip cookies are one of the most recognizable American cookie varieties. Their origins are commonly associated with Ruth Wakefield, who operated the Toll House restaurant in Massachusetts with her husband in the 1930s.
The cookies became widely known as Toll House chocolate chip cookies. Their popularity grew as the recipe was published and chocolate chips became increasingly available to home bakers.
Over the decades, the basic recipe has inspired countless variations. Some versions are thin and crispy, while others are thick, soft, chewy, or filled with nuts, different types of chocolate, or other ingredients.
Despite all the variations, the classic combination of butter, sugar, flour, and chocolate remains one of the most beloved cookie formulas.
Formation and Texture
The formation of these cookies begins with the creaming of butter and sugar. This creates the foundation of the dough.
When the egg and vanilla are added, they provide moisture and help bind the ingredients together. The flour then gives the dough its structure, while baking soda contributes to spreading and browning.
Brown sugar helps maintain moisture, which is particularly important for a chewy center. Granulated sugar contributes sweetness and encourages crispness around the edges.
During baking, the butter melts, the sugars caramelize, the dough spreads, and the flour structure sets. The chocolate chips soften and melt, creating rich chocolate pockets throughout the cookie.
The result is a classic contrast between slightly crisp edges and a soft, chewy middle.
Baking Tips
For the best results, measure the flour carefully. Too much flour can make the cookies dry and thick.
Use room-temperature butter, but do not melt it.
Do not overcrowd the baking sheet. Give each cookie enough room to spread.
Bake one test cookie first if you are unsure about the oven temperature or dough consistency. You can then adjust the baking time or chilling time before baking the remaining dough.
For extra chocolate flavor, reserve a few chocolate chips and gently press them into the tops of the dough balls before baking.
For a bakery-style appearance, add a few additional chocolate chips to the cookies immediately after they come out of the oven.
Storage
Store completely cooled cookies in an airtight container at room temperature for approximately 3 to 5 days.
For longer storage, the baked cookies can be frozen in an airtight freezer-safe container for up to about 2 to 3 months.
The unbaked cookie dough can also be portioned into individual balls and frozen. Place the portions on a tray until firm, then transfer them to a freezer bag or airtight container. Bake directly from frozen, adding a few extra minutes to the baking time.
Serving Suggestions
These cookies are delicious on their own, but they can also be served with:
- Cold milk
- Coffee
- Tea
- Hot chocolate
- Vanilla ice cream
- Chocolate ice cream
- Fresh berries
For an indulgent dessert, place a scoop of vanilla ice cream between two cooled cookies to make a homemade cookie ice cream sandwich.
For Chocolate Chip Cookie Lovers
Chocolate chip cookie lovers can easily customize this basic recipe.
For a richer cookie, use a combination of semisweet and dark chocolate chips.
For a nutty version, add chopped walnuts or pecans.
For a softer cookie, avoid overbaking and remove the cookies when the centers are still slightly soft.
For crispier cookies, bake them for an additional minute or two, watching carefully so the edges do not become too dark.
For a deeper flavor, refrigerate the dough before baking. The resting time allows the ingredients to blend and can produce a more developed cookie flavor.
Conclusion
These easy chocolate chip cookies are a timeless homemade treat made from simple ingredients. The buttery dough, brown sugar, vanilla, and generous amount of chocolate create a cookie that is crisp around the edges, soft and chewy in the center, and full of classic flavor.
Whether you are baking them for your family, preparing a dessert for guests, filling a cookie jar, or simply craving something homemade, this recipe is dependable and easy to customize.
The best part is that the cookies are just as enjoyable warm from the oven as they are the next day. Once you make a batch, they are likely to become a recipe you return to whenever you want a simple, comforting homemade dessert.