
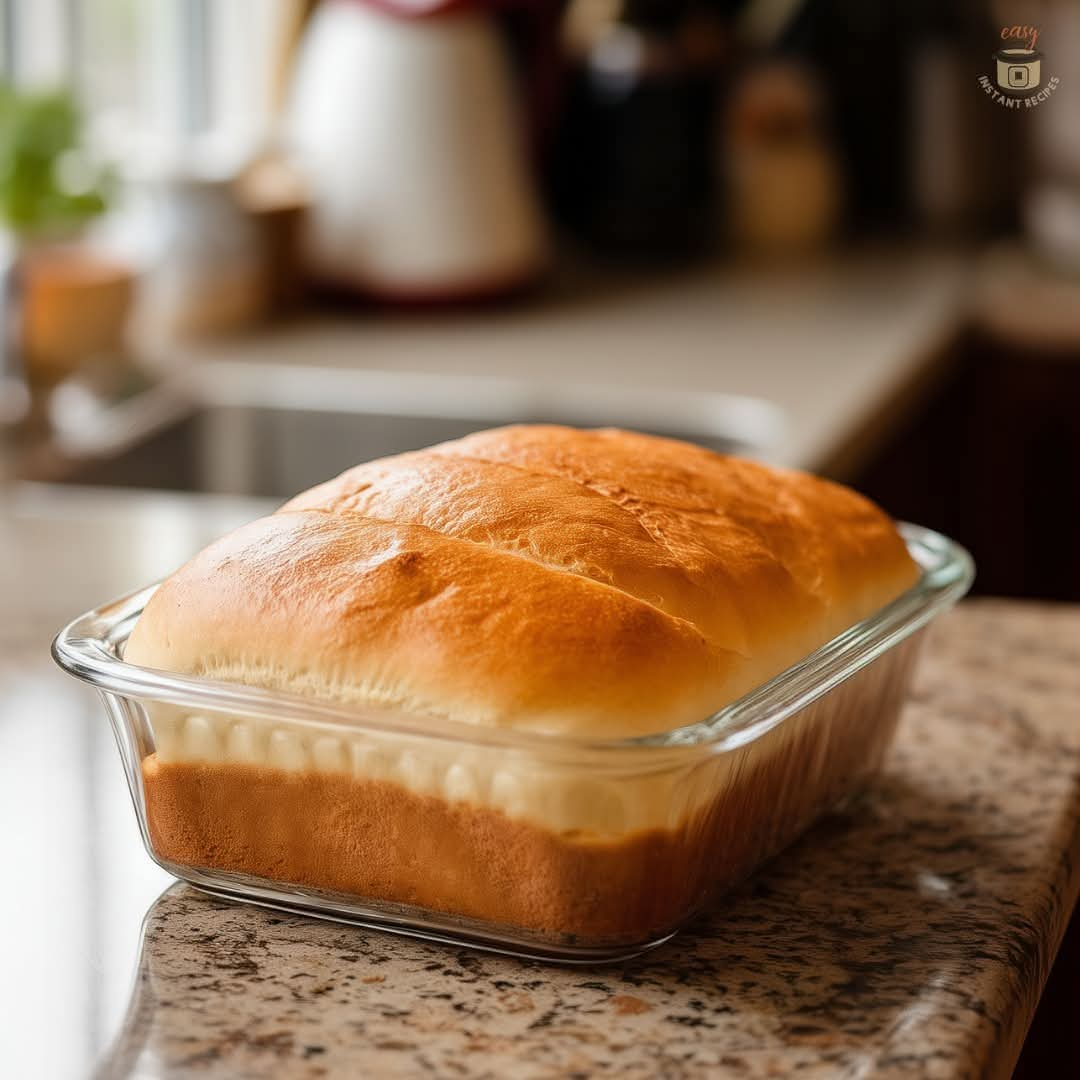
Homemade Zip-Lock Bag Sandwich Bread
Soft, Fluffy, No Mixer, No Mess
There’s something truly comforting about the aroma of freshly baked bread filling your home. This Zip-Lock Bag Sandwich Bread is a fun, beginner-friendly recipe that requires no stand mixer, no flour-covered countertops, and very little cleanup. By mixing and kneading the dough right inside a large zip-lock bag, you can enjoy homemade bread with minimal effort and maximum flavor. The result is a beautifully golden loaf with a soft, fluffy crumb that’s perfect for sandwiches, toast, French toast, or simply enjoyed warm with butter.
Whether you’re baking with children, trying bread-making for the first time, or simply looking for an easier method, this recipe delivers bakery-quality results every time.
The History of Homemade Sandwich Bread
Bread has been a staple food for thousands of years, dating back to ancient Egypt around 8,000 years ago. Homemade sandwich bread became especially popular during the 19th and 20th centuries as families baked fresh loaves for everyday meals. The zip-lock bag method is a modern adaptation designed to simplify bread making, making it accessible to everyone while reducing mess and cleanup.
Ingredients
Dry Ingredients
- 3 cups (375g) all-purpose flour (plus extra if needed)
- 2 tablespoons granulated sugar
- 1 packet (2¼ teaspoons) active dry yeast
- 1 teaspoon salt
Wet Ingredients
- 1 cup warm water (110°F/43°C)
- 2 tablespoons vegetable oil or melted butter
Optional
- Melted butter for brushing after baking
Equipment
- 1 large gallon-size zip-lock bag
- 9×5-inch loaf pan
- Measuring cups and spoons
- Oven
- Wire cooling rack
Preparation Time
- Prep Time: 20 minutes
- Rising Time: 45–60 minutes
- Baking Time: 30–35 minutes
- Total Time: About 1 hour 45 minutes
Servings: 10–12 slices
Step-by-Step Instructions
Step 1: Activate the Yeast
Combine the warm water, sugar, and yeast in the zip-lock bag. Seal the bag loosely and allow it to sit for about 5–10 minutes until the yeast becomes foamy.
Step 2: Add Remaining Ingredients
Add the oil, salt, and 1½ cups of flour to the bag. Seal tightly and squeeze the mixture until smooth.
Gradually add the remaining flour, about ½ cup at a time, squeezing the dough until it forms a soft ball.
If the dough feels sticky, add a little more flour, one tablespoon at a time.
Step 3: Knead in the Bag
Continue kneading by squeezing and folding the dough inside the sealed bag for about 8–10 minutes.
The dough should become smooth, soft, and elastic.
Step 4: First Rise
Open the bag slightly to allow room for expansion.
Leave the dough in a warm place for about 30–45 minutes until doubled in size.
Step 5: Shape the Dough
Remove the dough from the bag.
Lightly grease your loaf pan.
Shape the dough into a rectangle by gently flattening and rolling it tightly.
Pinch the seams closed and place it seam-side down in the loaf pan.
Step 6: Second Rise
Cover the loaf loosely with a towel.
Allow it to rise for another 20–30 minutes until it rises about an inch above the rim of the pan.
Step 7: Bake
Preheat your oven to 375°F (190°C).
Bake for 30–35 minutes until the loaf is golden brown and sounds hollow when tapped.
The internal temperature should reach about 190°F (88°C).
Step 8: Finish
Remove from the oven.
Brush the top with melted butter for a soft, shiny crust.
Cool in the pan for 10 minutes before transferring to a wire rack to cool completely.
Different Methods
Traditional Method
Mix and knead by hand in a bowl.
Stand Mixer Method
Use a dough hook for 8 minutes.
Bread Machine Method
Add ingredients according to your machine’s instructions and use the basic bread cycle.
Overnight Method
After kneading, refrigerate the dough overnight, then let it come to room temperature before shaping and baking.
Tips for Perfect Bread
- Use fresh yeast for the best rise.
- Water that is too hot can kill the yeast.
- Avoid adding too much flour; the dough should remain soft.
- Let the bread cool completely before slicing.
- Store in an airtight container to keep it fresh.
Variations
- Honey Wheat Bread
- Garlic Herb Bread
- Cheese Sandwich Bread
- Cinnamon Raisin Bread
- Oatmeal Sandwich Bread
- Whole Wheat Bread
- Seeded Multigrain Bread
Nutritional Information (Per Slice)
- Calories: 160
- Carbohydrates: 29g
- Protein: 4g
- Fat: 3g
- Fiber: 1g
- Sugar: 2g
- Sodium: 180mg
Why Everyone Loves This Recipe
❤️ Extremely easy for beginners
❤️ No mixer required
❤️ Very little cleanup
❤️ Soft and fluffy texture
❤️ Perfect for sandwiches and toast
❤️ Budget-friendly ingredients
❤️ Family-friendly baking project
❤️ Delicious fresh from the oven
Serving Suggestions
Enjoy this bread with:
- Butter and jam
- Peanut butter
- Avocado toast
- Grilled cheese sandwiches
- French toast
- Egg sandwiches
- Soup
- Homemade deli sandwiches
Storage
- Room temperature: Up to 4 days
- Refrigerator: Up to 1 week
- Freezer: Up to 3 months
Slice before freezing for easy serving.
Conclusion
This Homemade Zip-Lock Bag Sandwich Bread proves that baking fresh bread doesn’t have to be complicated. With just a handful of pantry ingredients, one zip-lock bag, and a loaf pan, you can create a soft, fluffy loaf that’s perfect for every meal. Whether you’re making school lunches, breakfast toast, or hearty sandwiches, this easy recipe is sure to become a favorite in your kitchen.
Bake it once, and you’ll discover just how rewarding—and surprisingly simple—homemade bread can be. Happy baking! 🍞❤️