
Homemade Blind-Baked Pie Crust (No Pie Weights Needed)
Introduction
A flaky, buttery pie crust is the foundation of countless delicious desserts and savory pies. Many home bakers believe they need special pie weights to achieve a perfectly blind-baked crust, but that’s simply not true. Common pantry staples like dried beans or uncooked rice work just as well. This simple technique creates a crisp, golden crust that won’t become soggy when filled with custards, creams, fruits, or savory fillings.
Whether you’re making a classic pumpkin pie, silky chocolate cream pie, lemon meringue pie, or a savory quiche, this reliable homemade pie crust recipe will become your go-to favorite. It’s easy enough for beginners yet produces bakery-quality results every time.
Ingredients
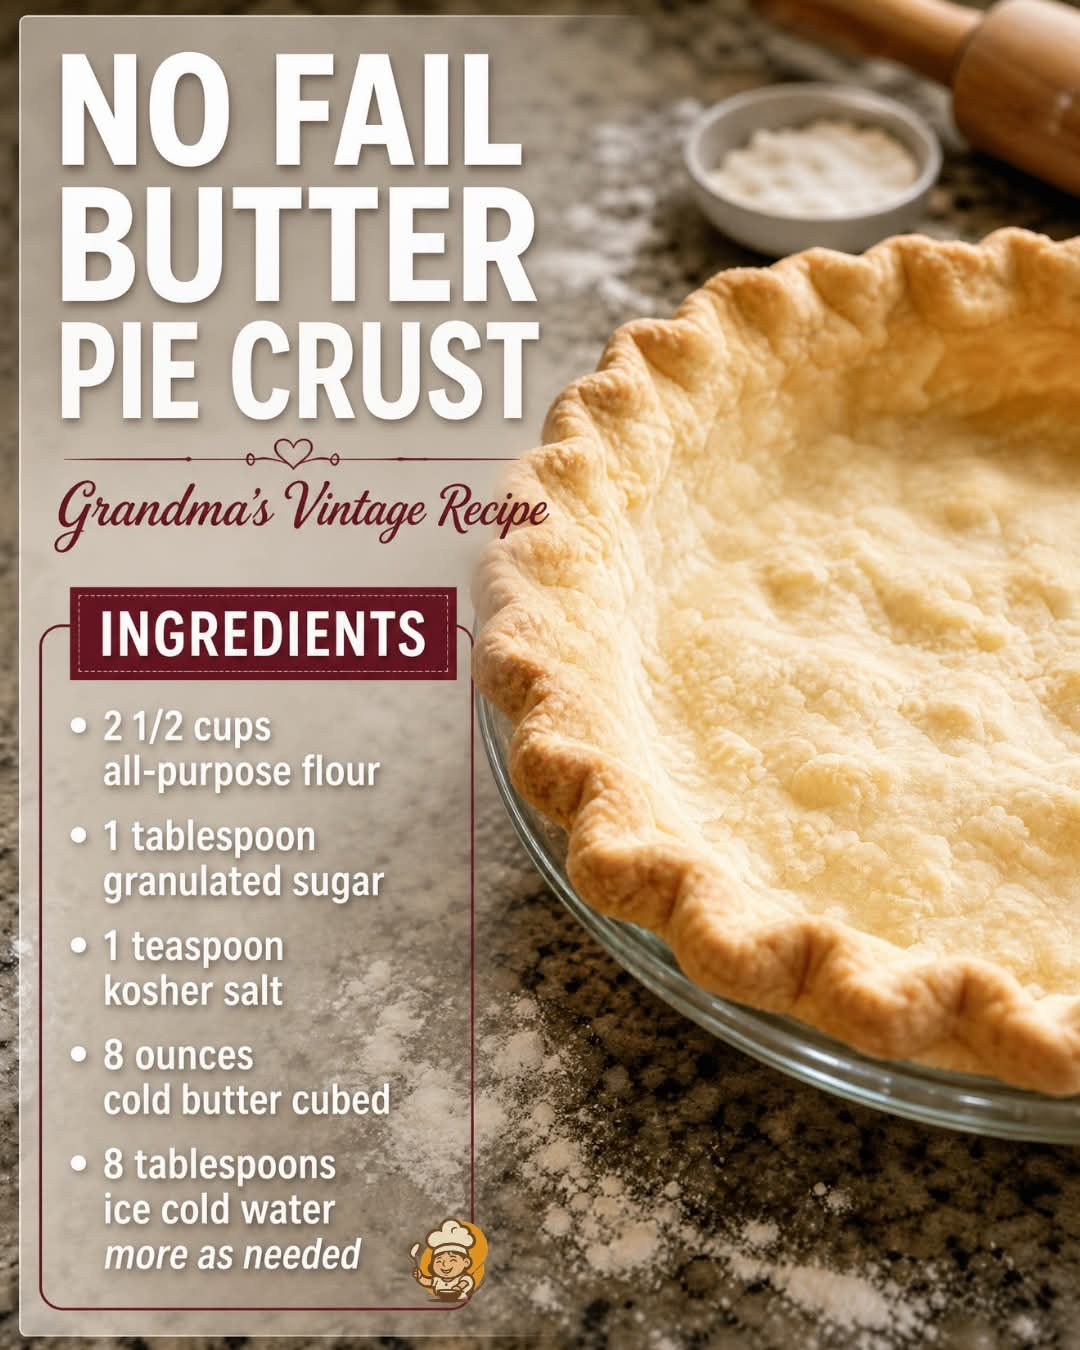
For the Pie Dough
- 2½ cups all-purpose flour
- 1 tablespoon granulated sugar
- 1 teaspoon kosher salt
- 8 ounces (2 sticks) unsalted butter, very cold and cut into small cubes
- 8 tablespoons ice water (add gradually)
For Blind Baking
- Parchment paper
- 2–3 cups dried beans or uncooked rice (for weighing down the crust)
Equipment
- Mixing bowl
- Pastry cutter or food processor
- Rolling pin
- 9-inch pie dish
- Measuring cups and spoons
- Fork
- Parchment paper
Instructions
Step 1: Mix the Dry Ingredients
In a large mixing bowl, whisk together the flour, sugar, and kosher salt until evenly combined.
Step 2: Cut in the Butter
Add the cold butter cubes. Using a pastry cutter or your fingertips, work the butter into the flour until the mixture resembles coarse crumbs with pea-sized pieces of butter remaining.
Step 3: Add Ice Water
Slowly drizzle in the ice water, one tablespoon at a time, gently mixing after each addition until the dough just comes together. Avoid overmixing.
Step 4: Chill the Dough
Shape the dough into a disk, wrap tightly in plastic wrap, and refrigerate for at least 1 hour.
Step 5: Roll Out the Dough
Lightly flour your work surface and roll the chilled dough into a circle about 12 inches wide and ⅛-inch thick.
Step 6: Fit the Pie Dish
Carefully transfer the dough into a 9-inch pie plate. Gently press it into the bottom and sides without stretching. Trim excess dough and crimp the edges as desired.
Step 7: Chill Again
Place the prepared crust in the refrigerator for 15–20 minutes to help prevent shrinking.
Step 8: Prepare for Blind Baking
Preheat the oven to 375°F (190°C).
Line the crust with parchment paper and fill with dried beans or uncooked rice, making sure they reach the edges.
Step 9: First Bake
Bake for 15 minutes.
Step 10: Remove the Weights
Carefully lift out the parchment paper and beans.
Return the crust to the oven.
Step 11: Finish Baking
Bake another 8–10 minutes, or until the crust is lightly golden and crisp.
Cool completely before adding your filling.
Baking Methods
Traditional Method
Bake in a conventional oven following the instructions above.
Food Processor Method
Pulse the dry ingredients with butter until crumbly before adding ice water.
Make-Ahead Method
Prepare the dough up to three days ahead and refrigerate.
Freezer Method
Freeze the dough for up to three months. Thaw overnight before rolling.
Tips for Success
- Always use very cold butter.
- Ice water helps create flaky layers.
- Don’t overwork the dough.
- Chill before baking to reduce shrinking.
- Docking the crust with a fork can help prevent bubbles after removing the weights.
- Save the dried beans or rice for future blind baking—they should not be cooked afterward.
History of Blind Baking
Blind baking has been practiced for centuries in European kitchens, particularly in France and England. Bakers discovered that partially baking the crust before adding wet fillings helped prevent soggy bottoms and ensured crisp, evenly cooked pastry. Before commercial pie weights existed, cooks traditionally used dried beans, rice, or even clean stones as inexpensive baking weights. This practical technique remains just as effective today.
Preparation Time
- Prep Time: 20 minutes
- Chill Time: 1 hour
- Bake Time: 23–25 minutes
- Total Time: About 1 hour 45 minutes
Yield
- Makes one 9-inch pie crust
- Serves 8 slices
Serving Ideas
This crust is perfect for:
- Pumpkin pie
- Pecan pie
- Apple pie
- Lemon meringue pie
- Chocolate cream pie
- Banana cream pie
- Coconut cream pie
- Quiche
- Chicken pot pie
Why Everyone Loves This Recipe
Pie lovers appreciate this recipe because it’s simple, reliable, and produces an incredibly flaky crust without requiring expensive equipment. Using pantry staples instead of pie weights makes it accessible for everyone, while the rich buttery flavor complements both sweet and savory fillings. Beginners enjoy its straightforward steps, and experienced bakers trust it for consistently beautiful results.
Conclusion
A homemade pie crust doesn’t have to be complicated or require specialty tools. With cold butter, a little patience, and everyday pantry items like dried beans or rice, you can create a beautifully crisp, golden crust that rivals any bakery. Master this basic recipe once, and you’ll have the perfect foundation for countless pies and family favorites for years to come. Happy baking!