
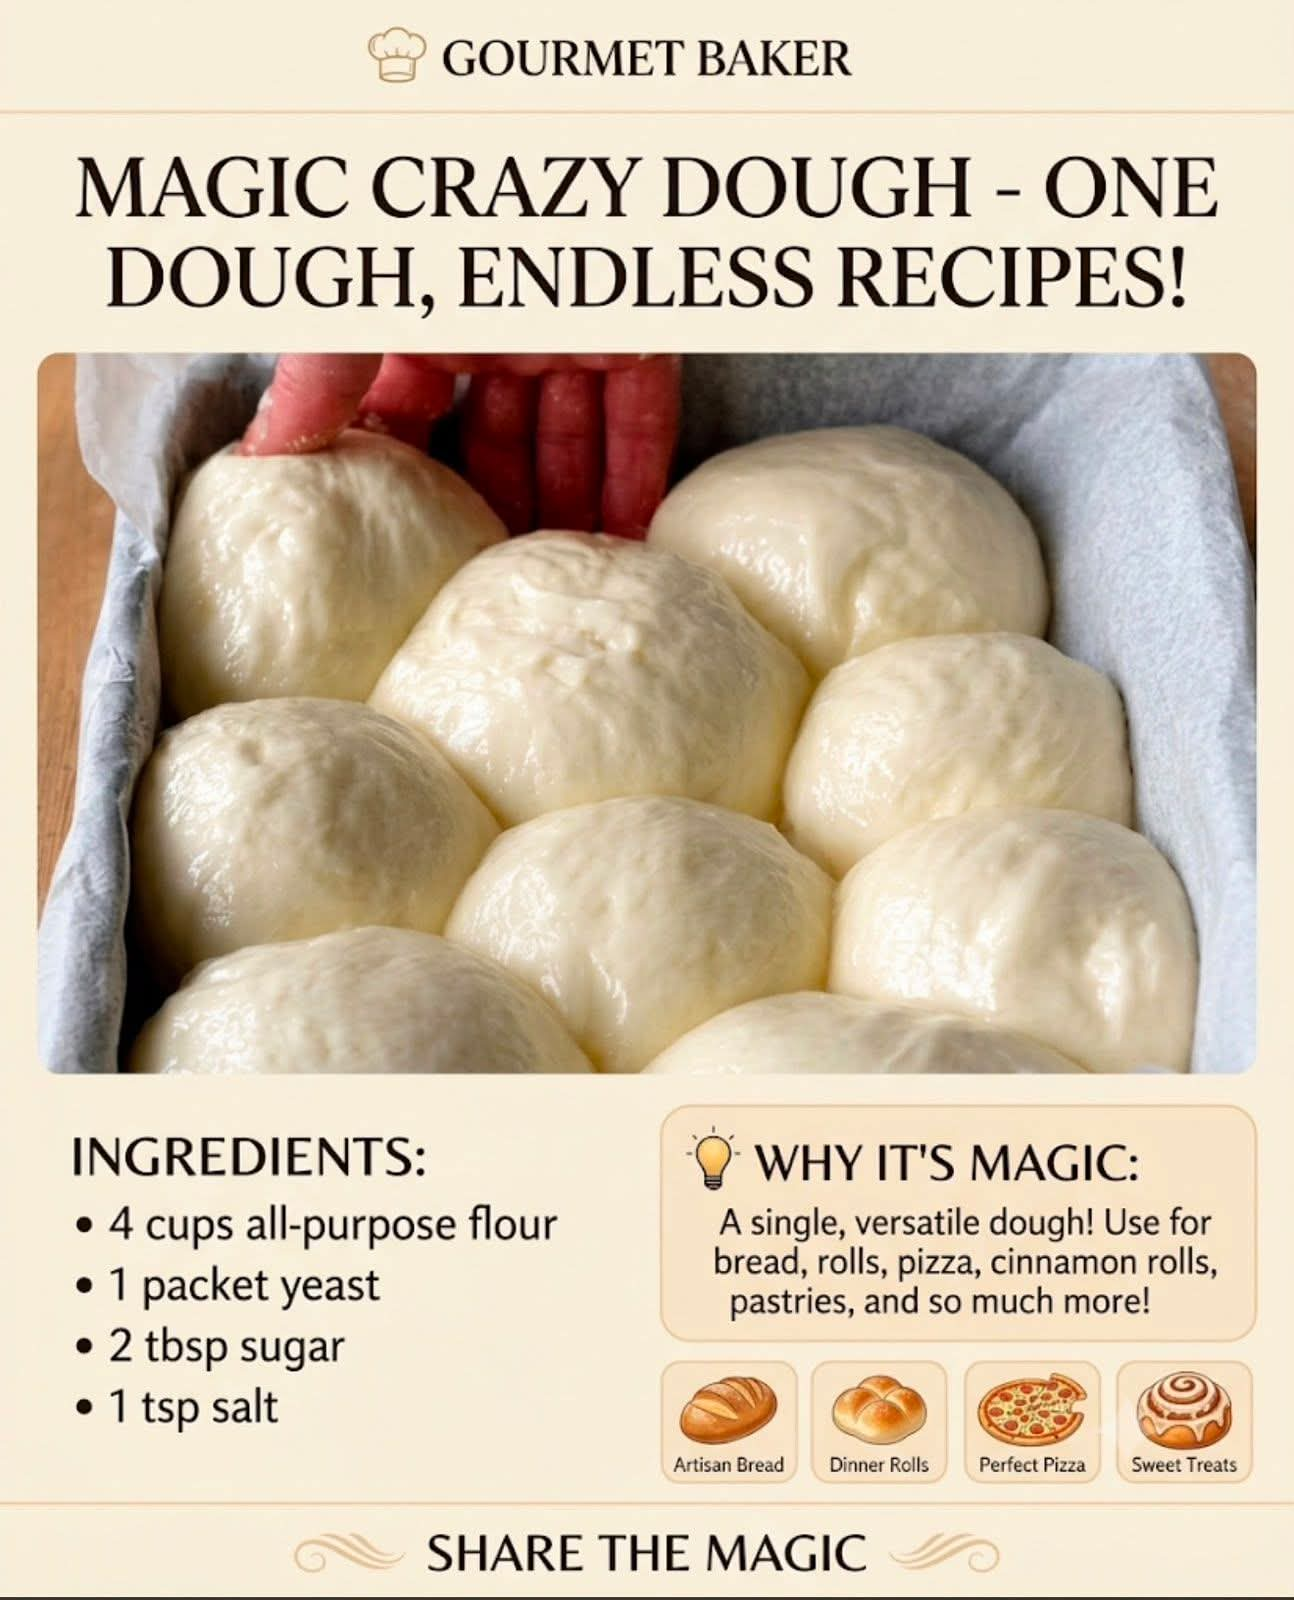
🍞 MAGIC CRAZY DOUGH
One Dough, Many Delicious Recipes ❤️
🌟 Introduction
Magic Crazy Dough is the kind of recipe every home baker loves to have in their kitchen. The beauty is in its versatility: one soft, enriched dough can become bread rolls, dinner rolls, pizza, garlic knots, cinnamon rolls, stuffed bread, buns, or sweet pastries.
The dough gets its wonderfully soft texture from a combination of warm milk, yogurt, egg, yeast, and a little baking powder. It is rich enough to make tender baked goods while remaining flexible enough to shape in many different ways.
If you love recipes that give you several possibilities from one basic preparation, this is definitely one to keep!
🛒 Ingredients
For the Magic Dough
- 4 cups (500 g) all-purpose flour, plus a little extra if needed
- 1 cup (240 ml) warm milk
- 2 tablespoons granulated sugar
- 2¼ teaspoons (7 g) active dry yeast
- ½ cup (120 g) plain yogurt
- 1 large egg, room temperature
- 1 teaspoon baking powder
- 1 teaspoon salt
- 2 tablespoons melted butter or neutral oil, optional but recommended
For brushing
- 1–2 tablespoons melted butter
- Sesame seeds, poppy seeds, or nigella seeds, optional
- For sweet versions: a little milk or beaten egg for brushing
👩🍳 Instructions
1. Activate the yeast
Pour the warm milk into a large bowl.
The milk should feel pleasantly warm, not hot. Add the sugar and active dry yeast.
Stir gently and let the mixture stand for about 5–10 minutes.
A light layer of foam should develop on top. This indicates that the yeast is active.
Tip: If the milk is too hot, it can damage the yeast.
2. Add the wet ingredients
Add the yogurt and egg to the yeast mixture.
Whisk until everything is well combined.
If you’re using melted butter or oil, add it now.
The yogurt contributes tenderness and moisture, while the egg gives the dough richness and structure.
3. Add the dry ingredients
In another bowl, combine:
- Flour
- Baking powder
- Salt
Gradually add the dry mixture to the wet ingredients.
Start mixing with a wooden spoon or spatula.
When the dough begins to come together, use your hands to bring it into a rough ball.
✋ 4. Knead the dough
Transfer the dough to a lightly floured surface.
Knead for approximately 8–10 minutes, until the dough becomes:
- Soft
- Smooth
- Elastic
- Slightly tacky but not excessively sticky
Try not to add too much flour.
This is one of the most important secrets to keeping the finished bread soft.
💡 Dough test
Take a small piece of dough and gently stretch it.
If it stretches without immediately tearing, your dough has developed good elasticity.
🕐 5. First rise
Place the dough in a lightly greased bowl.
Cover it with plastic wrap, a lid, or a clean kitchen towel.
Leave it in a warm, draft-free place for approximately 1–1½ hours, or until it has noticeably increased in size.
The exact rising time depends on the temperature of your kitchen.
🥖 6. Deflate and divide
Once risen, gently press the dough down to release excess gas.
Transfer it to your work surface.
Divide the dough according to what you want to make.
For dinner rolls, divide it into approximately 12–16 pieces.
Roll each piece into a smooth ball by pulling the edges underneath and gently rolling it against the work surface.
🍞 FORMATION — ONE DOUGH, MANY RECIPES
The real magic begins here! ❤️
1. Soft Dinner Rolls
Divide the dough into 12–16 equal pieces.
Shape each piece into a smooth ball.
Place them close together in a greased baking dish.
Cover and allow them to rest for another 25–35 minutes.
Brush with melted butter before baking.
Bake at 180°C / 350°F for approximately 18–25 minutes, until golden.
Brush with more butter immediately after removing them from the oven.
🍕 2. Homemade Pizza
Divide the dough into 2 portions.
Roll or stretch each portion into a pizza base.
Transfer to a lightly greased or parchment-lined baking tray.
Add:
- Pizza sauce
- Mozzarella
- Vegetables
- Cooked chicken
- Beef
- Olives
- Peppers
- Your favorite toppings
Bake at approximately 220°C / 425°F until the crust is golden and the cheese is bubbling.
🧄 3. Garlic Knots
Divide the dough into small pieces.
Roll each piece into a rope.
Tie each rope into a simple knot.
Arrange on a baking tray.
Bake until golden.
Immediately brush with a mixture of:
- Melted butter
- Minced garlic
- Chopped parsley
- Pinch of salt
These are fantastic served warm.
🥨 4. Stuffed Bread Rolls
Flatten each dough ball.
Place a small amount of filling in the center.
Try:
- Cheese
- Cheese and herbs
- Cooked chicken
- Seasoned minced beef
- Spinach and cheese
- Potatoes and herbs
Pull the edges together and pinch firmly to seal.
Place seam-side down and allow the rolls to rest before baking.
🌭 5. Homemade Buns
Divide the dough into 8–10 portions.
Shape each piece into a slightly elongated bun.
Place on a baking sheet with space between them.
Let them rise again for approximately 30 minutes.
Brush with egg wash or milk and sprinkle with sesame seeds.
Bake at 180°C / 350°F until golden brown.
These make wonderful sandwich or burger buns.
🍥 6. Cinnamon Rolls
For a sweet version, roll the dough into a large rectangle.
Spread with softened butter.
Sprinkle generously with a mixture of:
- Brown sugar
- Cinnamon
Roll tightly from one long side to the other.
Cut into individual rolls.
Place them in a greased baking dish.
Cover and let them rise for 30–45 minutes.
Bake at 180°C / 350°F until golden and cooked through.
Finish with cream cheese icing or a simple powdered-sugar glaze.
🧀 7. Cheese Bread
Roll pieces of dough into small circles.
Place shredded cheese in the center.
Fold the dough around the cheese and pinch it closed.
Place seam-side down.
Brush with butter and sprinkle with herbs.
Bake until beautifully golden.
The result is a soft roll with a warm, cheesy center.
🍎 8. Sweet Fruit Rolls
Flatten pieces of dough and fill them with:
- Apple and cinnamon
- Pear and brown sugar
- Chopped dates
- Raisins
- Chocolate
- Jam
Seal carefully and bake until golden.
Dust with powdered sugar after cooling if desired.
🔥 FINAL BAKING METHOD
Regardless of the shape you choose, remember these basic principles:
Before baking
Allow shaped dough to rest until it becomes visibly puffy.
Oven
Preheat the oven before putting the bread inside.
For most rolls, 180°C / 350°F works well.
Baking
Bake until the tops are golden brown and the bottoms sound slightly hollow when tapped.
Avoid overbaking.
Overbaking is one of the easiest ways to turn soft bread into dry bread.
After baking
Brush hot rolls with melted butter.
Cover loosely with a clean towel for several minutes.
This helps keep the crust soft.
📜 A LITTLE HISTORY
The idea behind a versatile “master dough” has deep roots in home baking.
For generations, bakers have relied on adaptable enriched doughs that could be transformed into several different foods depending on what ingredients were available.
Milk, eggs, yogurt, butter, and yeast are commonly used to create softer and richer breads than basic flour-and-water doughs.
The modern concept of a “one dough, many recipes” is especially popular among home bakers because it reduces preparation time while allowing the same basic dough to become completely different dishes.
That is the charm of Magic Crazy Dough: the dough is the starting point, and the filling, shape, and toppings determine the final creation.
❤️ WHY BAKERS LOVE THIS DOUGH
There are plenty of reasons this recipe has become a favorite.
Soft texture
Milk, yogurt, and egg help create a tender crumb.
Versatility
You can make both savory and sweet recipes from the same basic dough.
Budget-friendly
The ingredients are simple pantry and refrigerator staples.
Family-friendly
Everyone can choose their favorite filling or shape.
Make-ahead friendly
The dough can be prepared ahead and refrigerated for later use, provided it is properly covered and kept cold.
⭐ IMPORTANT BAKING TIPS
Don’t drown the dough in flour
A slightly tacky dough usually produces softer bread than a very stiff dough.
Measure flour carefully
Too much flour can make the finished bread dense and dry.
For the most consistent results, weighing the flour is preferable.
Use warm—not hot—milk
Very hot liquid can interfere with yeast activity.
Give the dough time
A good rise contributes significantly to the texture.
Don’t skip the second rise
After shaping, the dough needs another rest so the finished rolls become lighter and airier.
Don’t overbake
Take the bread out once it is properly golden and cooked through.
🧊 STORAGE
Once completely cool, store the baked rolls in an airtight container or sealed bag.
They are generally best within 2–3 days at room temperature.
For longer storage, freeze the baked rolls in a well-sealed freezer bag.
To serve, thaw and gently warm them in the oven.
❤️ SERVING IDEAS
Serve your Magic Crazy Dough creations with:
- Butter
- Honey
- Jam
- Cream cheese
- Soup
- Stews
- Pasta
- Grilled meats
- Eggs
- Cheese
- Tea or coffee
A warm homemade roll with butter melting into the center is hard to beat! 🧈🍞
👩🍳 THE MAGIC FORMULA
Think of this recipe as your master dough:
Mix → Knead → Rise → Divide → Shape → Rest → Bake → Enjoy!
Then let your imagination take over.
One batch can become dinner rolls today, pizza tomorrow, garlic knots later in the week, and cinnamon rolls when you want something sweet.
🌟 CONCLUSION
Magic Crazy Dough is more than just a bread recipe—it’s a foundation for creativity in the kitchen.
Once you learn the basic dough, you don’t need a separate recipe every time you want to make something different.
Shape it into rolls.
Stuff it with cheese.
Turn it into pizza.
Make garlic knots.
Create cinnamon rolls.
Bake sweet fruit pastries.
The possibilities are almost endless. ❤️
🍞 For the Lovers of Homemade Bread
If you’re someone who loves the smell of fresh bread filling the kitchen, this is the kind of recipe worth keeping close.
It’s simple enough for beginners, versatile enough for experienced bakers, and delicious enough to become a family favorite.
One dough. Many recipes. Endless possibilities.
And the best part?
Nothing beats pulling a tray of warm, golden homemade bread from the oven and watching everyone gather around the kitchen. ❤️🍞
Final Baker’s Note
For the softest results, focus on proper hydration, gentle kneading, adequate rising time, and avoiding excess flour. Those four details make a tremendous difference in the final texture.
Happy baking! 🥖❤️