
I Don’t Buy Bread Anymore: Easy No-Knead, No-Egg, No-Butter Bread
Introduction
There is something wonderfully satisfying about making your own bread at home, especially when the recipe is simple, inexpensive, and requires almost no effort. This easy homemade bread needs no kneading, no eggs, and no butter. With just a handful of basic ingredients, you can make a soft, rustic loaf with a lightly crisp crust and a tender inside.
It is an excellent recipe for busy mornings, family dinners, sandwiches, toast, or simply serving warm with soup. The dough does most of the work while it rests, making this one of the easiest homemade breads for beginners.
Ingredients
- 3 cups all-purpose flour
- 1 1/2 cups warm water
- 2 teaspoons instant yeast
- 1 teaspoon salt
- 1 teaspoon sugar
- 1 tablespoon vegetable oil, optional
- Extra flour for shaping
- A little oil for greasing the baking dish, if needed
Instructions
1. Prepare the Dough
In a large mixing bowl, combine the warm water, yeast, and sugar. Stir gently and let the mixture stand for about 5 minutes if using active dry yeast.
Add the flour and salt. If using vegetable oil, add it at this stage as well.
Mix everything together with a wooden spoon or spatula until a sticky, shaggy dough forms. There is no need to knead the dough. Make sure there are no large pockets of dry flour remaining.
2. Let the Dough Rest
Cover the bowl with plastic wrap, a clean kitchen towel, or a plate.
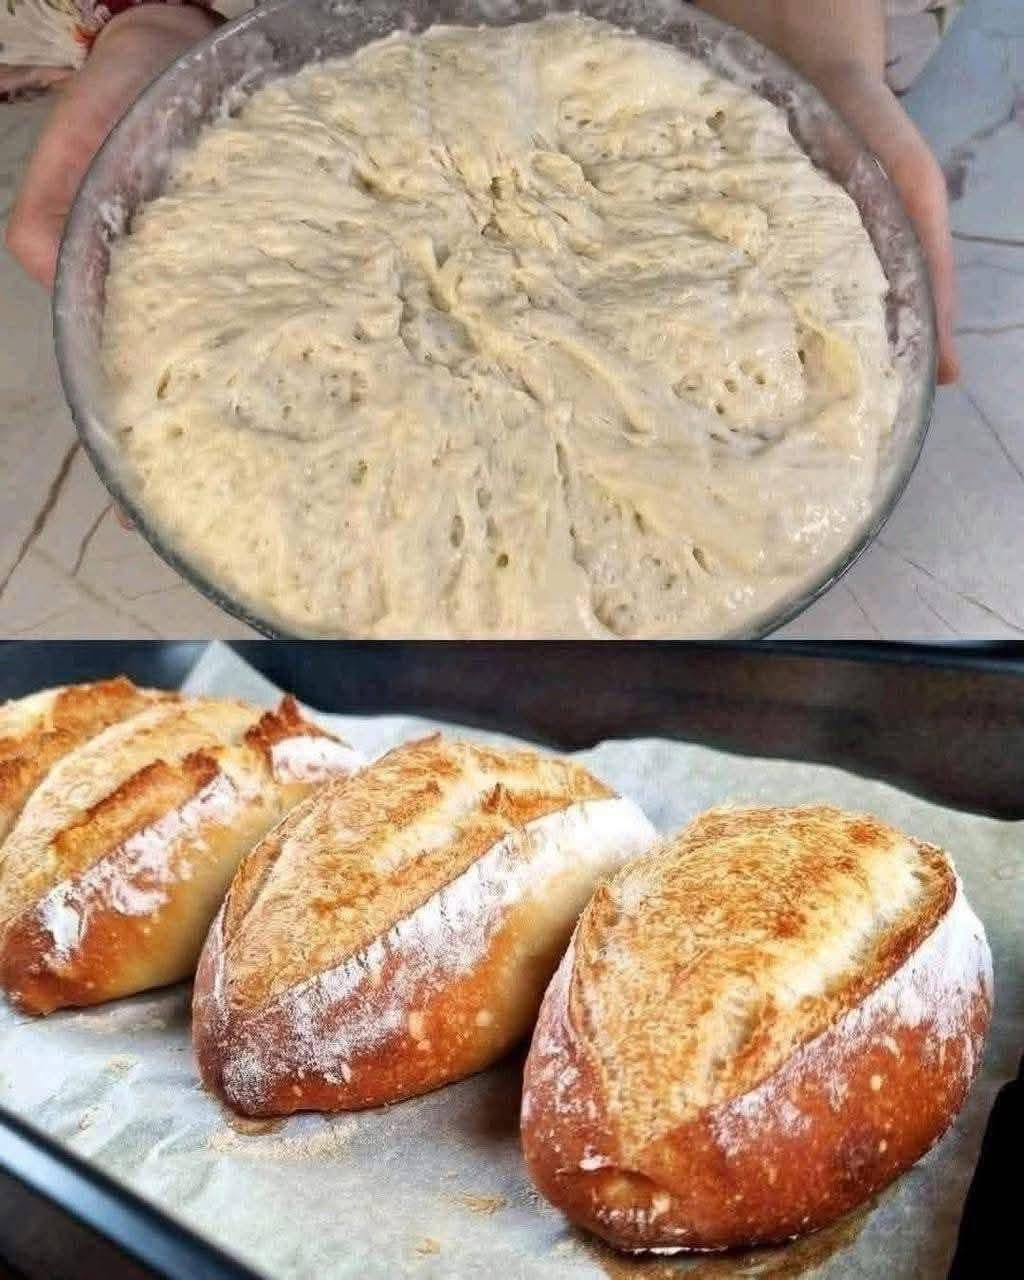
Leave the dough in a warm place for approximately 1 to 2 hours, or until it has become noticeably larger and bubbly.
The resting time allows the yeast to develop the dough’s texture and flavor without requiring traditional kneading.
3. Shape the Bread
Lightly flour your work surface and gently transfer the dough onto it.
Sprinkle a little flour over the dough and fold it over itself several times. Do not knead it heavily. The goal is simply to bring the dough together.
Shape it into a round or oval loaf.
4. Prepare for Baking
Place the shaped dough into a lightly greased baking dish, loaf pan, or Dutch oven.
Cover it and let it rest for another 20 to 30 minutes while the oven heats.
5. Bake
Preheat the oven to 425°F (220°C).
If using a Dutch oven, preheat it according to the manufacturer’s instructions before carefully placing the dough inside.
Bake the bread for approximately 30 to 40 minutes, or until the loaf is beautifully golden brown and sounds hollow when tapped on the bottom.
For a softer crust, lightly brush the hot loaf with a small amount of oil immediately after baking.
6. Cool Before Slicing
Allow the bread to cool for at least 20 to 30 minutes before slicing.
Although it may be tempting to cut into it immediately, allowing the bread to cool helps the crumb finish setting and makes it easier to slice neatly.
Method
The secret to this bread is the long, gentle fermentation rather than kneading. The yeast gradually develops the dough while it rests, creating structure and flavor.
The dough should remain fairly sticky. Avoid adding too much flour because this can make the finished bread dense and dry. A little flour on your hands and work surface is enough to make shaping easier.
For an especially crisp crust, bake the loaf in a preheated Dutch oven with the lid on for the first part of baking and uncovered for the final 10 to 15 minutes.
The History of Simple Homemade Bread
Bread has been made for thousands of years, long before modern mixers, stand mixers, and specialized baking equipment existed. Early breads were often made from simple combinations of grain, water, and salt.
Yeast-leavened bread developed into countless regional varieties, with families passing techniques from one generation to another. The basic principle remains remarkably simple: combine flour and liquid, allow fermentation to develop the dough, and bake it until golden.
No-knead bread follows this same traditional idea while taking advantage of a longer resting period. Instead of developing gluten through extensive kneading, time helps create the structure needed for a light and flavorful loaf.
Formation of the Bread
The formation of this loaf happens in several stages.
First, flour absorbs the water and begins forming gluten. The yeast then feeds on available sugars and produces carbon dioxide. Those tiny gas bubbles become trapped within the developing gluten network, causing the dough to rise.
During the second rest, the dough becomes easier to handle and develops additional flavor. Once placed in the hot oven, the trapped gases expand rapidly, producing the final rise.
The heat then sets the structure of the bread while the surface develops a golden crust.
Helpful Tips
- Use warm water rather than very hot water so the yeast remains active.
- Do not add excessive flour while mixing or shaping.
- Give the dough enough time to rise properly.
- For more flavor, let the dough rest in the refrigerator overnight.
- Add sesame seeds, sunflower seeds, herbs, or cracked black pepper if desired.
- Store leftover bread in a paper bag or airtight container once completely cooled.
- Toast slices the next day for a delicious breakfast or snack.
Serving Ideas
This homemade bread is wonderful served warm alongside soups, stews, roasted vegetables, pasta, or salads.
It can also be sliced for sandwiches, toasted for breakfast, used for garlic bread, or simply served with jam, honey, or your favorite spread.
Freshly baked bread also makes an inexpensive addition to a family dinner and can turn an ordinary meal into something special.
Conclusion
You do not need complicated equipment, expensive ingredients, eggs, butter, or a lot of baking experience to make delicious homemade bread.
This no-knead loaf proves that a few simple pantry ingredients and a little patience can produce a beautiful homemade loaf with a golden crust and soft interior. Once you try it, you may find yourself making it regularly instead of buying bread from the store.
For Bread Lovers
If you love the smell of freshly baked bread but do not enjoy complicated recipes, this is a recipe worth keeping. It is affordable, beginner-friendly, versatile, and easy enough to make whenever you need a fresh loaf.
The best part is that the recipe can become your basic homemade bread formula. Once you are comfortable with it, you can experiment with different flours, seeds, herbs, seasonings, and baking methods to create your own favorite version.