
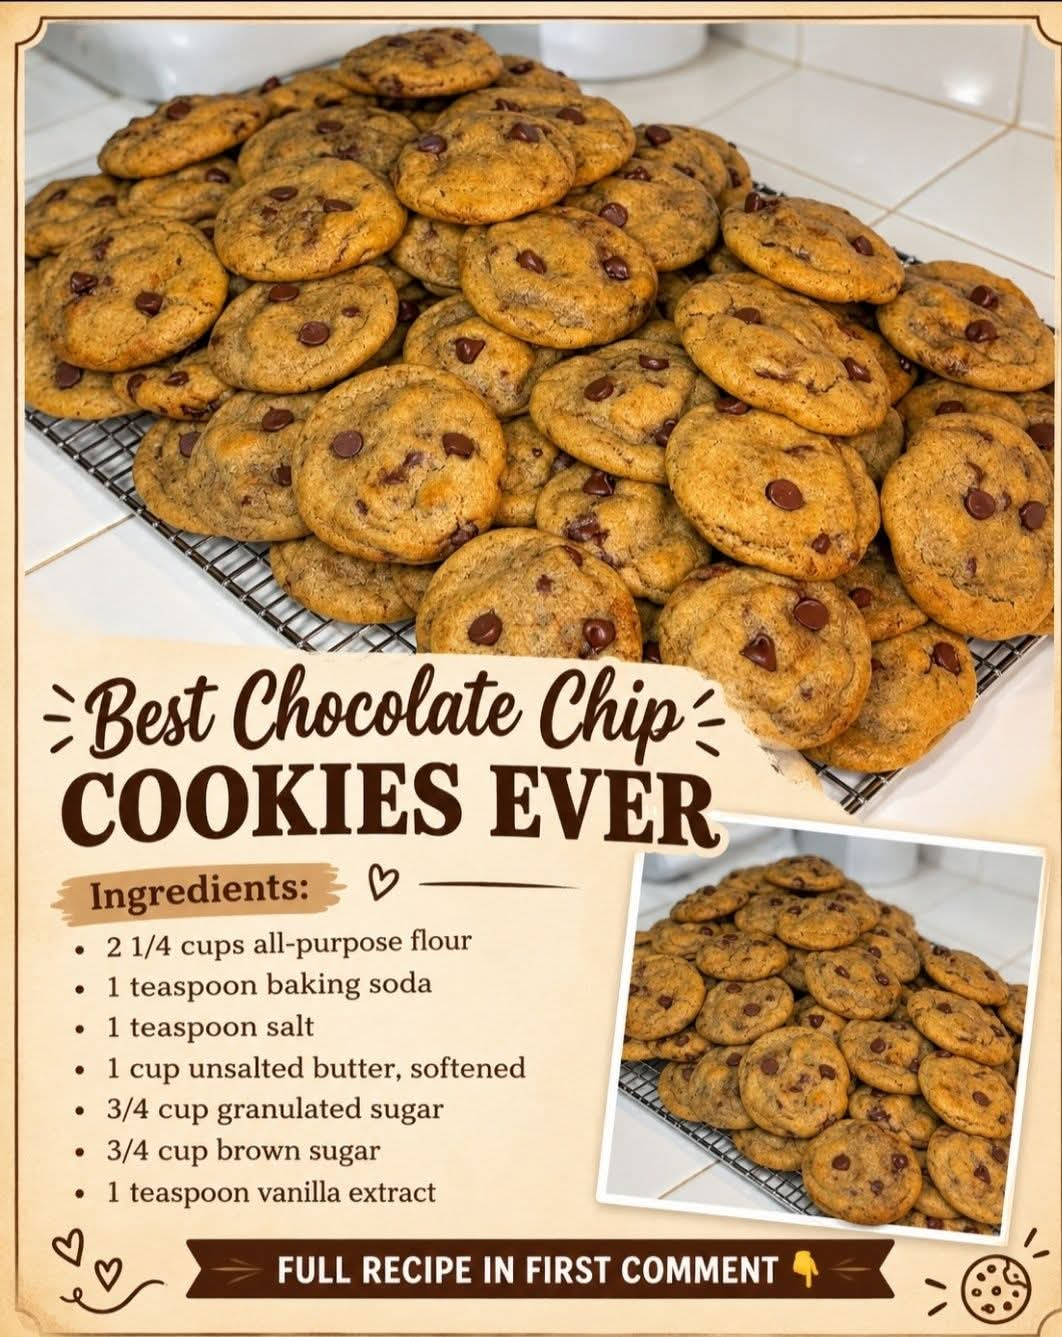
Best Chocolate Chip Cookies Ever
Introduction
There are few homemade desserts as comforting as a warm chocolate chip cookie fresh from the oven. Crisp around the edges, soft and tender in the center, buttery throughout, and filled with pockets of melted chocolate, these cookies are the kind of classic treat that disappears quickly from the cookie jar.
This recipe starts with a traditional buttery cookie dough made with all-purpose flour, baking soda, granulated sugar, brown sugar, and vanilla. The combination of white and brown sugar gives the cookies both crisp edges and a wonderfully chewy center. For the best result, use good-quality chocolate chips or chopped chocolate and avoid overbaking.
Ingredients
Dry Ingredients
- 2 1/4 cups all-purpose flour
- 1 teaspoon baking soda
- 1 teaspoon salt
Wet Ingredients
- 1 cup unsalted butter, softened
- 3/4 cup granulated sugar
- 3/4 cup packed brown sugar
- 1 teaspoon vanilla extract
- 2 large eggs
Chocolate
- 2 cups semi-sweet chocolate chips or chocolate chunks
Optional Additions
- 1 cup chopped walnuts or pecans
- 1/2 teaspoon espresso powder for a deeper chocolate flavor
- 1/2 teaspoon flaky sea salt for finishing
Instructions
Step 1: Prepare the Dry Ingredients
In a medium bowl, whisk together the flour, baking soda, and salt.
Mix thoroughly so the baking soda and salt are evenly distributed throughout the flour. Set the bowl aside.
Step 2: Cream the Butter and Sugars
Place the softened butter, granulated sugar, and brown sugar in a large mixing bowl.
Using an electric mixer, beat on medium speed for about 2 to 3 minutes, until the mixture becomes light, creamy, and fluffy.
This step is important because properly creamed butter helps create the characteristic texture of a good chocolate chip cookie.
Step 3: Add the Eggs and Vanilla
Add the eggs one at a time, beating well after each addition.
Add the vanilla extract and mix until everything is smooth and well combined.
Scrape down the sides of the bowl with a spatula to make sure all of the ingredients are incorporated.
Step 4: Combine the Wet and Dry Mixtures
Gradually add the flour mixture to the butter mixture.
Mix on low speed just until the flour disappears. Do not overmix the dough.
Overmixing can develop too much gluten, which may result in cookies that are tougher rather than soft and chewy.
Step 5: Add the Chocolate
Fold the chocolate chips or chocolate chunks into the dough using a wooden spoon or spatula.
If you are using nuts, fold them in at the same time.
Make sure the chocolate is distributed evenly throughout the dough.
Step 6: Chill the Dough
For especially flavorful cookies, cover the dough and refrigerate it for at least 30 minutes.
For even deeper flavor and thicker cookies, refrigerate the dough for 1 to 24 hours.
Chilling allows the butter to firm up and gives the flour time to absorb moisture. This helps prevent the cookies from spreading too quickly in the oven.
Step 7: Prepare the Baking Sheets
Preheat the oven to 350°F (175°C).
Line two baking sheets with parchment paper.
Scoop the dough into balls, using approximately 2 tablespoons of dough for each cookie. Place them several centimeters apart because they will spread during baking.
Step 8: Bake
Bake the cookies for approximately 9 to 12 minutes.
The edges should look lightly golden while the centers should still appear slightly soft.
Do not wait until the centers look completely baked. They will continue cooking from the residual heat after being removed from the oven.
Step 9: Cool
Allow the cookies to cool on the baking sheet for about 5 minutes.
Then carefully transfer them to a wire rack to cool completely.
For the best experience, enjoy one while it is still slightly warm and the chocolate is soft and melted.
Method for Extra-Chewy Cookies
If you prefer cookies with a particularly soft and chewy center, follow these techniques:
- Use softened butter rather than melted butter.
- Measure the flour carefully so the dough does not become too dry.
- Use packed brown sugar.
- Chill the dough before baking.
- Avoid overbaking.
- Remove the cookies when the edges are golden but the centers still look slightly underdone.
- Allow them to finish setting on the hot baking sheet.
Method for Crispy-Edged Cookies
For cookies with crispier edges and a slightly firmer texture, bake them for an additional 1 to 2 minutes.
The longer baking time allows more moisture to evaporate and encourages the edges to become golden and crisp.
The Secret to Better Chocolate Flavor
Chocolate chips are convenient, but chopped chocolate can make these cookies even more special.
When a chocolate bar is roughly chopped, you get a mixture of large chunks, small pieces, and chocolate dust. The larger pieces create melted pockets while the smaller pieces spread chocolate flavor throughout the dough.
For an elegant finish, sprinkle a tiny amount of flaky sea salt over the cookies immediately after they come out of the oven.
Formation and Texture
The texture of a chocolate chip cookie comes from the balance between several ingredients.
Butter provides richness, flavor, and tenderness.
Granulated sugar helps create sweetness and crispness.
Brown sugar contains molasses, which contributes moisture, chewiness, and a deeper caramel-like flavor.
Flour provides the structure that holds the cookie together.
Eggs contribute moisture, richness, and structure.
Baking soda helps the cookies spread and brown while contributing to their characteristic texture.
Chocolate provides the rich flavor that makes these cookies so irresistible.
The balance of these ingredients is what transforms a simple dough into a cookie with crisp edges and a soft, chewy middle.
A Brief History of Chocolate Chip Cookies
Chocolate chip cookies are an American baking classic. They are widely associated with Ruth Graves Wakefield, who developed the famous cookie at the Toll House Inn in Massachusetts during the 1930s.
The original idea combined a traditional butter cookie dough with pieces of chocolate. The combination became enormously popular, eventually developing into one of the world’s best-known cookies.
Over the decades, countless variations have appeared, including soft-baked cookies, thin and crispy versions, extra-thick bakery-style cookies, double-chocolate cookies, salted chocolate chip cookies, and versions containing nuts.
Despite all these variations, the basic combination of butter, sugar, flour, vanilla, and chocolate remains a favorite.
Storage
Once completely cooled, store the cookies in an airtight container at room temperature.
They are best enjoyed within several days.
To keep them soft, you can place a small piece of bread inside the container. The cookies will absorb some of the moisture from the bread while the bread itself becomes firm.
For longer storage, place the cooled cookies in a freezer-safe container or bag and freeze them for up to several months.
Freezing the Dough
Cookie dough freezes beautifully.
Shape the dough into individual portions and place the portions on a parchment-lined tray. Freeze until firm, then transfer them to a freezer-safe bag or container.
When you want freshly baked cookies, place the frozen dough portions on a prepared baking sheet and bake from frozen, adding a few extra minutes to the baking time as needed.
This makes it easy to have freshly baked chocolate chip cookies whenever you want them.
Tips for the Best Results
Use Room-Temperature Butter
Softened butter should be easy to press with a finger but should not be melted or greasy.
Measure Flour Correctly
Too much flour can make cookies dry and cakey. For the most consistent results, weigh the flour if you have a kitchen scale. Otherwise, spoon the flour into a measuring cup and level it with a knife rather than scooping directly from the flour container.
Do Not Overmix
Once the flour has been added, mix only until combined.
Chill the Dough
Chilling improves both the flavor and shape of the finished cookies.
Leave Space Between Cookies
Give each cookie enough room to spread. Crowding the baking sheet can cause the cookies to bake unevenly.
Do Not Overbake
This is perhaps the most important tip. Cookies can look slightly underdone when they leave the oven and still become perfectly set as they cool.
Serving Ideas
These cookies are delicious on their own, but they can also be served with:
- Cold milk
- Vanilla ice cream
- Chocolate ice cream
- Coffee
- Hot chocolate
- Fresh berries
- Caramel sauce
- A scoop of peanut butter ice cream
For an especially indulgent dessert, place a warm cookie in a bowl and top it with a scoop of vanilla ice cream.
For Chocolate Chip Cookie Lovers
If you are a true chocolate chip cookie lover, try making different sizes of cookies from the same dough.
Small cookies are perfect for lunch boxes and cookie trays. Medium cookies are ideal for everyday snacking, while large bakery-style cookies create a soft, thick center with beautifully golden edges.
You can also experiment with dark chocolate, milk chocolate, white chocolate, peanut butter chips, chopped nuts, or a combination of different chocolates.
The classic version, however, remains hard to beat.
Conclusion
These chocolate chip cookies are everything a classic homemade cookie should be: buttery, golden, slightly crisp around the edges, soft and chewy in the center, and generously packed with chocolate.
The most important secrets are simple: cream the butter and sugars properly, measure the flour carefully, avoid overmixing, chill the dough, and take the cookies out of the oven while the centers are still slightly soft.
Let them cool for a few minutes, then serve them warm while the chocolate is still wonderfully melted. This is the kind of timeless recipe that deserves a permanent place in every home baker’s recipe collection.