
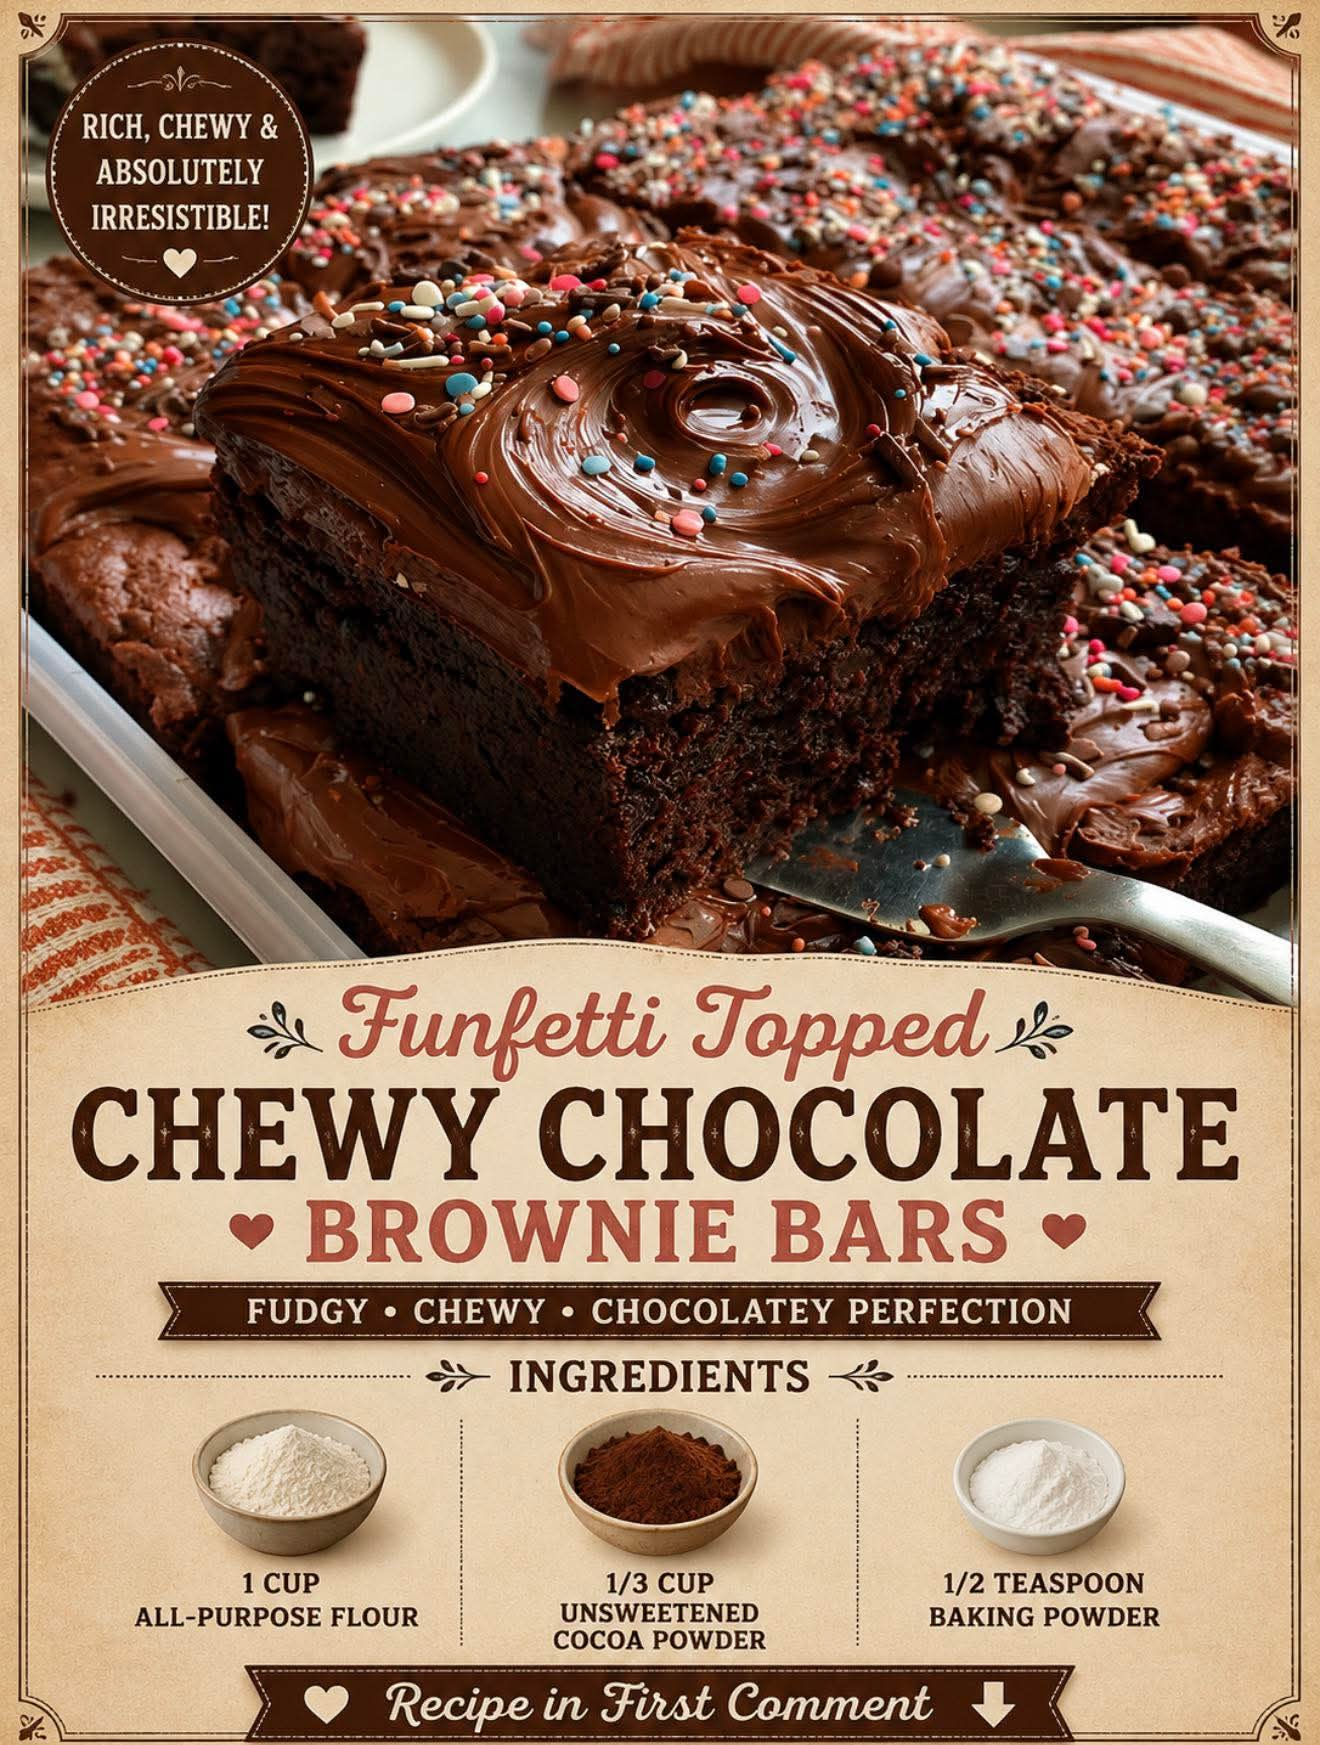
Funfetti Topped Chewy Chocolate Brownie Bars
Introduction
Funfetti Topped Chewy Chocolate Brownie Bars are a rich, chocolatey dessert with a wonderfully chewy center, slightly crisp edges, and a colorful, festive topping. The deep flavor of unsweetened cocoa gives the brownies their classic chocolate character, while melted butter helps create a dense and tender texture. Finished with a sweet vanilla frosting and plenty of colorful sprinkles, these bars are perfect for birthdays, celebrations, bake sales, holidays, or simply satisfying a chocolate craving.
The beauty of this recipe is its balance of textures. The brownie base is soft and chewy rather than cakey, while the creamy funfetti topping adds sweetness and a pleasant contrast. The recipe can be prepared in a standard square baking pan and cut into neat bars once completely cooled.
Ingredients
For the Chewy Chocolate Brownie Base
- 1 cup all-purpose flour
- 1/3 cup unsweetened cocoa powder
- 1/2 teaspoon baking powder
- 1/4 teaspoon salt
- 1/2 cup unsalted butter, melted
- 1 cup granulated sugar
- 2 large eggs, preferably at room temperature
- 2 teaspoons vanilla extract
- 1/2 cup semi-sweet chocolate chips
- 2 tablespoons milk, if needed for a slightly softer batter
For the Funfetti Topping
- 1/2 cup unsalted butter, softened
- 2 cups powdered sugar
- 1 teaspoon vanilla extract
- 2 tablespoons heavy cream or milk
- 2 tablespoons colorful rainbow sprinkles
For Decoration
- 2 to 3 tablespoons additional rainbow sprinkles
- 1/4 cup mini chocolate chips, optional
- A small pinch of flaky sea salt, optional
Equipment
- 8-inch or 9-inch square baking pan
- Parchment paper
- Mixing bowls
- Whisk
- Rubber spatula
- Measuring cups and spoons
- Electric mixer for the frosting
- Cooling rack
- Sharp knife
Preparation Time
Approximately 20 minutes.
Baking Time
Approximately 22 to 30 minutes, depending on the size of the pan and your preferred brownie texture.
Cooling Time
At least 1 hour before frosting and cutting.
Yield
Approximately 12 to 16 brownie bars.
History and Background
Brownies have a long history in American baking and are generally associated with the late nineteenth and early twentieth centuries. Unlike traditional chocolate cake, brownies are deliberately baked to produce a denser, richer texture. Over time, countless variations appeared, including fudgy brownies, cakey brownies, blondies, cheesecake brownies, caramel brownies, and decorated celebration brownies.
Funfetti-style baking became especially popular as bakers began incorporating colorful sprinkles directly into cakes, cookies, frostings, and other desserts. The combination of colorful sprinkles with chocolate brownies creates an especially appealing contrast: a dark, rich brownie underneath a bright, cheerful topping.
This recipe brings those two ideas together in one dessert. The chocolate brownie provides richness and chewiness, while the funfetti topping transforms a simple brownie into something suitable for celebrations.
Formation of the Brownie Batter
The formation of the batter is important because brownies can easily become either too cakey or too dense. Since this recipe is designed to be chewy, the ingredients should be mixed just until combined.
The melted butter provides richness and helps create a moist texture. Sugar contributes sweetness and also helps keep the interior soft. Eggs provide structure and help bind the ingredients together. Cocoa powder supplies the main chocolate flavor, while a small amount of baking powder gives the brownies just enough lift without turning them into cake.
The flour should not be overmixed after it is added. Excessive mixing develops gluten, which can make brownies tougher than desired.
Instructions
Step 1: Prepare the Baking Pan
Preheat your oven to 350°F (175°C).
Line an 8-inch or 9-inch square baking pan with parchment paper, leaving some parchment hanging over two sides. This will make it much easier to lift the brownies out of the pan later.
Lightly grease the parchment and the exposed sides of the pan.
Step 2: Combine the Dry Ingredients
In a medium bowl, whisk together:
- All-purpose flour
- Unsweetened cocoa powder
- Baking powder
- Salt
Whisk thoroughly so that the cocoa powder and baking powder are evenly distributed.
Set the bowl aside.
Step 3: Mix the Butter and Sugar
Place the melted butter in a large mixing bowl.
Add the granulated sugar and whisk for approximately 1 to 2 minutes.
The mixture should become smooth and glossy.
Because the butter is melted rather than simply softened, it contributes to the characteristic chewy texture of the finished brownies.
Step 4: Add the Eggs and Vanilla
Add the eggs one at a time, whisking well after each addition.
Add the vanilla extract and mix until smooth.
The mixture should look glossy and slightly thick.
Do not whip the mixture excessively. The goal is a rich brownie texture rather than a light, airy cake.
Step 5: Add the Dry Ingredients
Gradually add the dry ingredients to the wet mixture.
Use a rubber spatula or wooden spoon to gently fold everything together.
Stop mixing as soon as no large streaks of flour remain.
If the batter seems unusually thick, add the 2 tablespoons of milk and gently fold it through.
Step 6: Add the Chocolate Chips
Fold the semi-sweet chocolate chips into the brownie batter.
Distribute them evenly without overmixing.
The chocolate chips will create little pockets of melted chocolate throughout the bars.
Step 7: Transfer the Batter to the Pan
Pour the brownie batter into the prepared baking pan.
Use a spatula to spread the batter evenly into the corners.
Smooth the surface as much as possible.
If desired, sprinkle a small handful of chocolate chips over the top before baking.
Step 8: Bake the Brownies
Place the pan in the preheated oven.
Bake for approximately 22 to 30 minutes.
Start checking the brownies around the 22-minute mark.
The edges should look set, while the center should remain slightly soft. A toothpick inserted into the center should come out with a few moist crumbs attached.
Do not wait for the toothpick to come out completely clean. That usually indicates that the brownies have been baked too long and may become dry after cooling.
Step 9: Cool Completely
Remove the pan from the oven and place it on a cooling rack.
Allow the brownies to cool in the pan for approximately 30 minutes.
Then carefully lift them out using the parchment paper.
Allow them to cool completely before adding the frosting.
For especially clean cuts and a dense chewy texture, refrigerate the cooled brownie slab for 20 to 30 minutes before frosting.
Method for the Funfetti Frosting
Step 1: Beat the Butter
Place the softened butter in a mixing bowl.
Using an electric mixer, beat the butter for approximately 2 to 3 minutes until smooth and creamy.
Step 2: Add the Powdered Sugar
Gradually add the powdered sugar.
Mix on low speed initially to prevent the sugar from scattering, then increase the speed and beat until smooth.
Step 3: Add Vanilla and Cream
Add the vanilla extract and 2 tablespoons of heavy cream or milk.
Beat for another 1 to 2 minutes.
The frosting should be smooth, creamy, and spreadable.
If it is too thick, add a small amount of milk.
If it is too thin, add a little more powdered sugar.
Step 4: Add the Sprinkles
Gently fold the 2 tablespoons of rainbow sprinkles into the frosting.
Avoid aggressive mixing because some sprinkles can release their color into the frosting.
Assemble the Brownie Bars
Place the completely cooled brownie slab on a flat surface.
Spread the funfetti frosting evenly across the top.
Use a spatula or the back of a spoon to create a smooth layer.
Immediately sprinkle additional rainbow sprinkles over the frosting.
For an extra chocolatey finish, add a few mini chocolate chips.
If desired, add a very small amount of flaky sea salt to balance the sweetness.
Final Setting Method
Place the frosted brownies in the refrigerator for approximately 20 to 30 minutes.
This allows the frosting to firm slightly and makes the brownies easier to cut.
Use a sharp knife to cut the slab into 12 large bars or 16 smaller squares.
For cleaner cuts, wipe the knife between slices.
Tips for Perfect Chewy Brownies
Do Not Overbake
This is the most important rule. Brownies continue cooking from residual heat after they leave the oven, so remove them when the center is still slightly soft.
Use Melted Butter
Melted butter helps produce a rich and chewy brownie texture.
Measure Flour Correctly
Too much flour can make brownies dry and cakey. For the most consistent results, spoon the flour into your measuring cup and level it rather than packing it down.
Do Not Overmix
Once the flour is added, mix only until the batter comes together.
Cool Before Frosting
Warm brownies can melt the frosting. Make sure the brownie base is completely cool before decorating.
Choose Good Sprinkles
For the best appearance, use sprinkles that maintain their color when mixed into frosting. Add most of the decorative sprinkles to the surface rather than mixing all of them into the batter.
Variations
Chocolate Funfetti Brownies
Add 1/2 cup of additional chocolate chips to the batter for an even richer chocolate flavor.
Birthday Cake Brownie Bars
Add 1 teaspoon of almond extract to the frosting along with the vanilla. Use colorful sprinkles on top for a birthday-cake-style flavor.
Cream Cheese Funfetti Brownies
Replace the butter frosting with a cream cheese frosting made from softened cream cheese, butter, powdered sugar, and vanilla. Add rainbow sprinkles just before spreading.
Double Chocolate Brownie Bars
Add 1/2 cup semi-sweet chocolate chips to the batter and drizzle the finished brownies with melted chocolate.
Holiday Funfetti Brownies
Use seasonal sprinkles to match birthdays, Christmas, Valentine’s Day, baby showers, graduations, or other celebrations.
Storage
Store the finished brownie bars in an airtight container.
At room temperature, they are best enjoyed within approximately 2 to 3 days.
Because the frosting contains dairy, refrigeration is recommended for longer storage. Refrigerated brownies can generally be kept for several days in a well-sealed container.
Allow refrigerated brownies to sit at room temperature for approximately 15 to 20 minutes before serving for the softest texture.
The unfrosted brownie base can also be wrapped tightly and frozen. Thaw it completely before adding the frosting.
Serving Suggestions
These brownies are delicious on their own, but they can also be served with vanilla ice cream, whipped cream, fresh berries, or a drizzle of chocolate sauce.
For parties, cut them into smaller squares and arrange them on a dessert platter. The colorful topping makes them especially attractive for children’s celebrations, birthdays, bake sales, and family gatherings.
Why Chocolate and Funfetti Work So Well Together
Chocolate has a deep, slightly bitter flavor that balances the sweetness of the funfetti frosting. The cocoa creates a rich base, while the vanilla frosting provides a creamy and sweet contrast.
The sprinkles also add texture and visual appeal. Every bite contains the dense chocolate brownie, creamy frosting, and tiny crunchy pieces of colorful decoration.
Common Mistakes to Avoid
Avoid adding cold butter after the recipe calls for melted butter.
Do not pour the brownie batter into an unprepared pan because the bars may stick.
Do not overbake the brownies.
Do not frost the brownies while they are still warm.
Do not use too much liquid in the frosting.
Do not cut the brownies before they have had sufficient time to cool.
Conclusion
Funfetti Topped Chewy Chocolate Brownie Bars are a wonderful combination of rich chocolate flavor, chewy brownie texture, creamy vanilla frosting, and colorful sprinkles. The recipe is simple enough for everyday baking but festive enough for birthdays, celebrations, bake sales, and special occasions.
The secret to the best result is simple: use melted butter, avoid overmixing, watch the baking time carefully, and allow the brownies to cool completely before decorating. Once finished, the brownies should have firm edges, a soft and chewy center, and a generous layer of funfetti frosting.
For Brownie Lovers
For chocolate lovers, these bars can easily become a favorite because they offer everything a satisfying brownie should have: a rich cocoa flavor, buttery texture, chewy center, chocolate chips, and a sweet topping.
For funfetti lovers, the colorful sprinkles turn the classic brownie into a cheerful celebration dessert.
And for anyone who loves the combination of chocolate and vanilla, these bars provide the perfect contrast in every bite. They are easy to prepare, beautiful to serve, and versatile enough to customize for almost any occasion.