
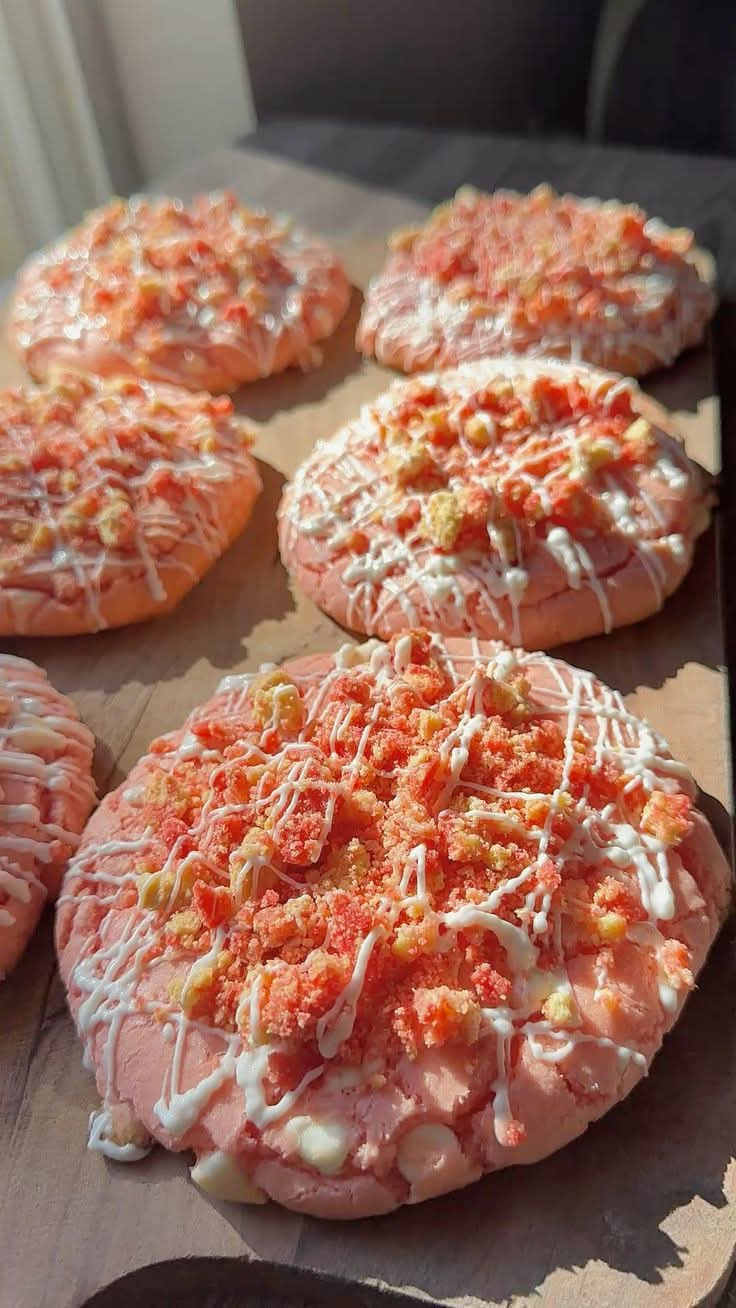
Grandma’s Old-Fashioned Holiday Party Bites
Introduction
Some recipes are more than just food. They are little pieces of childhood, family gatherings, and memories that stay with us for years.
These old-fashioned holiday party bites are exactly that kind of recipe. They are the sort of irresistible little treats that disappear from a serving platter almost as quickly as they are put out. They have a comforting homemade flavor, a tender texture, and that nostalgic quality that makes you think of holiday parties at Grandma’s house.
If you grew up sneaking one from the kitchen before the guests arrived, you already know how special they can be. And if you are making them for the first time, prepare yourself: they are wonderfully difficult to resist.
Ingredients
For the Bites
- 2 cups all-purpose flour
- 1 teaspoon baking powder
- 1/2 teaspoon salt
- 1/2 cup unsalted butter, softened
- 1/2 cup granulated sugar
- 1/2 cup packed light brown sugar
- 1 large egg
- 1 teaspoon vanilla extract
- 1/2 cup finely chopped pecans or walnuts
- 1/2 cup finely chopped dates or raisins
- 1/2 teaspoon ground cinnamon
- 1/4 teaspoon ground nutmeg
For the Topping
- 1/2 cup powdered sugar
- 1 to 2 tablespoons milk
- 1/2 teaspoon vanilla extract
- Chopped nuts, for decorating if desired
Instructions
1. Prepare the Oven
Preheat the oven to 350°F (175°C).
Line a large baking sheet with parchment paper or lightly grease it. This will prevent the bites from sticking and make cleanup easier.
2. Combine the Dry Ingredients
In a medium bowl, whisk together the flour, baking powder, salt, cinnamon, and nutmeg.
Set the bowl aside while you prepare the butter mixture.
3. Cream the Butter and Sugars
In a large mixing bowl, beat the softened butter, granulated sugar, and brown sugar until the mixture becomes light and creamy.
This usually takes about 2 to 3 minutes with an electric mixer.
Add the egg and vanilla extract and continue mixing until everything is well incorporated.
4. Make the Dough
Gradually add the dry ingredients to the butter mixture.
Mix just until the flour disappears. Avoid overmixing, because this can make the finished bites less tender.
Fold in the chopped nuts and dates or raisins.
The mixture should be soft and easy to scoop.
5. Shape the Bites
Using a small cookie scoop or tablespoon, portion the mixture onto the prepared baking sheet.
Leave approximately 1 to 2 inches between each portion so they have enough room to spread.
For evenly sized treats, try to keep each portion approximately the same size.
6. Bake
Place the baking sheet in the preheated oven.
Bake for approximately 10 to 13 minutes, or until the edges are lightly golden and the centers look set.
Do not overbake. These little treats are best when they remain tender in the center.
7. Cool
Allow the bites to cool on the baking sheet for about 5 minutes.
Then transfer them to a wire rack and allow them to cool completely.
8. Prepare the Topping
In a small bowl, whisk together the powdered sugar, milk, and vanilla extract.
Start with a small amount of milk and add more gradually until you have a smooth, thick glaze.
Drizzle the glaze over the cooled bites.
If desired, sprinkle a few finely chopped nuts over the top before the glaze sets.
Traditional Method
For the most nostalgic result, prepare these by hand with a wooden spoon or sturdy spatula rather than relying entirely on an electric mixer.
Grandma-style baking was often wonderfully simple: soften the butter, cream it with the sugars, add the egg and vanilla, stir in the dry ingredients, and fold everything together.
The key is to mix gently once the flour is added. The less you work the dough, the more tender the finished treats will be.
Tips for the Best Results
Use softened butter rather than melted butter. Soft butter helps create the proper texture.
Measure the flour carefully. Too much flour can make the bites dry.
Do not overmix the dough after adding the flour.
Keep the portions similar in size so everything finishes baking at the same time.
Allow the treats to cool completely before adding the glaze.
For an especially festive presentation, arrange them on a vintage-style serving platter lined with parchment or a decorative napkin.
Make-Ahead Instructions
These treats are excellent for holiday entertaining because they can be prepared ahead of time.
Once completely cooled, place them in an airtight container with parchment paper between layers.
They can be kept at room temperature for several days.
For longer storage, place the cooled, unglazed bites in a freezer-safe container and freeze them for up to several weeks.
Thaw them at room temperature, then add the glaze before serving.
The History Behind the Recipe
Recipes like these belong to a long tradition of homemade holiday baking.
Before holiday desserts became elaborate and highly decorated, families often relied on simple ingredients already available in the pantry: flour, butter, sugar, eggs, nuts, dried fruit, and warm spices.
The beauty of these recipes was their simplicity. They were inexpensive to make, easy to prepare in large quantities, and perfect for sharing with family and friends.
Every household eventually developed its own version. One grandmother might add extra cinnamon, another might use walnuts instead of pecans, while someone else might add raisins, dates, or a simple powdered-sugar glaze.
That is what makes old family recipes so special. The recipe may be written down, but the memories surrounding it are what truly give it character.
Formation and Presentation
Once the bites have cooled and been glazed, arrange them in small groups on a serving platter.
For a holiday gathering, you can place them alongside other homemade cookies, candies, and pastries.
A generous platter creates an inviting presentation and makes them easy for guests to pick up and enjoy.
For a more traditional appearance, keep the decoration simple. A light powdered-sugar glaze and a scattering of finely chopped nuts are more than enough.
A Little Grandma Magic
The best part of a recipe like this is that it doesn’t have to look perfect.
Maybe a few are slightly larger than the others. Maybe the glaze isn’t perfectly even. Maybe the edges brown a little differently from batch to batch.
That’s part of the charm.
The goal isn’t to make something that looks like it came from a factory. The goal is to make something that tastes homemade and brings people back to the kitchen where they first discovered it.
For the People Who Love Them
These are for the person who always checks the dessert table before dinner.
They are for the grandchild who used to sneak one from the kitchen.
They are for the baker who loves recipes that remind them of family.
They are for anyone who believes the best holiday treats are the ones connected to a memory.
And most importantly, they are for the people who understand that sometimes one little bite can bring back an entire childhood.
Conclusion
There is something incredibly comforting about recreating a recipe from childhood.
The ingredients may be simple, but the memories are not. The smell of butter and warm spices, the sight of a familiar holiday platter, and that first bite can make an old family gathering feel surprisingly close again.
Make a batch for your next holiday celebration, share them with the people you love, and don’t be surprised if they disappear before you have a chance to put the leftovers away.
And if you find yourself sneaking one from the kitchen before the guests arrive, don’t worry.
Some traditions are worth keeping.