
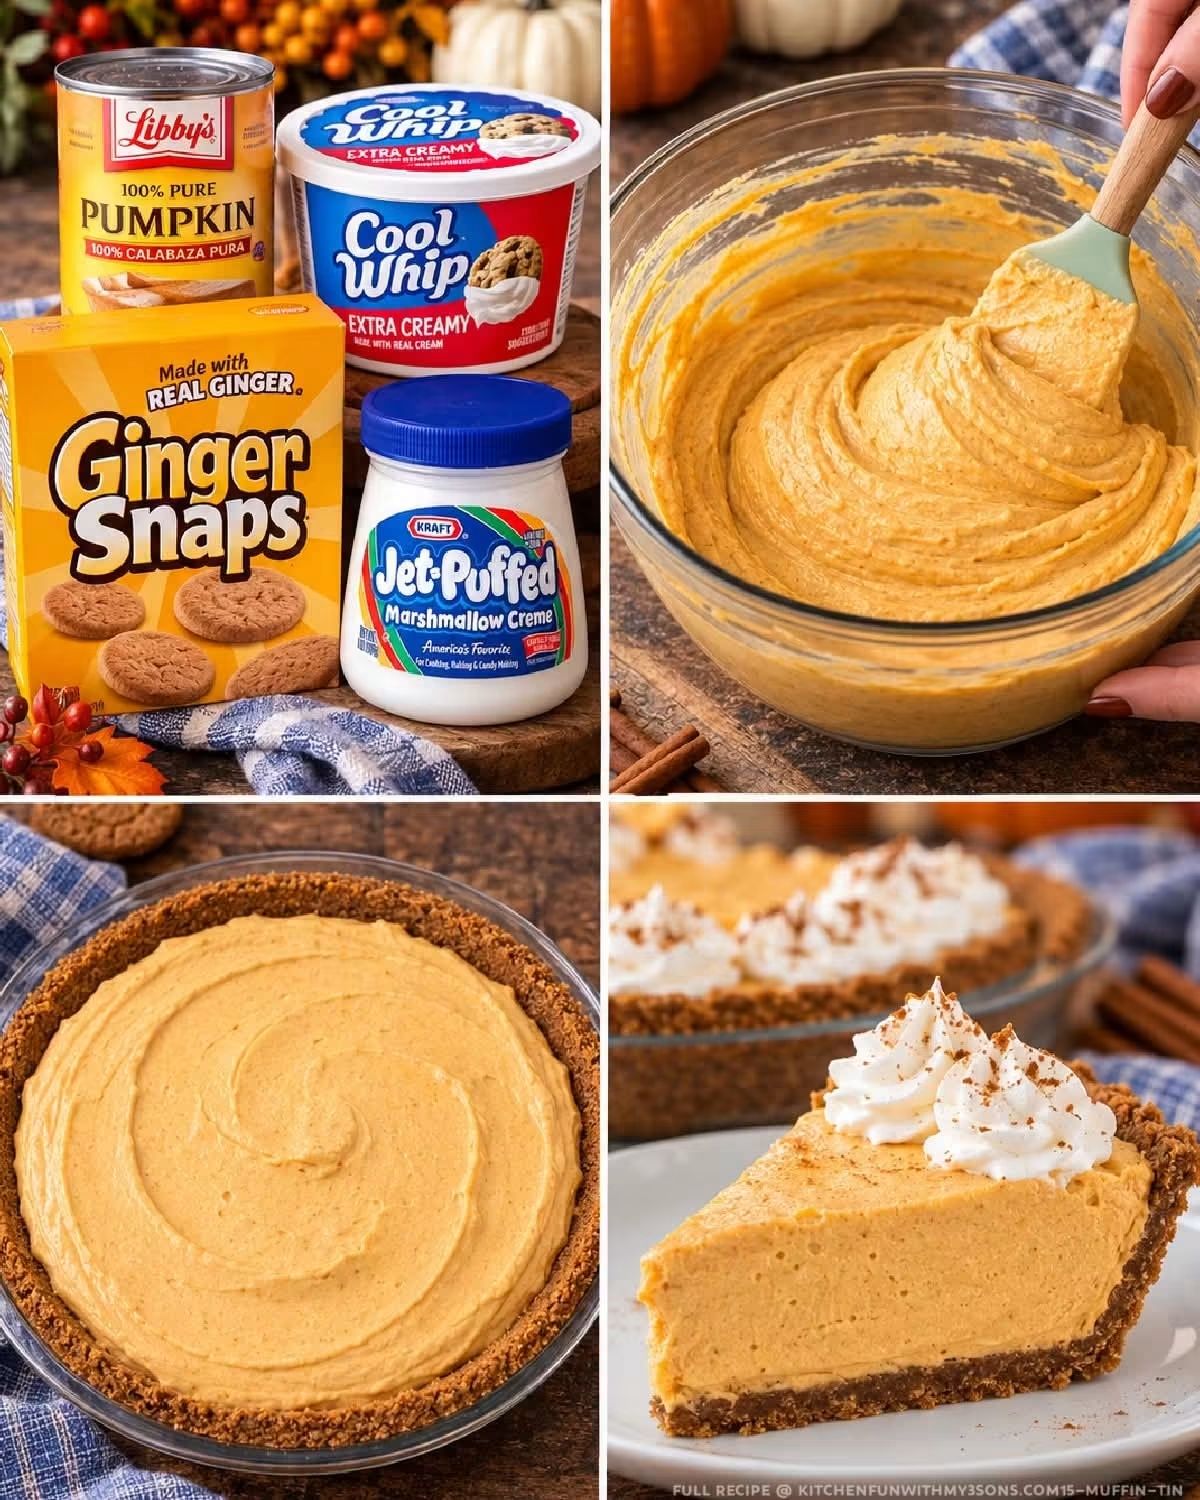
No-Bake Pumpkin Pie
Introduction
When autumn arrives and pumpkin desserts start appearing on every table, there is something especially comforting about a creamy pumpkin pie. But you do not always need an oven, complicated pastry techniques, or hours in the kitchen to make one.
This No-Bake Pumpkin Pie is an easy dessert that combines the classic flavors of pumpkin, warm spices, and creamy filling in a simple pie that sets beautifully in the refrigerator. With only six main ingredients and no baking required, it is an excellent choice for busy days, family gatherings, Thanksgiving celebrations, potlucks, and holiday dinners.
The filling is smooth, creamy, lightly spiced, and full of pumpkin flavor. Once prepared, it is spooned into a prepared crust and chilled until firm. The result is a cool, luscious pumpkin dessert that tastes wonderfully seasonal while requiring very little effort.
Ingredients
For the Pie
- 1 prepared 9-inch graham cracker crust
- 1 can pumpkin puree, approximately 15 ounces
- 1 package instant vanilla pudding mix, approximately 3.4 ounces
- 1 cup cold milk
- 1 teaspoon ground cinnamon
- 1 container whipped topping, approximately 8 ounces, thawed
Optional Garnishes
- Additional whipped topping
- A light sprinkle of cinnamon
- A pinch of nutmeg
- Graham cracker crumbs
- Thin pumpkin-spice cookie pieces
Use plain pumpkin puree rather than canned pumpkin pie filling so that you can control the sweetness and spices in the finished dessert.
Instructions
Step 1: Prepare the Pumpkin Mixture
Place the pumpkin puree in a large mixing bowl. Add the instant vanilla pudding mix and ground cinnamon.
Stir everything together until the pumpkin and pudding mix are evenly combined.
The mixture will initially be quite thick, but it will become smoother as the remaining ingredients are incorporated.
Step 2: Add the Milk
Slowly pour the cold milk into the pumpkin mixture while stirring continuously.
Continue mixing until the pudding powder has dissolved and the mixture becomes smooth and creamy.
Make sure there are no dry pockets of pudding mix remaining around the sides or bottom of the bowl.
Step 3: Fold in the Whipped Topping
Add the thawed whipped topping to the pumpkin mixture.
Using a spatula, gently fold the whipped topping into the pumpkin mixture. Do not stir too aggressively. Folding helps preserve the light, airy texture that makes this pie so creamy.
Continue until the mixture is evenly blended and no large white streaks remain.
Step 4: Fill the Crust
Spoon the pumpkin filling into the prepared graham cracker crust.
Spread the top gently with a spatula or the back of a spoon until the surface is even.
For a more decorative appearance, you can create gentle swirls across the top.
Step 5: Chill
Cover the pie loosely and place it in the refrigerator.
Allow it to chill for at least 4 hours so the filling has enough time to set properly. For the firmest texture and best flavor, refrigerating it overnight is even better.
Step 6: Garnish and Serve
Just before serving, add small portions of whipped topping around the edge or across the center of the pie.
Finish with a light dusting of cinnamon or nutmeg if desired.
Slice with a sharp knife and serve chilled.
Method
The method behind this pie is based on combining a pumpkin mixture with instant pudding and whipped topping, then allowing refrigeration to create the final texture.
The instant pudding mix helps thicken the filling as it hydrates with the cold milk. Pumpkin puree contributes color, moisture, and the characteristic pumpkin flavor, while cinnamon provides the warm spice associated with traditional pumpkin desserts.
The whipped topping is folded in last. This gives the pie a lighter consistency than a traditional baked pumpkin custard. Because the dessert does not rely on eggs or oven heat to set, sufficient chilling time is important.
For the smoothest filling, use cold milk and make sure the whipped topping has completely thawed before folding it into the pumpkin mixture.
History of Pumpkin Pie
Pumpkin desserts have a long history in North American cooking. Pumpkins and other varieties of winter squash were important foods among Indigenous peoples of North America before European settlement.
European settlers encountered pumpkins and gradually incorporated them into their cooking. Early pumpkin preparations were not necessarily identical to the custard-filled pies familiar today. Pumpkin could be cooked, mashed, sweetened, seasoned, or incorporated into various baked dishes.
Over time, pumpkin pie became strongly associated with autumn and Thanksgiving traditions in the United States and Canada. Traditional pumpkin pie generally features a pastry crust filled with a spiced pumpkin custard and baked until set.
The no-bake version is a more modern interpretation. Instead of relying on eggs and oven heat, it uses ingredients such as instant pudding and whipped topping to create a creamy filling that can set in the refrigerator.
Formation and Texture
The formation of the pie happens in several stages.
First, the pumpkin puree provides the foundation of the filling. The instant pudding mix is then incorporated with cold milk. As the pudding mix hydrates, it begins to thicken.
The whipped topping is folded into this thickened mixture. This introduces air and gives the filling its soft, creamy consistency.
Finally, refrigeration allows the filling to become firmer. The longer the pie chills, the easier it generally becomes to slice cleanly.
For this reason, rushing the chilling stage can result in a softer pie. A minimum of four hours is recommended, while overnight chilling produces an especially well-set dessert.
Tips for the Best No-Bake Pumpkin Pie
Use Pumpkin Puree
Choose pure pumpkin puree rather than pumpkin pie filling. Pumpkin pie filling already contains sugar and spices, which can change the flavor and sweetness of the recipe.
Keep the Milk Cold
Cold milk helps the instant pudding mixture thicken properly.
Fold Gently
When adding whipped topping, fold rather than vigorously beating. Gentle mixing helps maintain the airy texture.
Give It Enough Time to Chill
Do not cut the pie immediately after assembling it. The refrigerator is an important part of the recipe.
Prepare It Ahead
This pie is particularly convenient for entertaining because it can be prepared the day before serving. Keeping it chilled overnight allows the flavors to blend and the filling to firm.
Serving Suggestions
Serve each slice cold with a small spoonful of whipped topping.
For additional texture, sprinkle graham cracker crumbs over the top. A little cinnamon or freshly grated nutmeg can also provide an attractive finishing touch.
For a holiday dessert table, the pie pairs naturally with coffee, tea, hot chocolate, or a glass of cold milk.
You can also serve it alongside other autumn desserts such as apple crisp, pecan pie, spice cake, or cinnamon cookies.
Variations
Ginger-Spiced Pumpkin Pie
Replace some of the cinnamon with ground ginger for a sharper, warmer spice profile.
Pumpkin Cheesecake Pie
Soften a small amount of cream cheese and beat it until smooth before incorporating it into the pumpkin mixture. This creates a richer, cheesecake-style filling.
Chocolate Pumpkin Pie
Add a small amount of unsweetened cocoa powder to the filling for a chocolate-pumpkin variation.
Nutty Pumpkin Pie
Sprinkle finely chopped pecans over the top immediately before serving.
Cookie Crust
Instead of a graham cracker crust, use a prepared cookie crust made from crushed vanilla cookies, gingersnaps, or another favorite crisp cookie.
Storage
Keep the finished pie refrigerated until serving.
Cover leftovers carefully and return them to the refrigerator after serving. For the best texture and freshness, enjoy the pie within several days.
Because the filling contains dairy-based ingredients, it should not be left sitting at room temperature for extended periods.
Conclusion
No-Bake Pumpkin Pie is proof that a memorable seasonal dessert does not have to require complicated preparation. With a prepared crust, pumpkin puree, instant pudding, cold milk, cinnamon, and whipped topping, you can create a creamy pumpkin dessert with very little hands-on work.
The refrigerator does most of the work, allowing the filling to become smooth and firm while the pumpkin and warm spices develop their comforting autumn flavor.
It is an especially useful recipe when you want something homemade but do not want to turn on the oven. Whether served at a holiday gathering, family dinner, potluck, or casual weekend meal, this pie brings the familiar taste of pumpkin pie in an easy, creamy, no-bake form.
For Pumpkin Pie Lovers
If you love traditional pumpkin pie but prefer desserts that are quick and uncomplicated, this recipe is an excellent addition to your collection. It delivers the familiar combination of pumpkin and cinnamon while offering a softer, creamier texture.
Pumpkin pie lovers can also customize it with extra cinnamon, nutmeg, whipped topping, pecans, cookie crumbs, or a different crust. The basic recipe is simple enough for beginners but flexible enough to become a family favorite.
The best part is that you can prepare it ahead of time, refrigerate it, and have a delicious dessert ready when your guests arrive.