
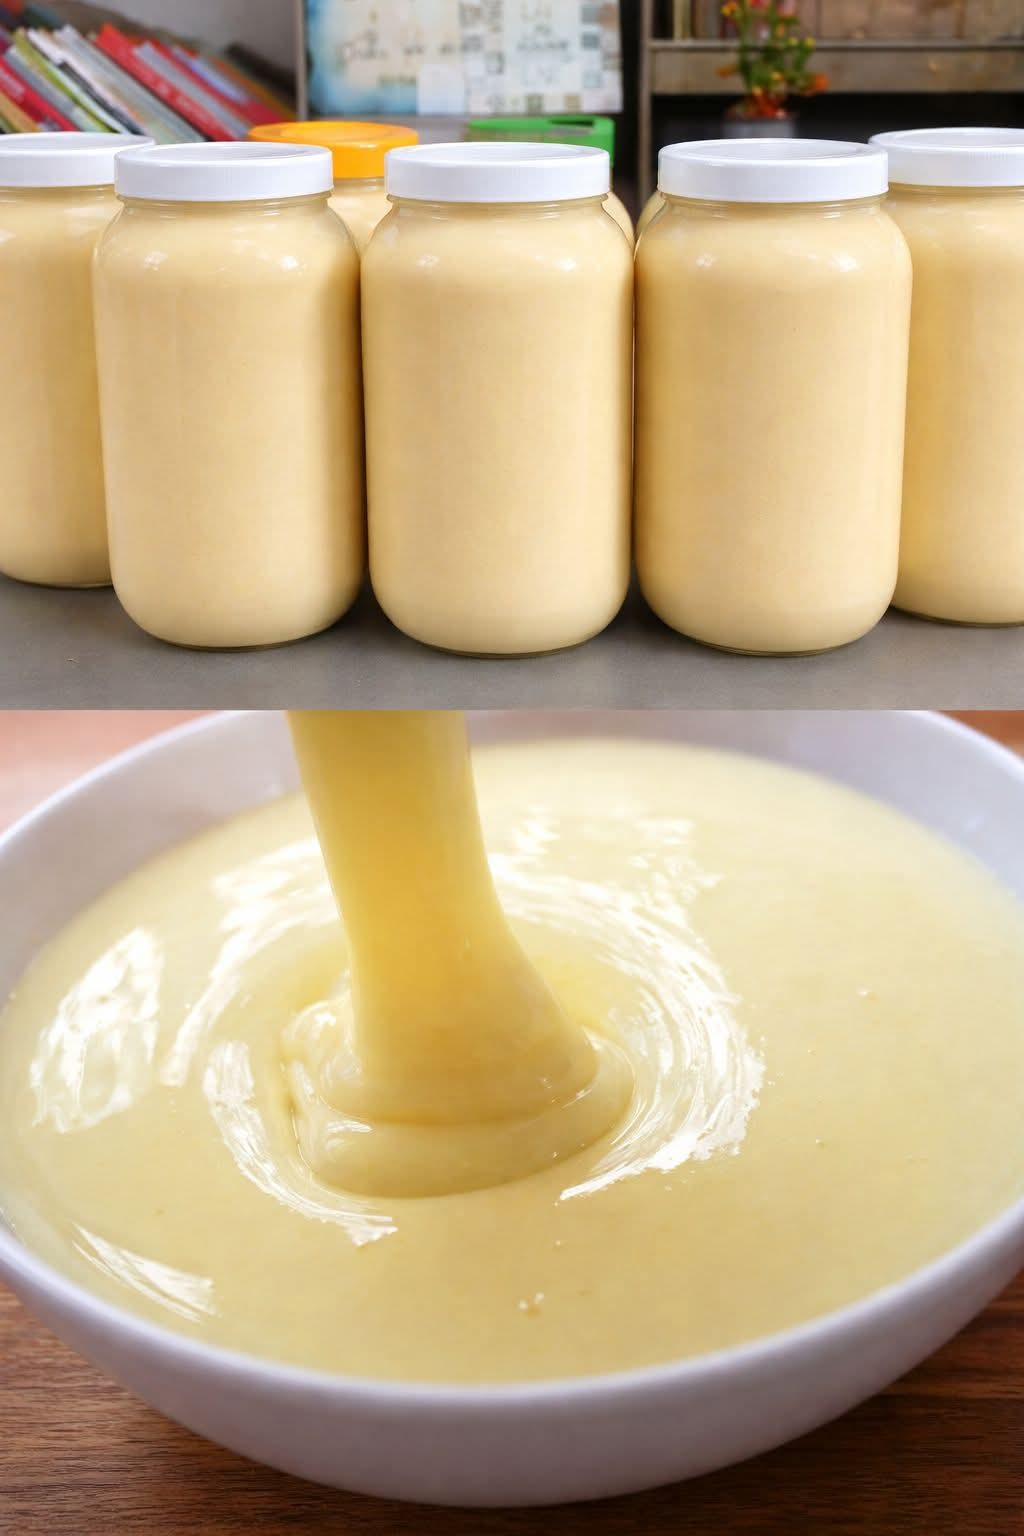
Sugar-Free Condensed Milk with Three Ingredients
Introduction
Homemade sugar-free condensed milk is a simple, economical, and versatile kitchen staple that can be prepared with only three basic ingredients. It has a creamy texture, a rich milky flavor, and a naturally sweet taste without the addition of traditional granulated sugar.
This recipe is especially useful when you want a homemade alternative to store-bought condensed milk. It can be used in coffee, desserts, puddings, cakes, ice cream, sauces, and many other recipes. Because it contains no regular sugar, you can also adjust the sweetness to your own preference by choosing an appropriate sugar-free sweetener.
The secret to achieving a thick condensed-milk consistency is slow cooking. As the milk gently simmers, water evaporates and the mixture becomes concentrated, creamy, and smooth.
Ingredients
Makes approximately 1 cup
- 4 cups whole milk
- 1/2 cup powdered erythritol or another suitable sugar-free sweetener, adjusted to taste
- 2 tablespoons unsalted butter
Optional
- 1 teaspoon vanilla extract for a vanilla-flavored version
- A small pinch of salt to balance the flavor
Instructions
Step 1: Prepare the saucepan
Pour the whole milk into a medium, heavy-bottomed saucepan. A heavy saucepan is preferable because it distributes heat more evenly and reduces the chance of the milk scorching.
Add the sugar-free sweetener and stir thoroughly until it begins to dissolve.
Step 2: Heat the milk
Place the saucepan over medium heat and slowly bring the mixture toward a gentle simmer.
Do not allow the milk to reach a vigorous boil. Milk can foam quickly and may scorch on the bottom of the pan.
Once small bubbles begin appearing around the edges, reduce the heat to low.
Step 3: Reduce the mixture
Allow the milk to simmer gently and uncovered for approximately 35 to 50 minutes.
Stir regularly, particularly around the bottom and sides of the saucepan. The mixture will gradually become thicker as water evaporates.
The exact cooking time depends on the size of your saucepan, the heat level, and the type of milk used.
Step 4: Add the butter
When the milk has reduced substantially and looks noticeably creamy and thick, add the butter.
Stir continuously until the butter has completely melted and incorporated into the mixture.
If using vanilla extract, add it at this stage as well.
Step 5: Blend for a smooth texture
Remove the saucepan from the heat.
For an especially smooth condensed milk, transfer the mixture to a blender or use an immersion blender for a few seconds.
Blend carefully until the mixture becomes silky and uniform.
Step 6: Cool
Pour the condensed milk into a clean heatproof container.
Allow it to cool at room temperature before covering and refrigerating.
Remember that the mixture will become thicker as it cools.
Method
The main method used in this recipe is reduction.
Reduction works by gently heating milk so that part of its water content evaporates. The remaining milk becomes more concentrated, giving the finished product a thicker consistency and richer flavor.
The butter contributes richness and a smoother mouthfeel, while the sugar-free sweetener provides sweetness without using conventional sugar.
For the best result, patience is important. Cooking the milk too quickly over high heat can cause scorching, sticking, or an unpleasant cooked flavor.
How to Know When It Is Ready
The condensed milk should coat the back of a spoon and pour slowly rather than running like ordinary milk.
Do not worry if it seems slightly thinner than commercial condensed milk while hot. It will continue thickening during cooling.
If it becomes too thick after refrigeration, stir in a small amount of milk until the desired consistency is reached.
If it remains too thin, return it to a saucepan and gently cook it for several additional minutes.
Storage
Transfer the cooled condensed milk to an airtight container and refrigerate.
For the best quality, use it within several days and always check its smell, appearance, and texture before using.
Avoid leaving homemade milk products at room temperature for extended periods.
Ways to Use Sugar-Free Condensed Milk
This homemade condensed milk can be used in many recipes, including:
- Coffee and tea
- Sugar-free ice cream
- Homemade fudge
- Cheesecake
- Puddings
- Custards
- Coconut desserts
- Chocolate desserts
- No-bake cakes
- Milkshakes
- Dessert sauces
- Homemade caramel-style desserts
- Creamy fruit desserts
- Chia puddings
- Low-sugar baked goods
It can also be stirred into hot coffee for a rich and creamy homemade coffee drink.
Flavor Variations
Vanilla Condensed Milk
Add 1 teaspoon of vanilla extract after removing the mixture from the heat.
Chocolate Version
Whisk in 1 to 2 tablespoons of unsweetened cocoa powder after the milk has reduced.
Coconut Version
Replace part of the milk with unsweetened coconut milk for a coconut-flavored variation.
Cinnamon Version
Add a small amount of ground cinnamon toward the end of cooking for a warm, spiced flavor.
Important Sweetener Note
Different sugar-free sweeteners behave differently when heated. Erythritol, for example, can sometimes crystallize as it cools. If you prefer a smoother texture, a powdered sweetener designed for cooking and baking may give better results.
Sweeteners also vary considerably in sweetness, so taste the mixture and adjust gradually rather than adding a large amount at once.
History and Formation
Condensed milk became popular as a practical way of preserving milk by removing much of its water content and adding sugar. This made milk easier to store and transport before modern refrigeration became widely available.
Traditional sweetened condensed milk is made by concentrating milk and adding a significant amount of sugar. The sugar contributes sweetness and also helps preserve the finished product.
This homemade version follows the same basic principle of concentration but replaces traditional sugar with a sugar-free sweetener. The result is a useful homemade ingredient for people who want to reduce their intake of added sugar.
Tips for the Best Results
- Use a heavy-bottomed saucepan to reduce the risk of scorching.
- Keep the heat low once the milk begins simmering.
- Stir frequently during reduction.
- Do not rush the cooking process.
- Remember that the mixture thickens considerably as it cools.
- Use powdered sweetener when possible for a smoother texture.
- Taste before the mixture becomes completely thick and adjust sweetness if necessary.
- Allow the condensed milk to cool completely before judging its final consistency.
Troubleshooting
The mixture is too thin
Continue simmering gently until more water evaporates.
The mixture is too thick
Whisk in a small amount of milk until smooth.
The mixture tastes scorched
The milk was probably cooked over excessive heat or left unstirred for too long. Use lower heat and stir more frequently next time.
The mixture becomes grainy
Some sugar-free sweeteners can crystallize as they cool. Using powdered sweetener and avoiding excessive amounts can help produce a smoother result.
Conclusion
Three-ingredient sugar-free condensed milk is a practical homemade recipe that transforms simple ingredients into a rich and creamy kitchen staple. The process is straightforward, economical, and adaptable, while gentle reduction creates the concentrated texture associated with traditional condensed milk.
Once prepared, it can become a useful ingredient for countless desserts and drinks. Whether added to coffee, incorporated into a creamy pudding, or used as the foundation for a homemade dessert, this recipe is an easy way to keep a batch of sugar-free condensed milk available in your refrigerator.
For Condensed Milk Lovers
If you love creamy desserts but prefer to control the amount of added sugar in your recipes, homemade sugar-free condensed milk is worth keeping in your kitchen. It gives you the flexibility to choose the sweetener, adjust the sweetness, and create a homemade product from simple ingredients.
The most important part is to cook it slowly and patiently. Once you master the reduction method, you can easily adapt this recipe to create vanilla, chocolate, coconut, cinnamon, and other delicious variations.